When creating beautiful nails for your clients, skills, experience, and knowledge will take you far. Still, you also need the appropriate tools to really finesse your work and set yourself apart from the competition. We recently caught up with the professional nail artist Abi Markey @NailedItBeauty to learn more about her professional process of creating beautiful and intricate nail designs.
So whether you’re just starting in the nail industry and looking for a beginner nail tech kit, or some nail art inspiration, read on for Abi’s professional nail essentials and her nail art application tips and tricks.
Nail Tech Essentials For The Perfect Gel Finish With @NailedItBeauty
Step 1 – Preparation is key
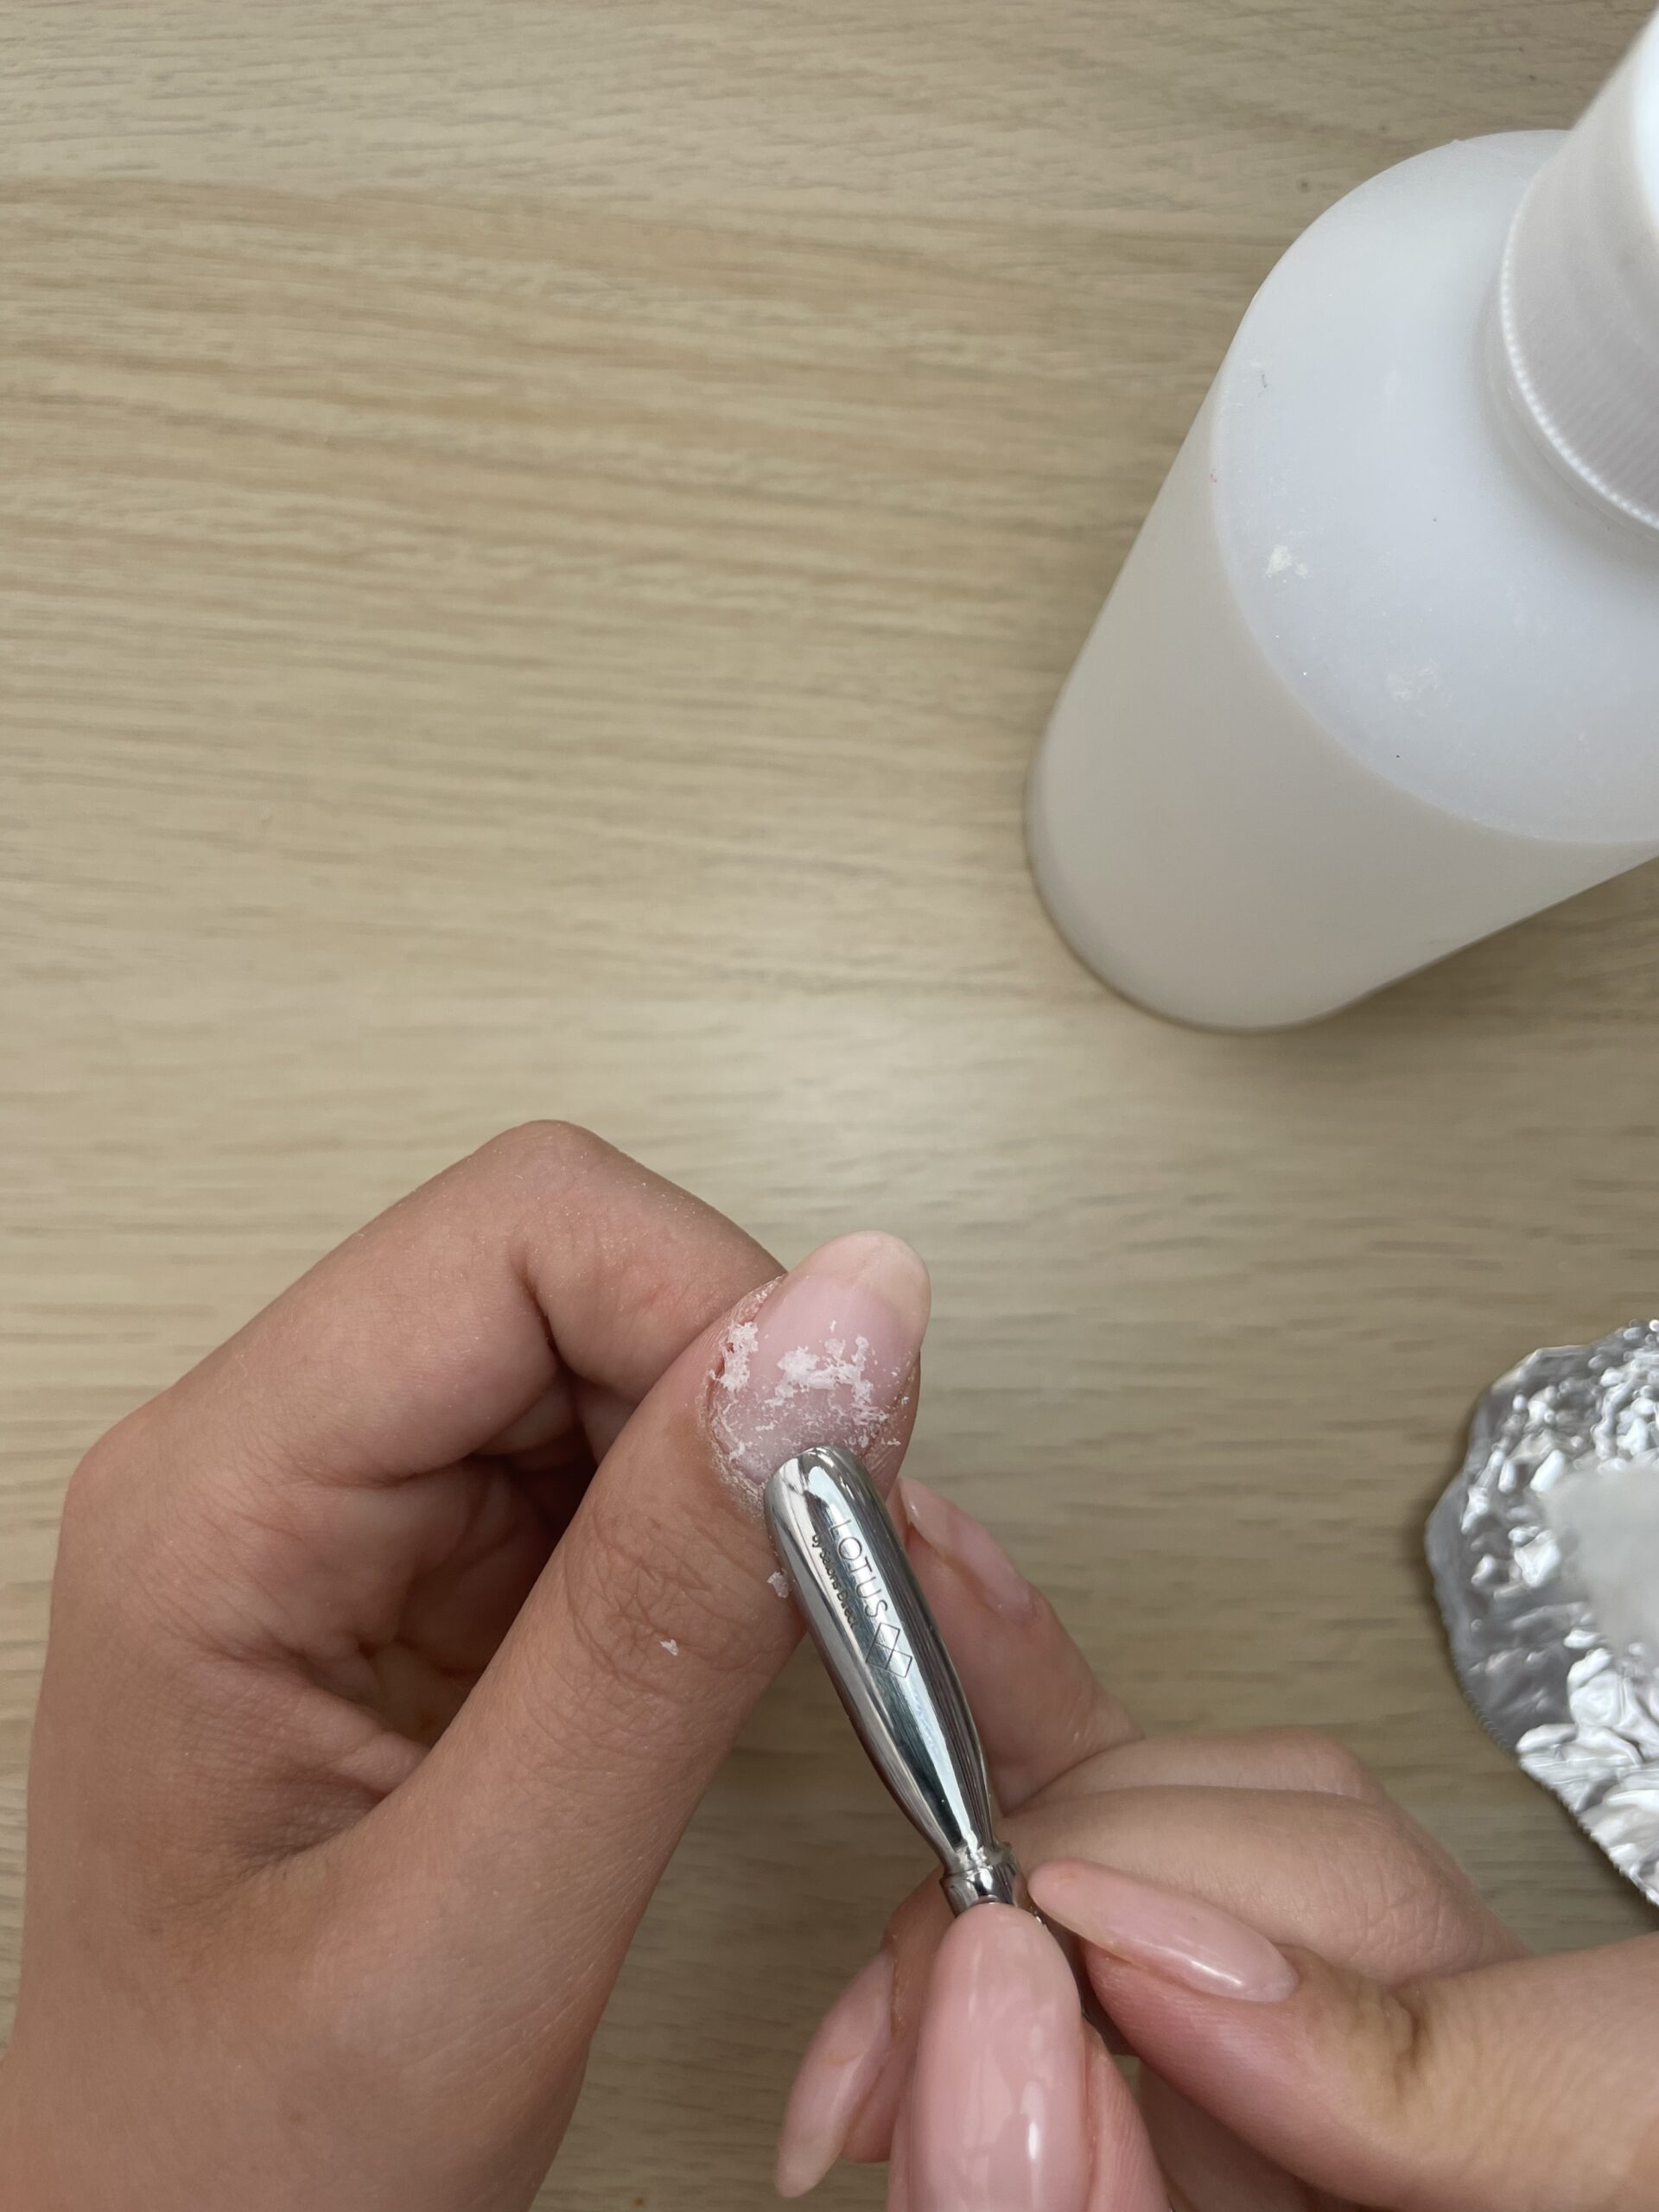
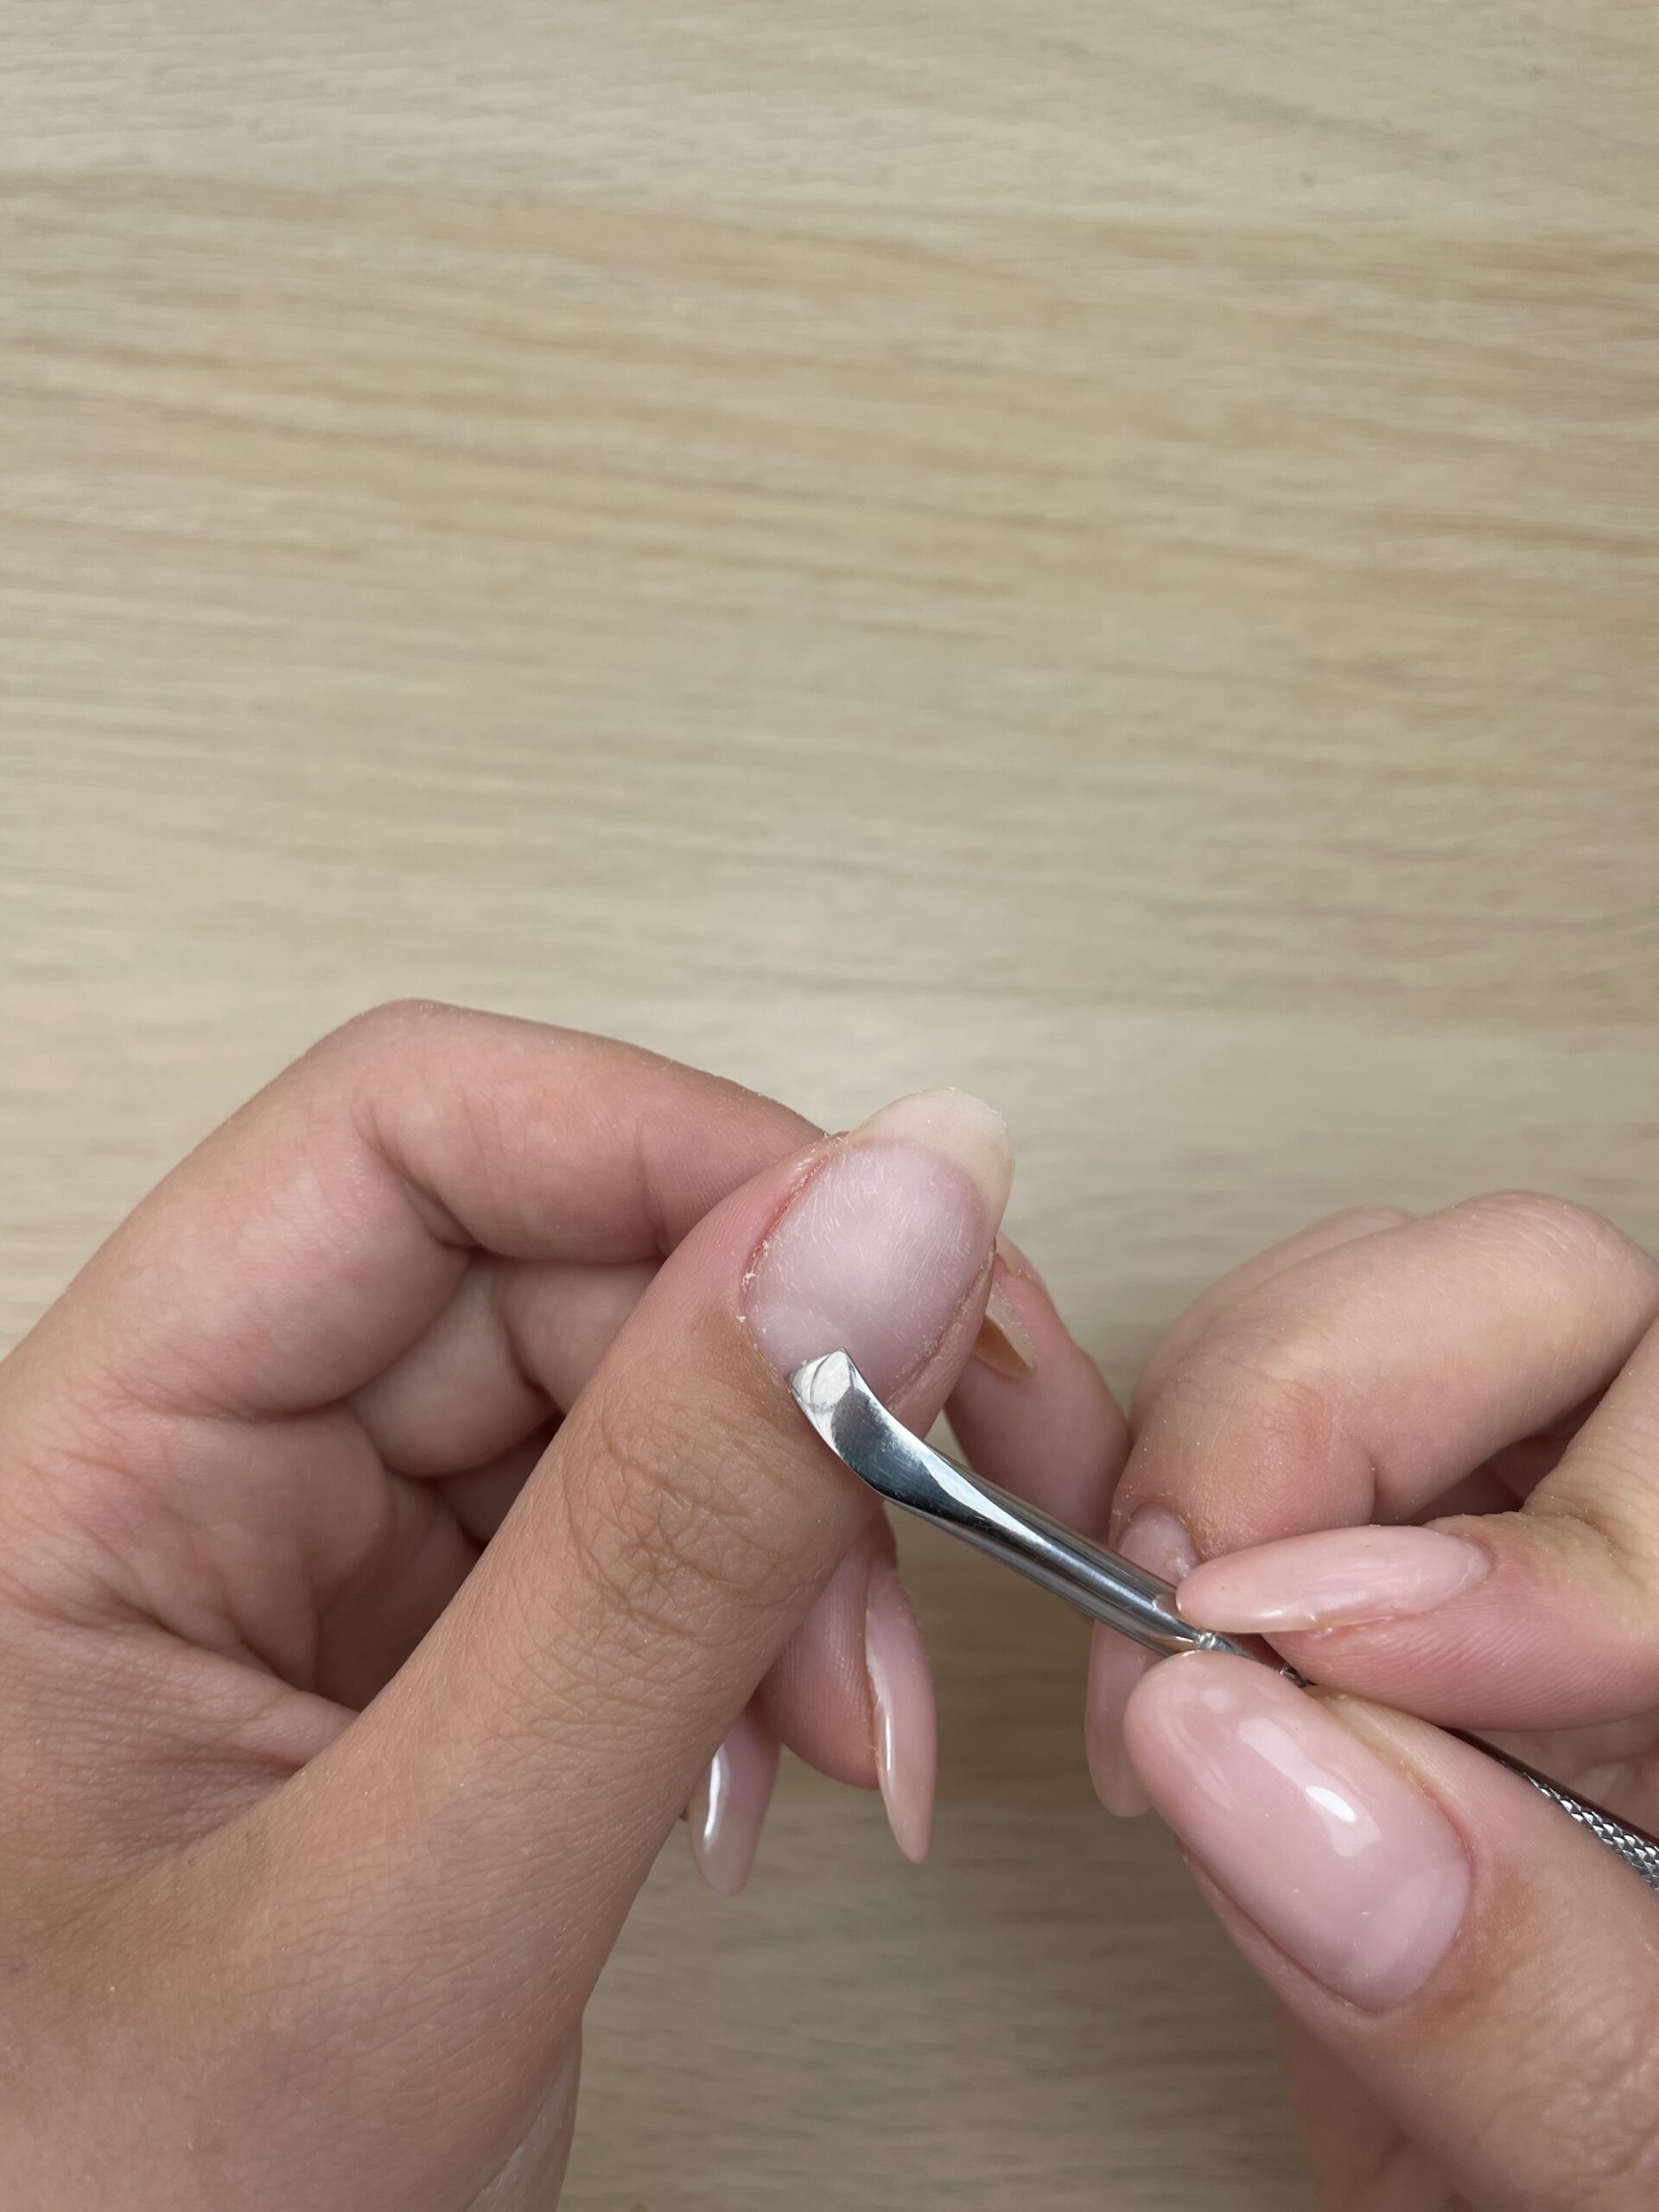
Prep is the most essential part of your routine. This ensures that the gel lasts and looks perfect. Use the Lotus cuticle pusher knife to push back the skin and the Lotus cuticle nippers to remove any dead skin from around the nail.
-
- Using the cuticle pusher knife
-
- Removing the cuticle and any dead skin with a cuticle pusher
-
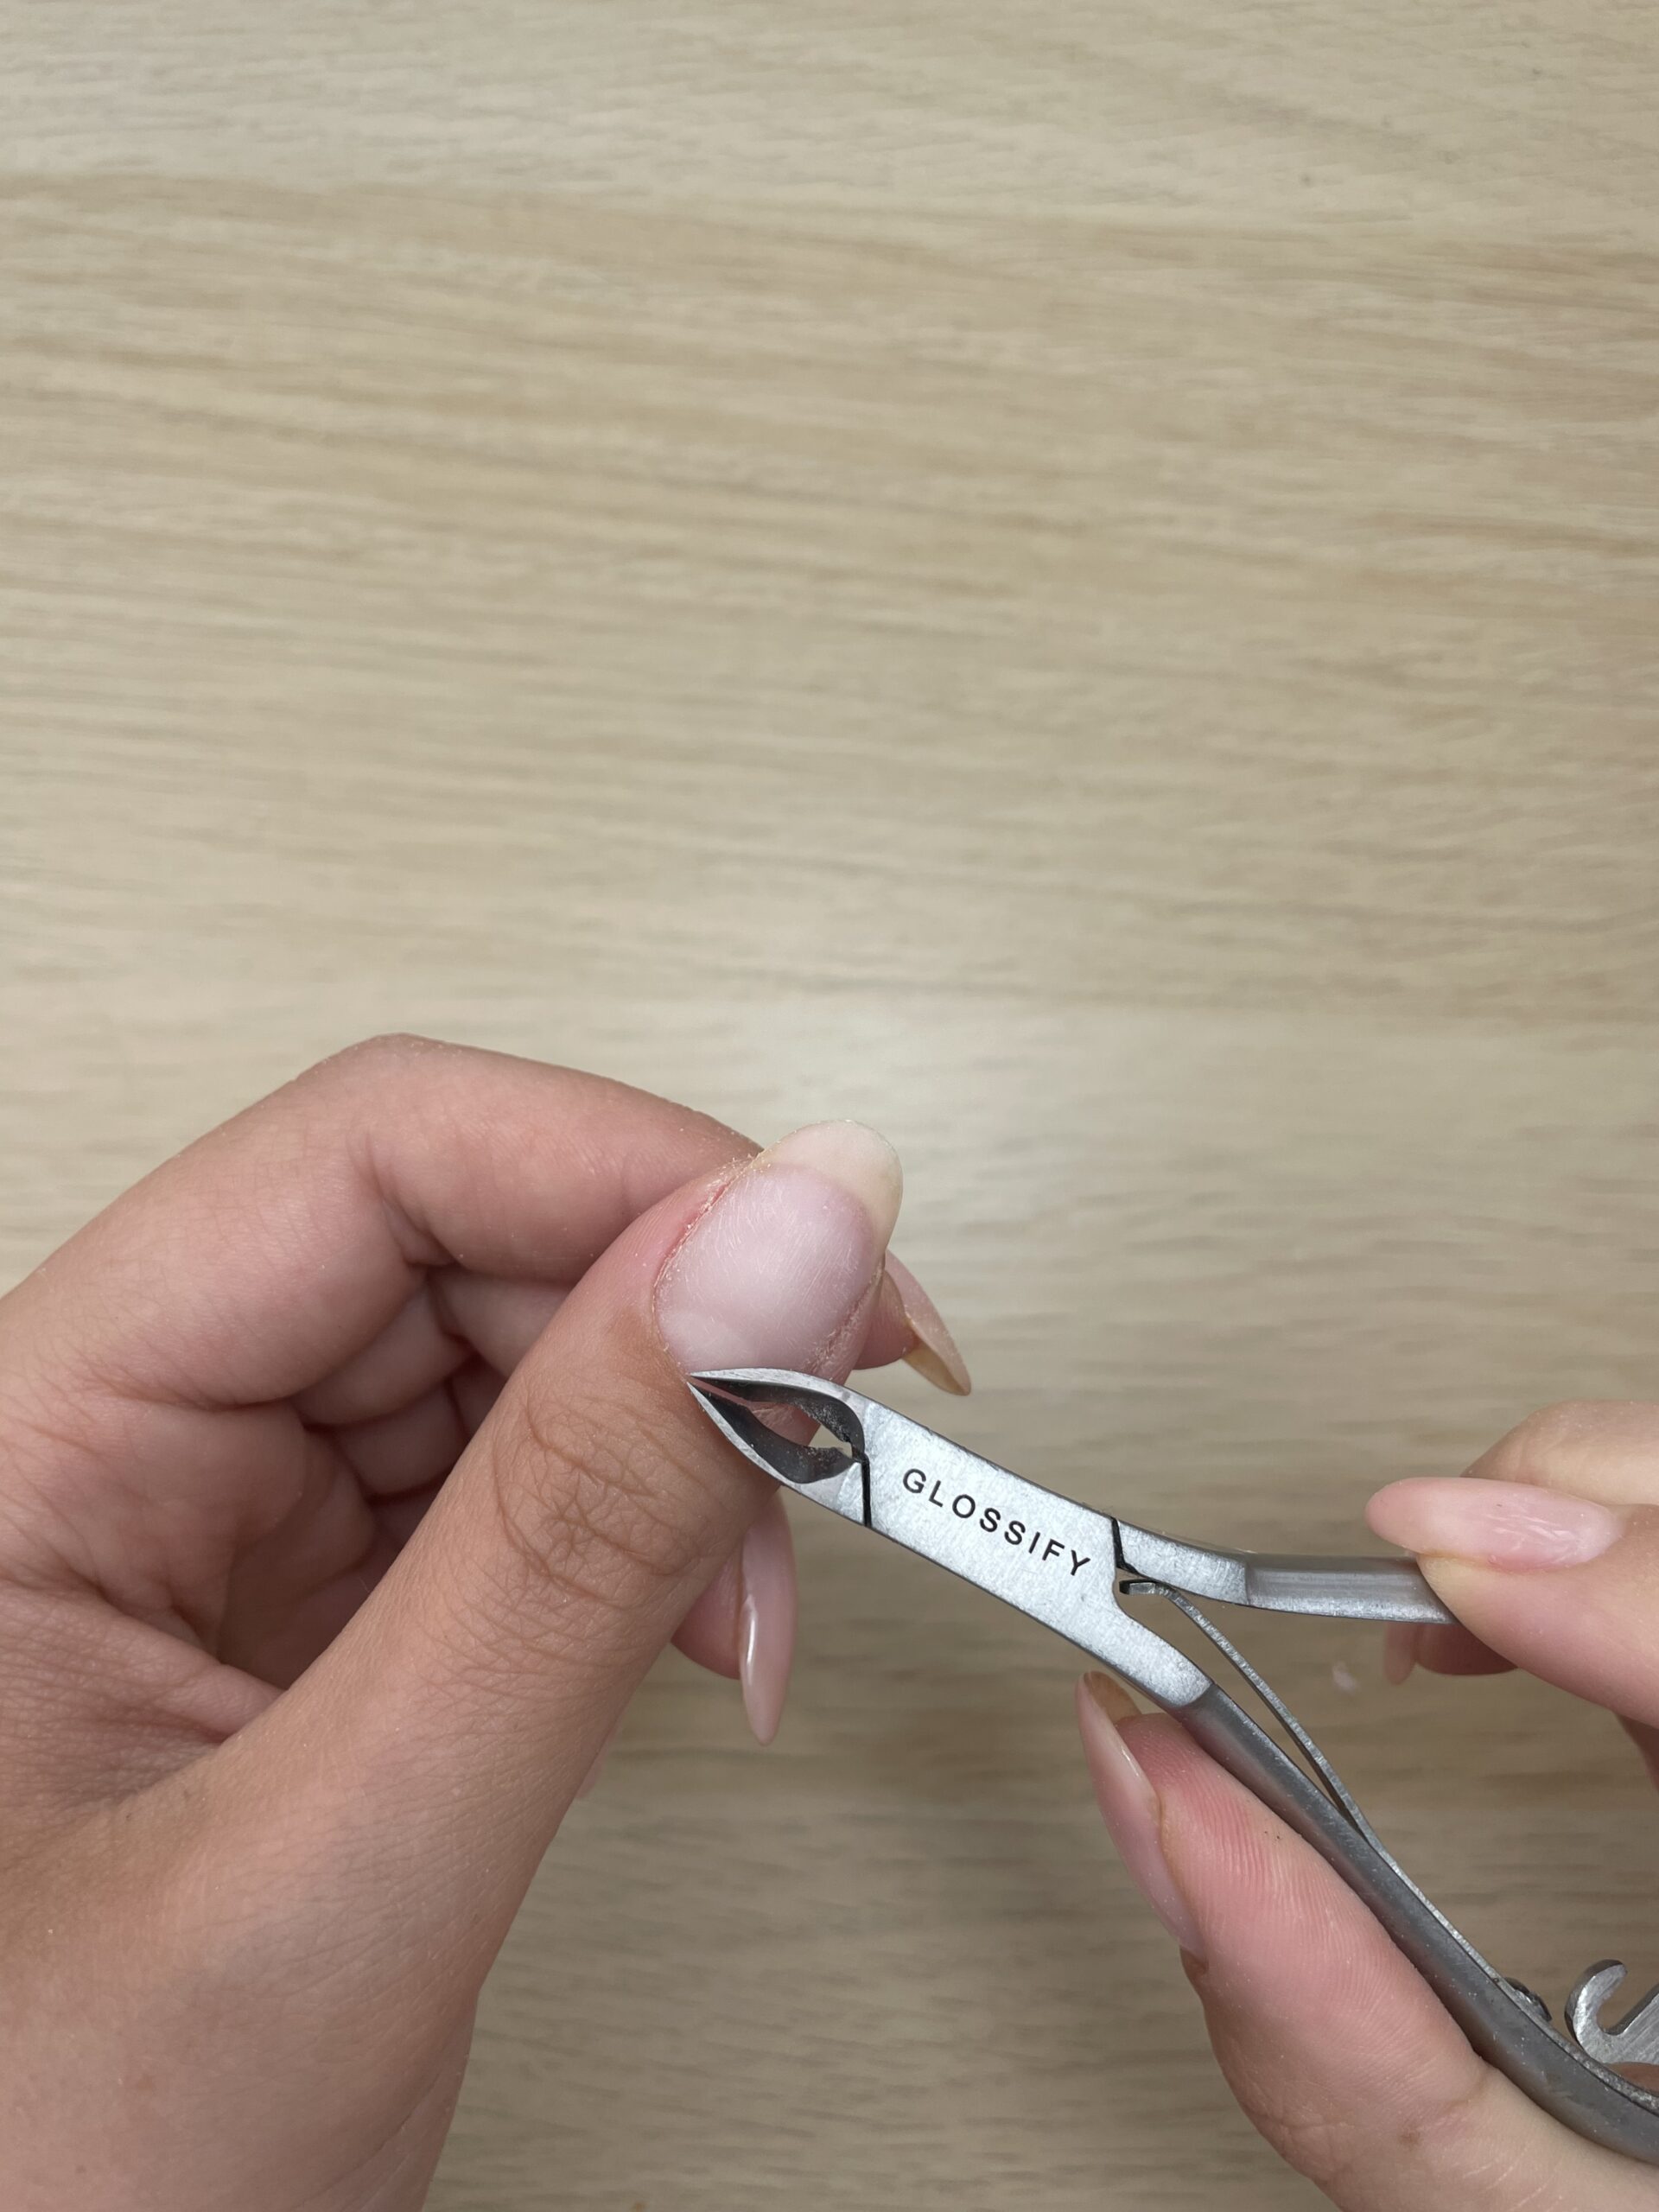
- Snipping away the cuticle
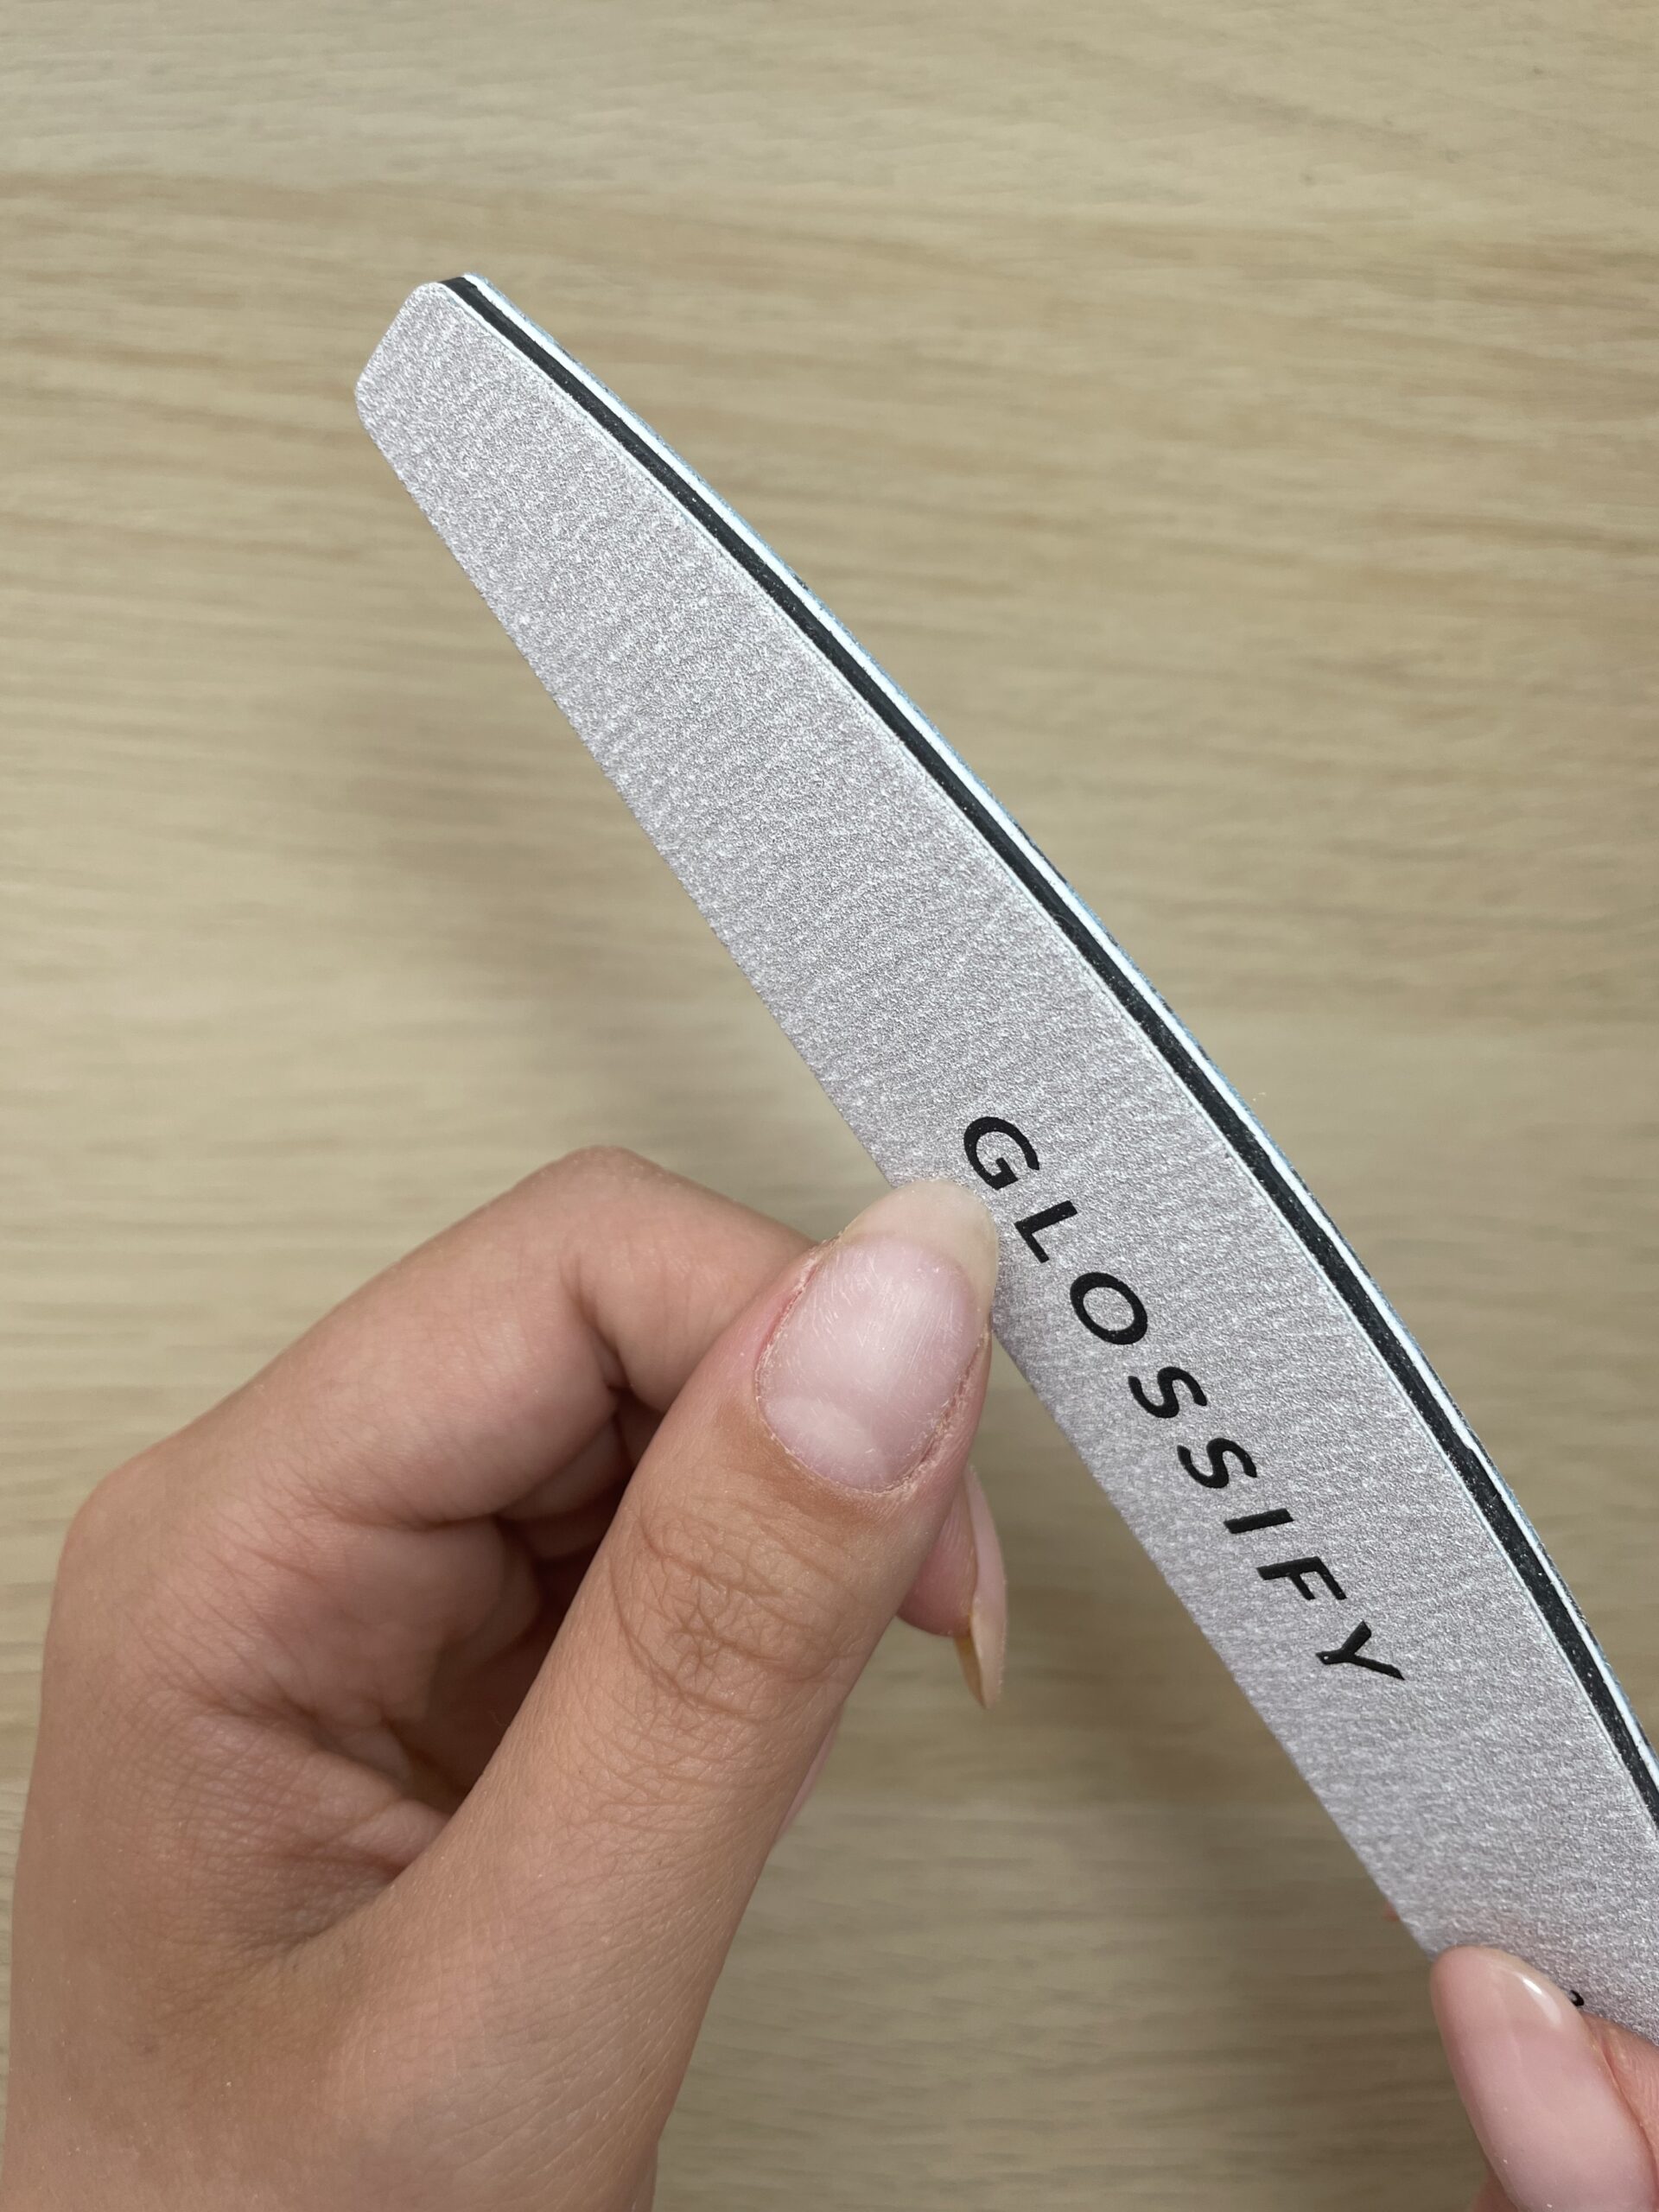
Step 2 – File and shape the nail
File the nail with the Glossify nail file into the shape you desire, and lightly buff the nail using the Lotus nail buffer to ensure the nail is smooth and ready for a flawless gel application.
-
- Creating the shape
-
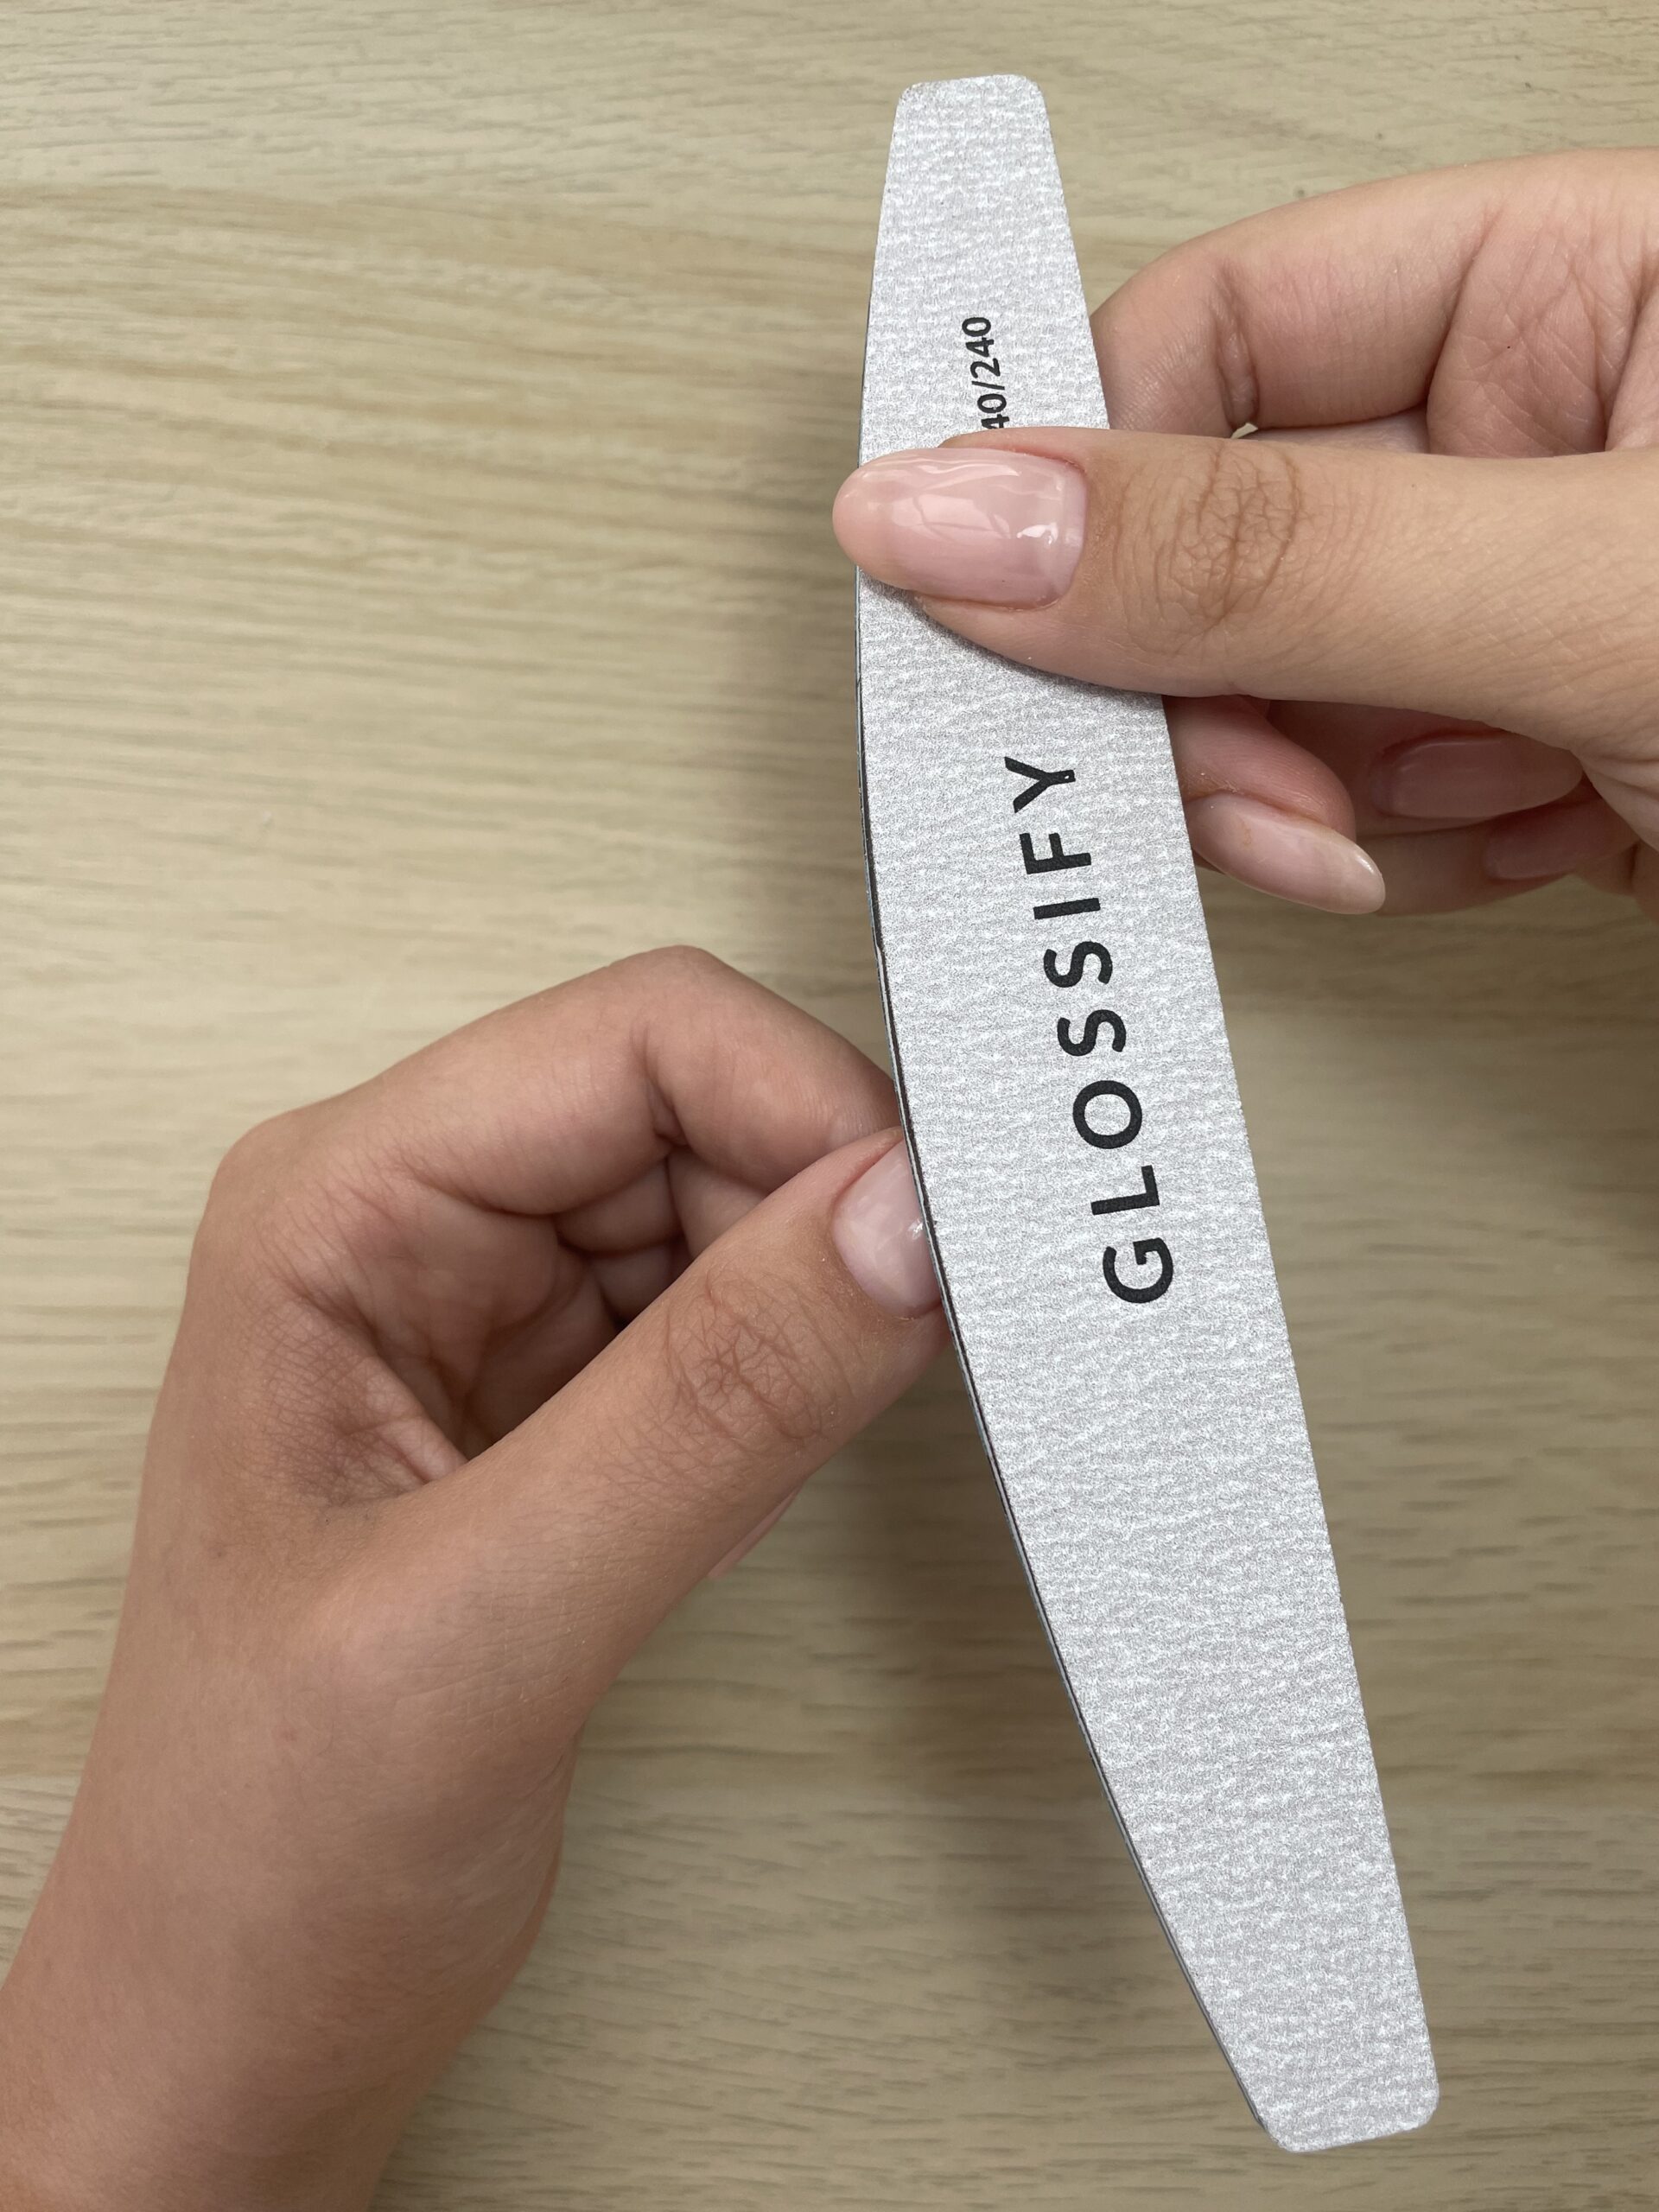
- Filing the nail into your desired shape
-
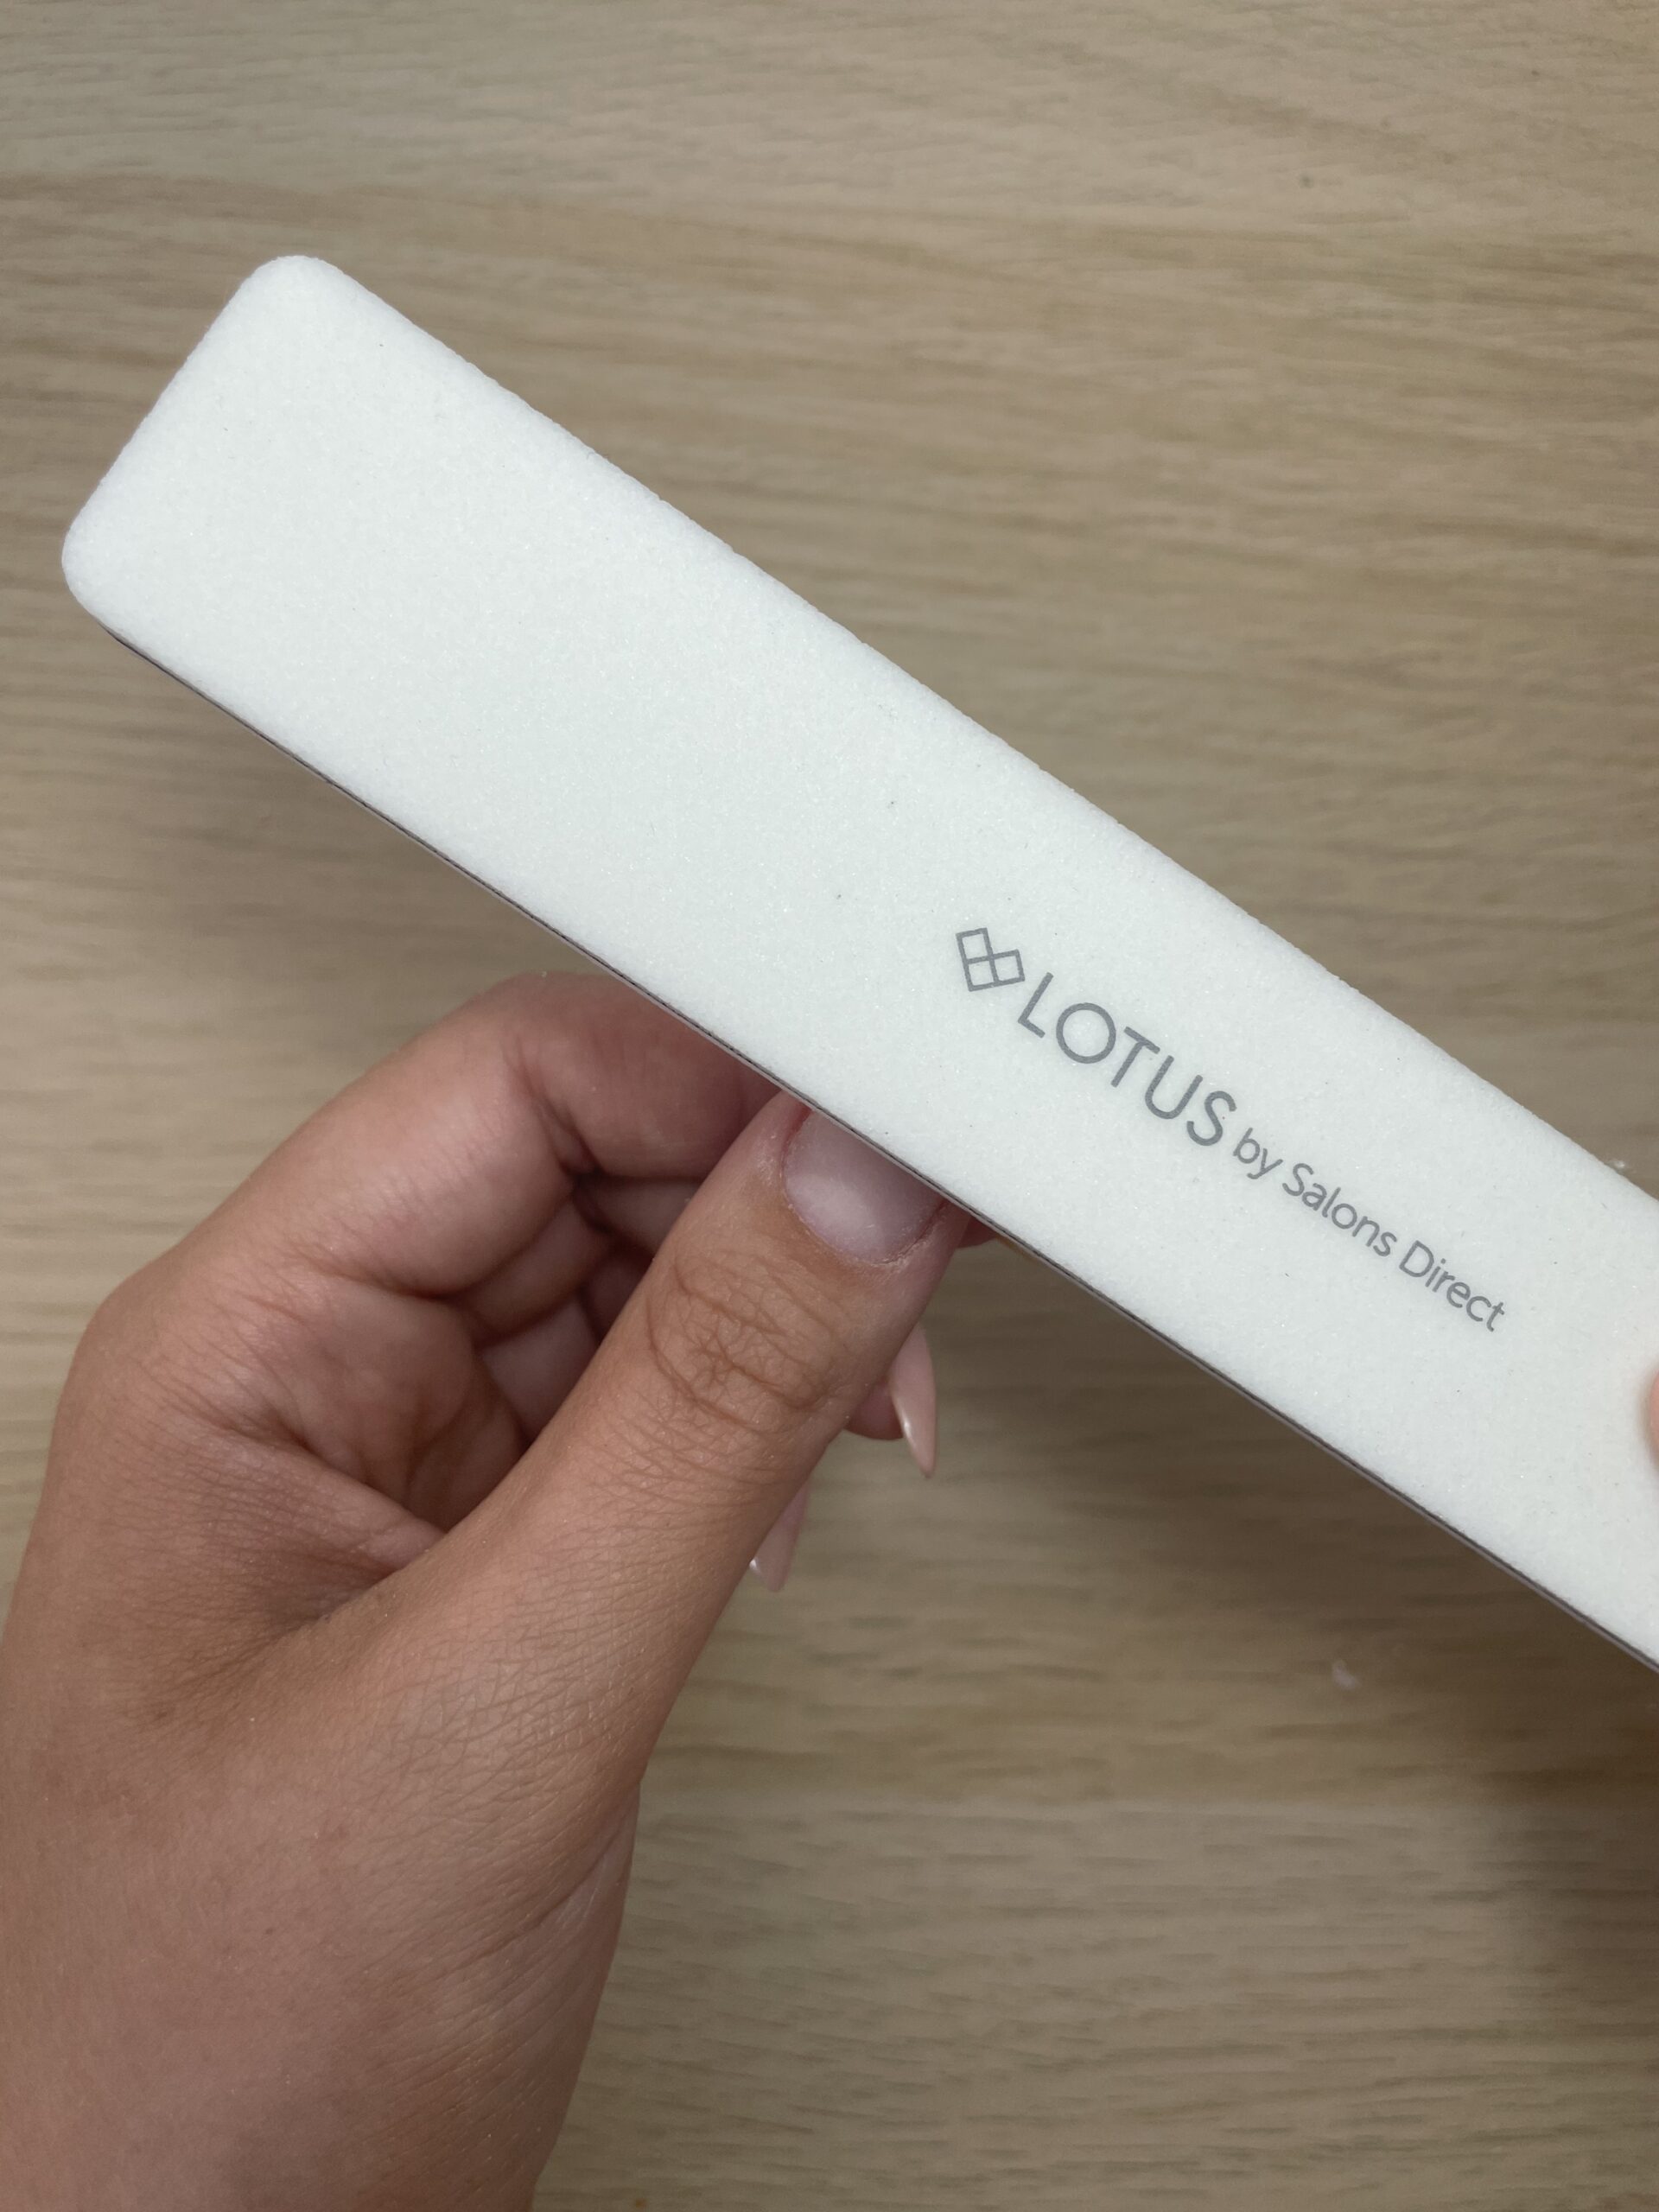
- Buffing the nail
Related: Everything you need to know about nail file grits
Step 3 –Ensure the nail is thoroughly cleaned.
Wipe the nail with a lint-free wipe and the Lotus pure acetone to ensure the nail is clean and ready to apply Glossify Naturabuild.
-
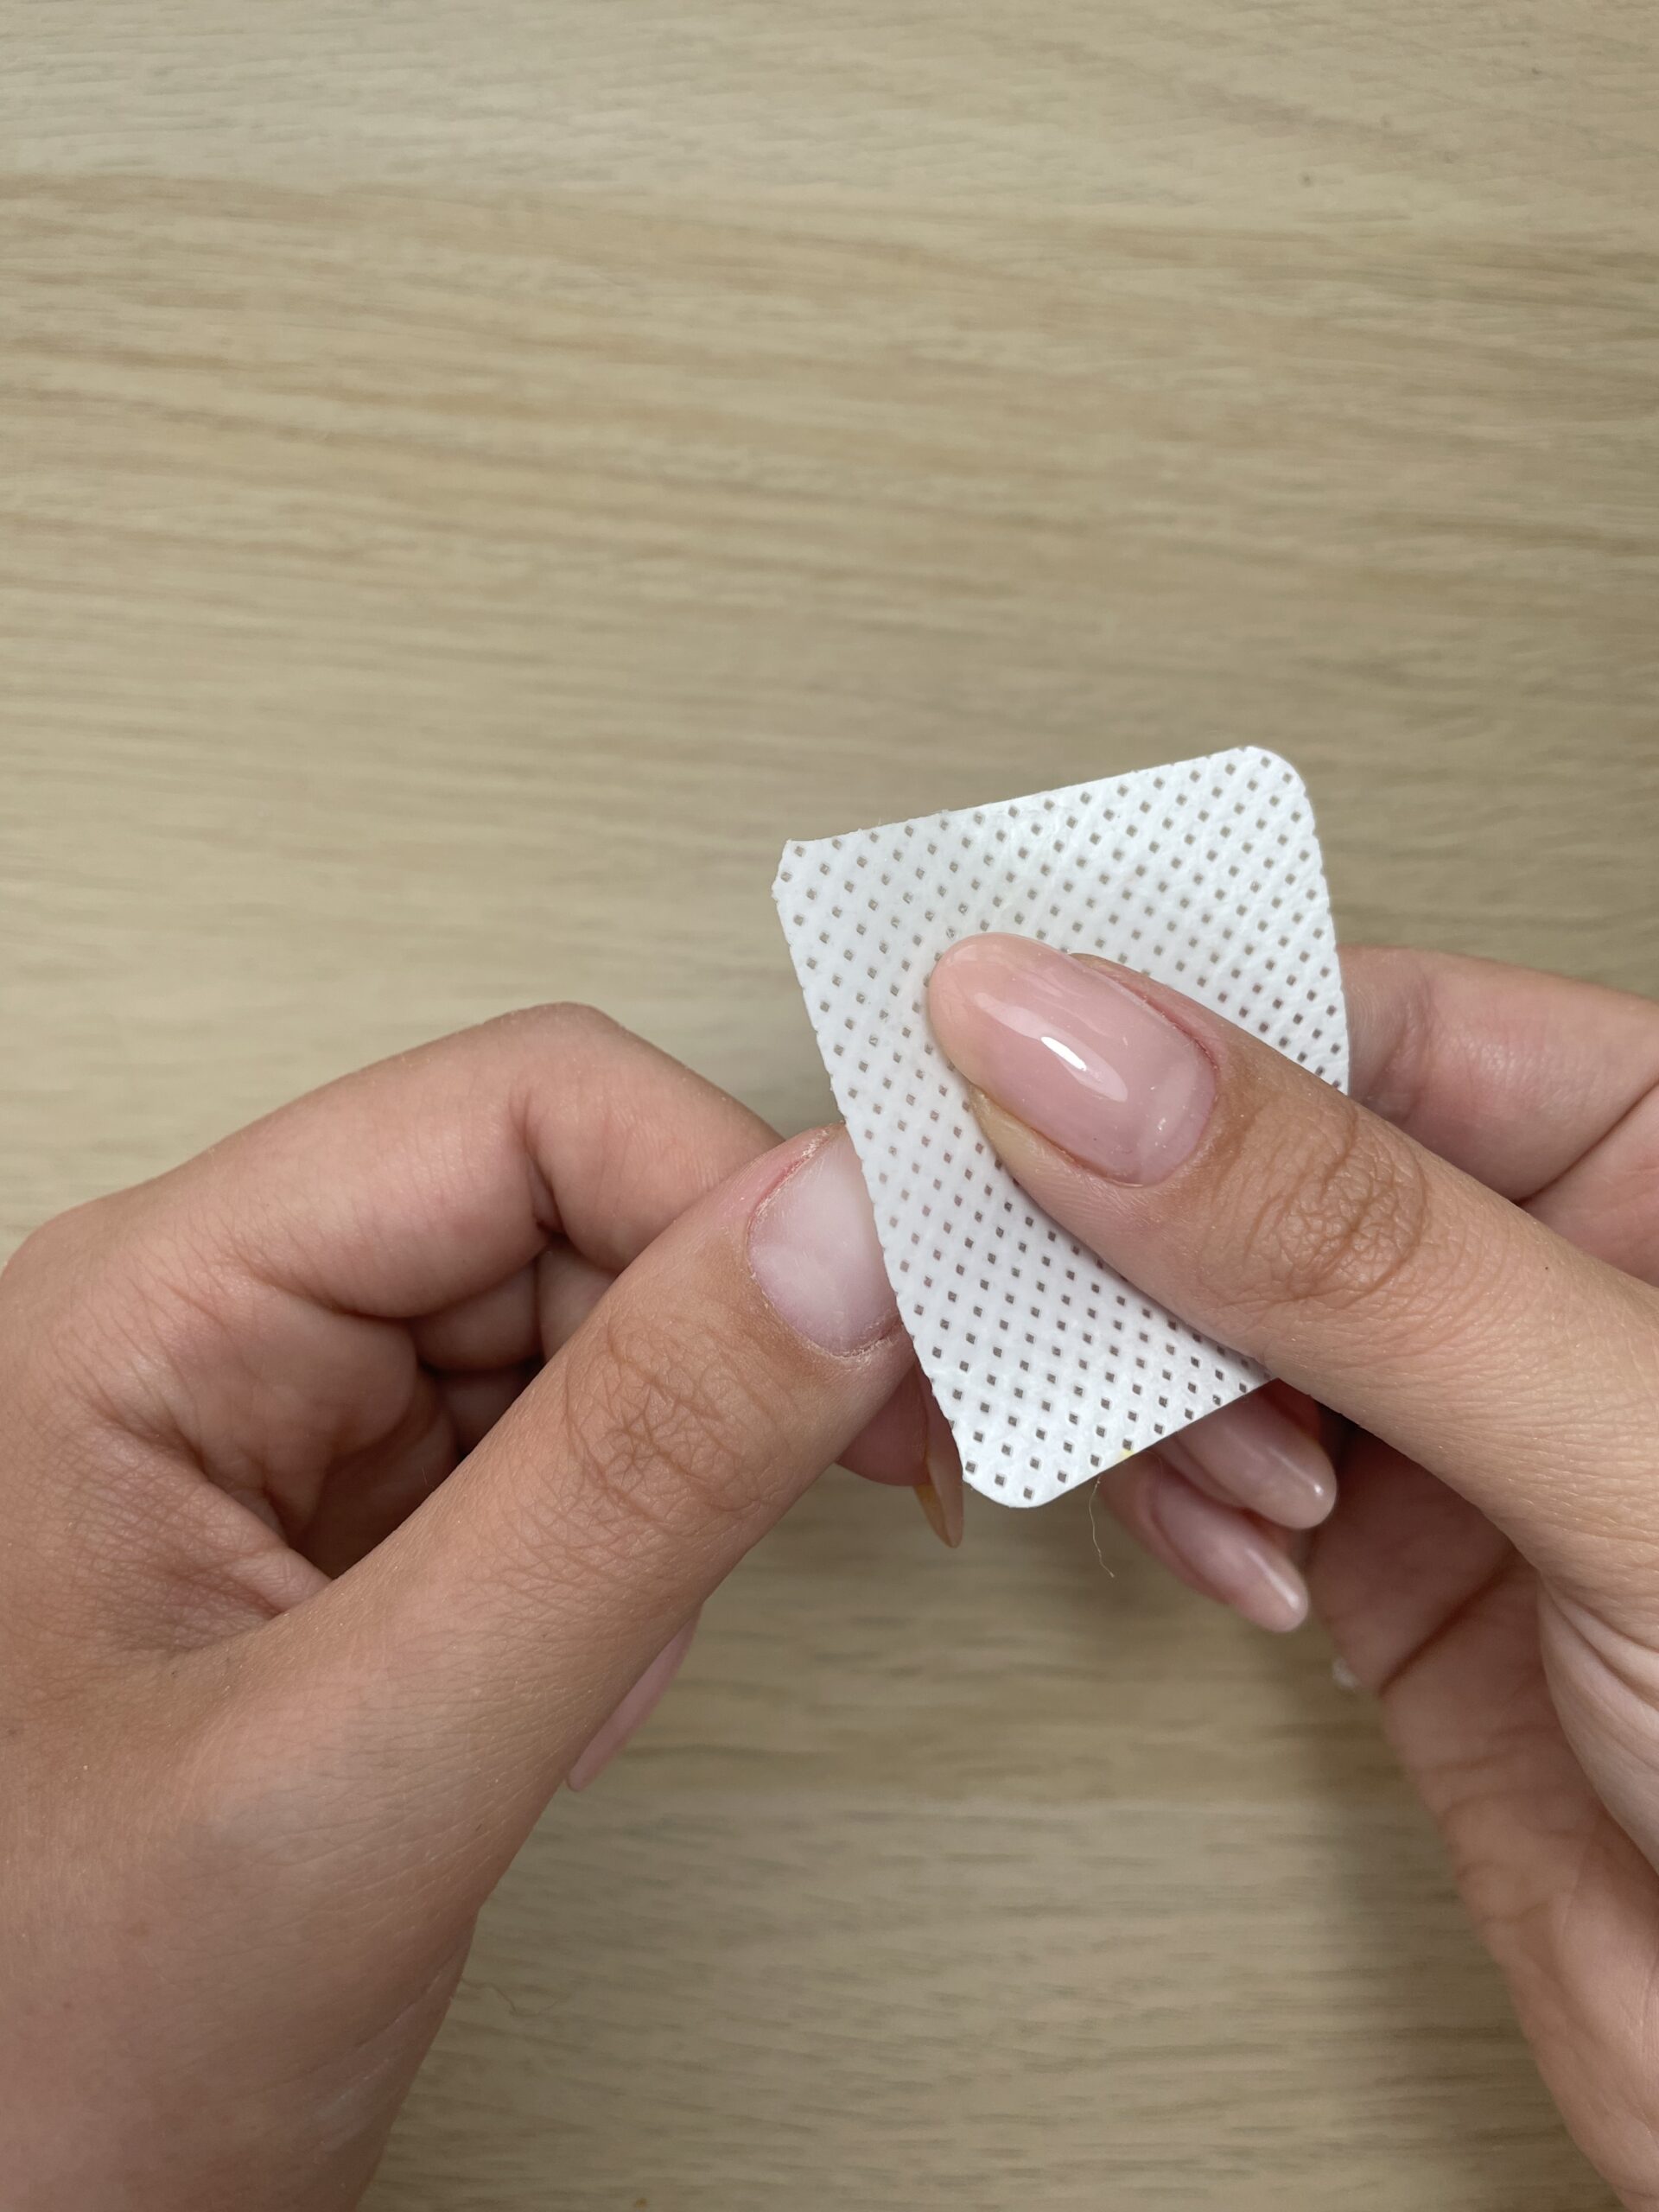
- Prepping the nails with a lint free wipe
-
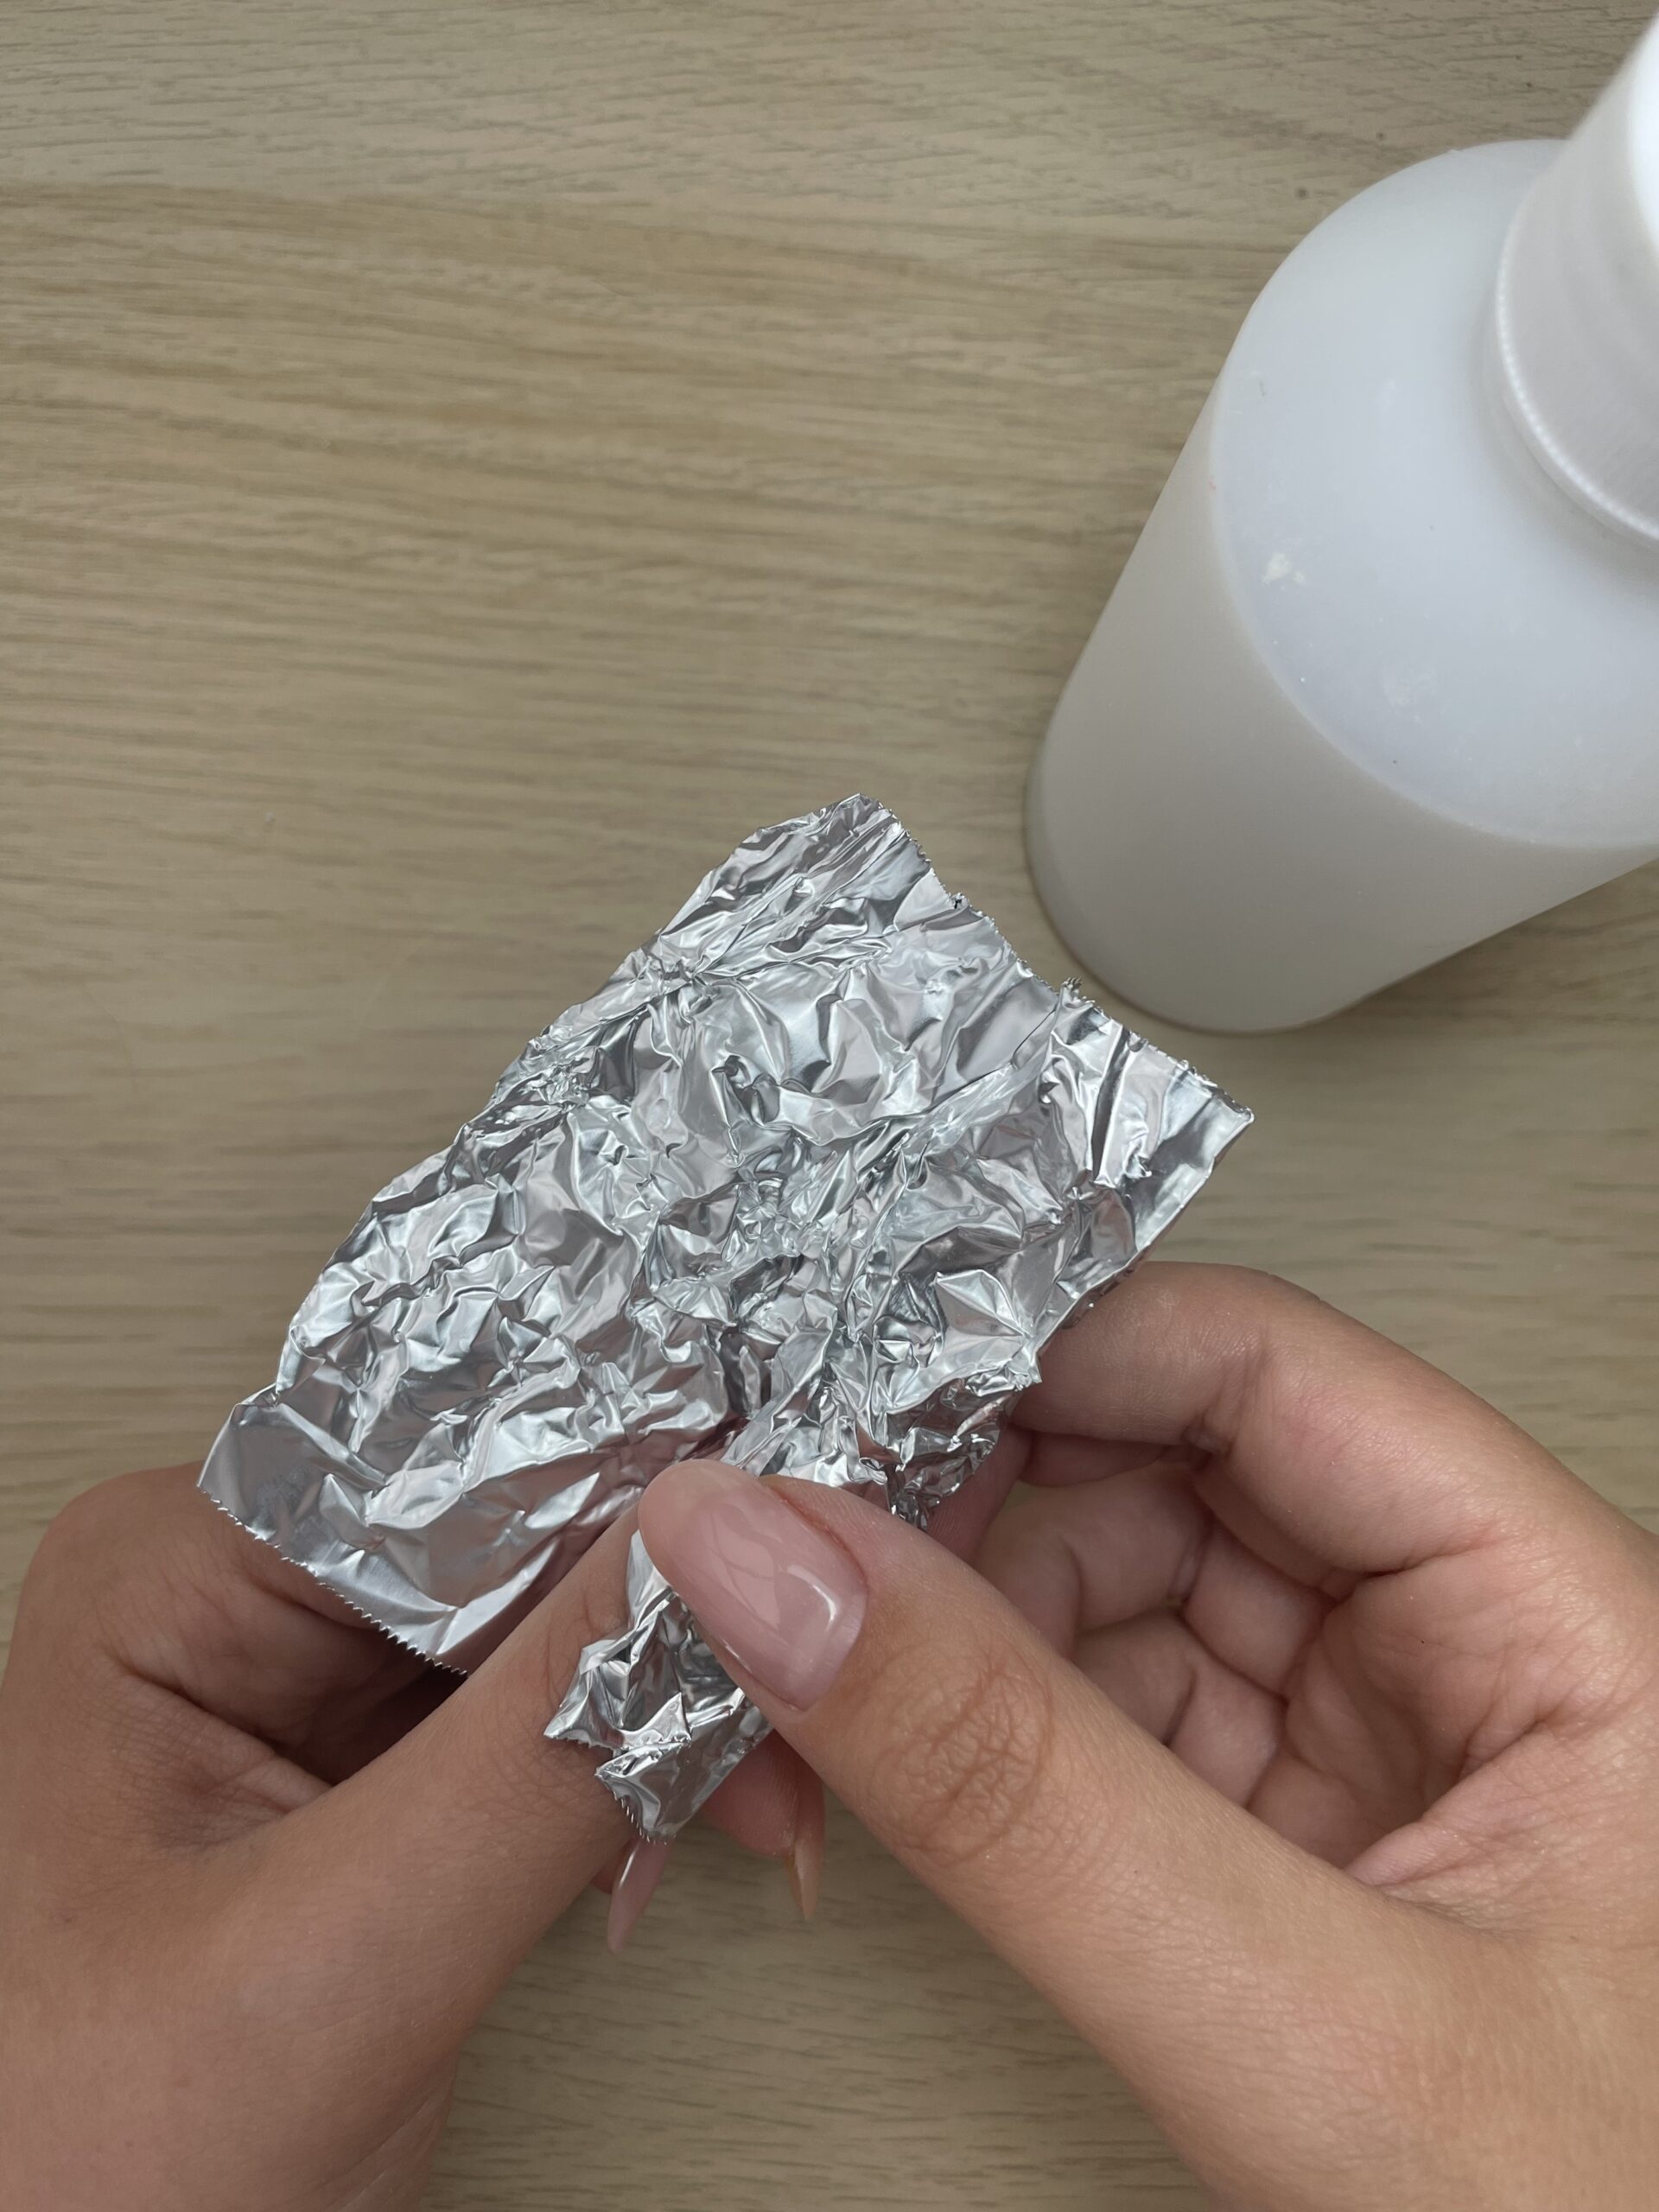
- Using acetone to clean up the nail to create a clean working surface
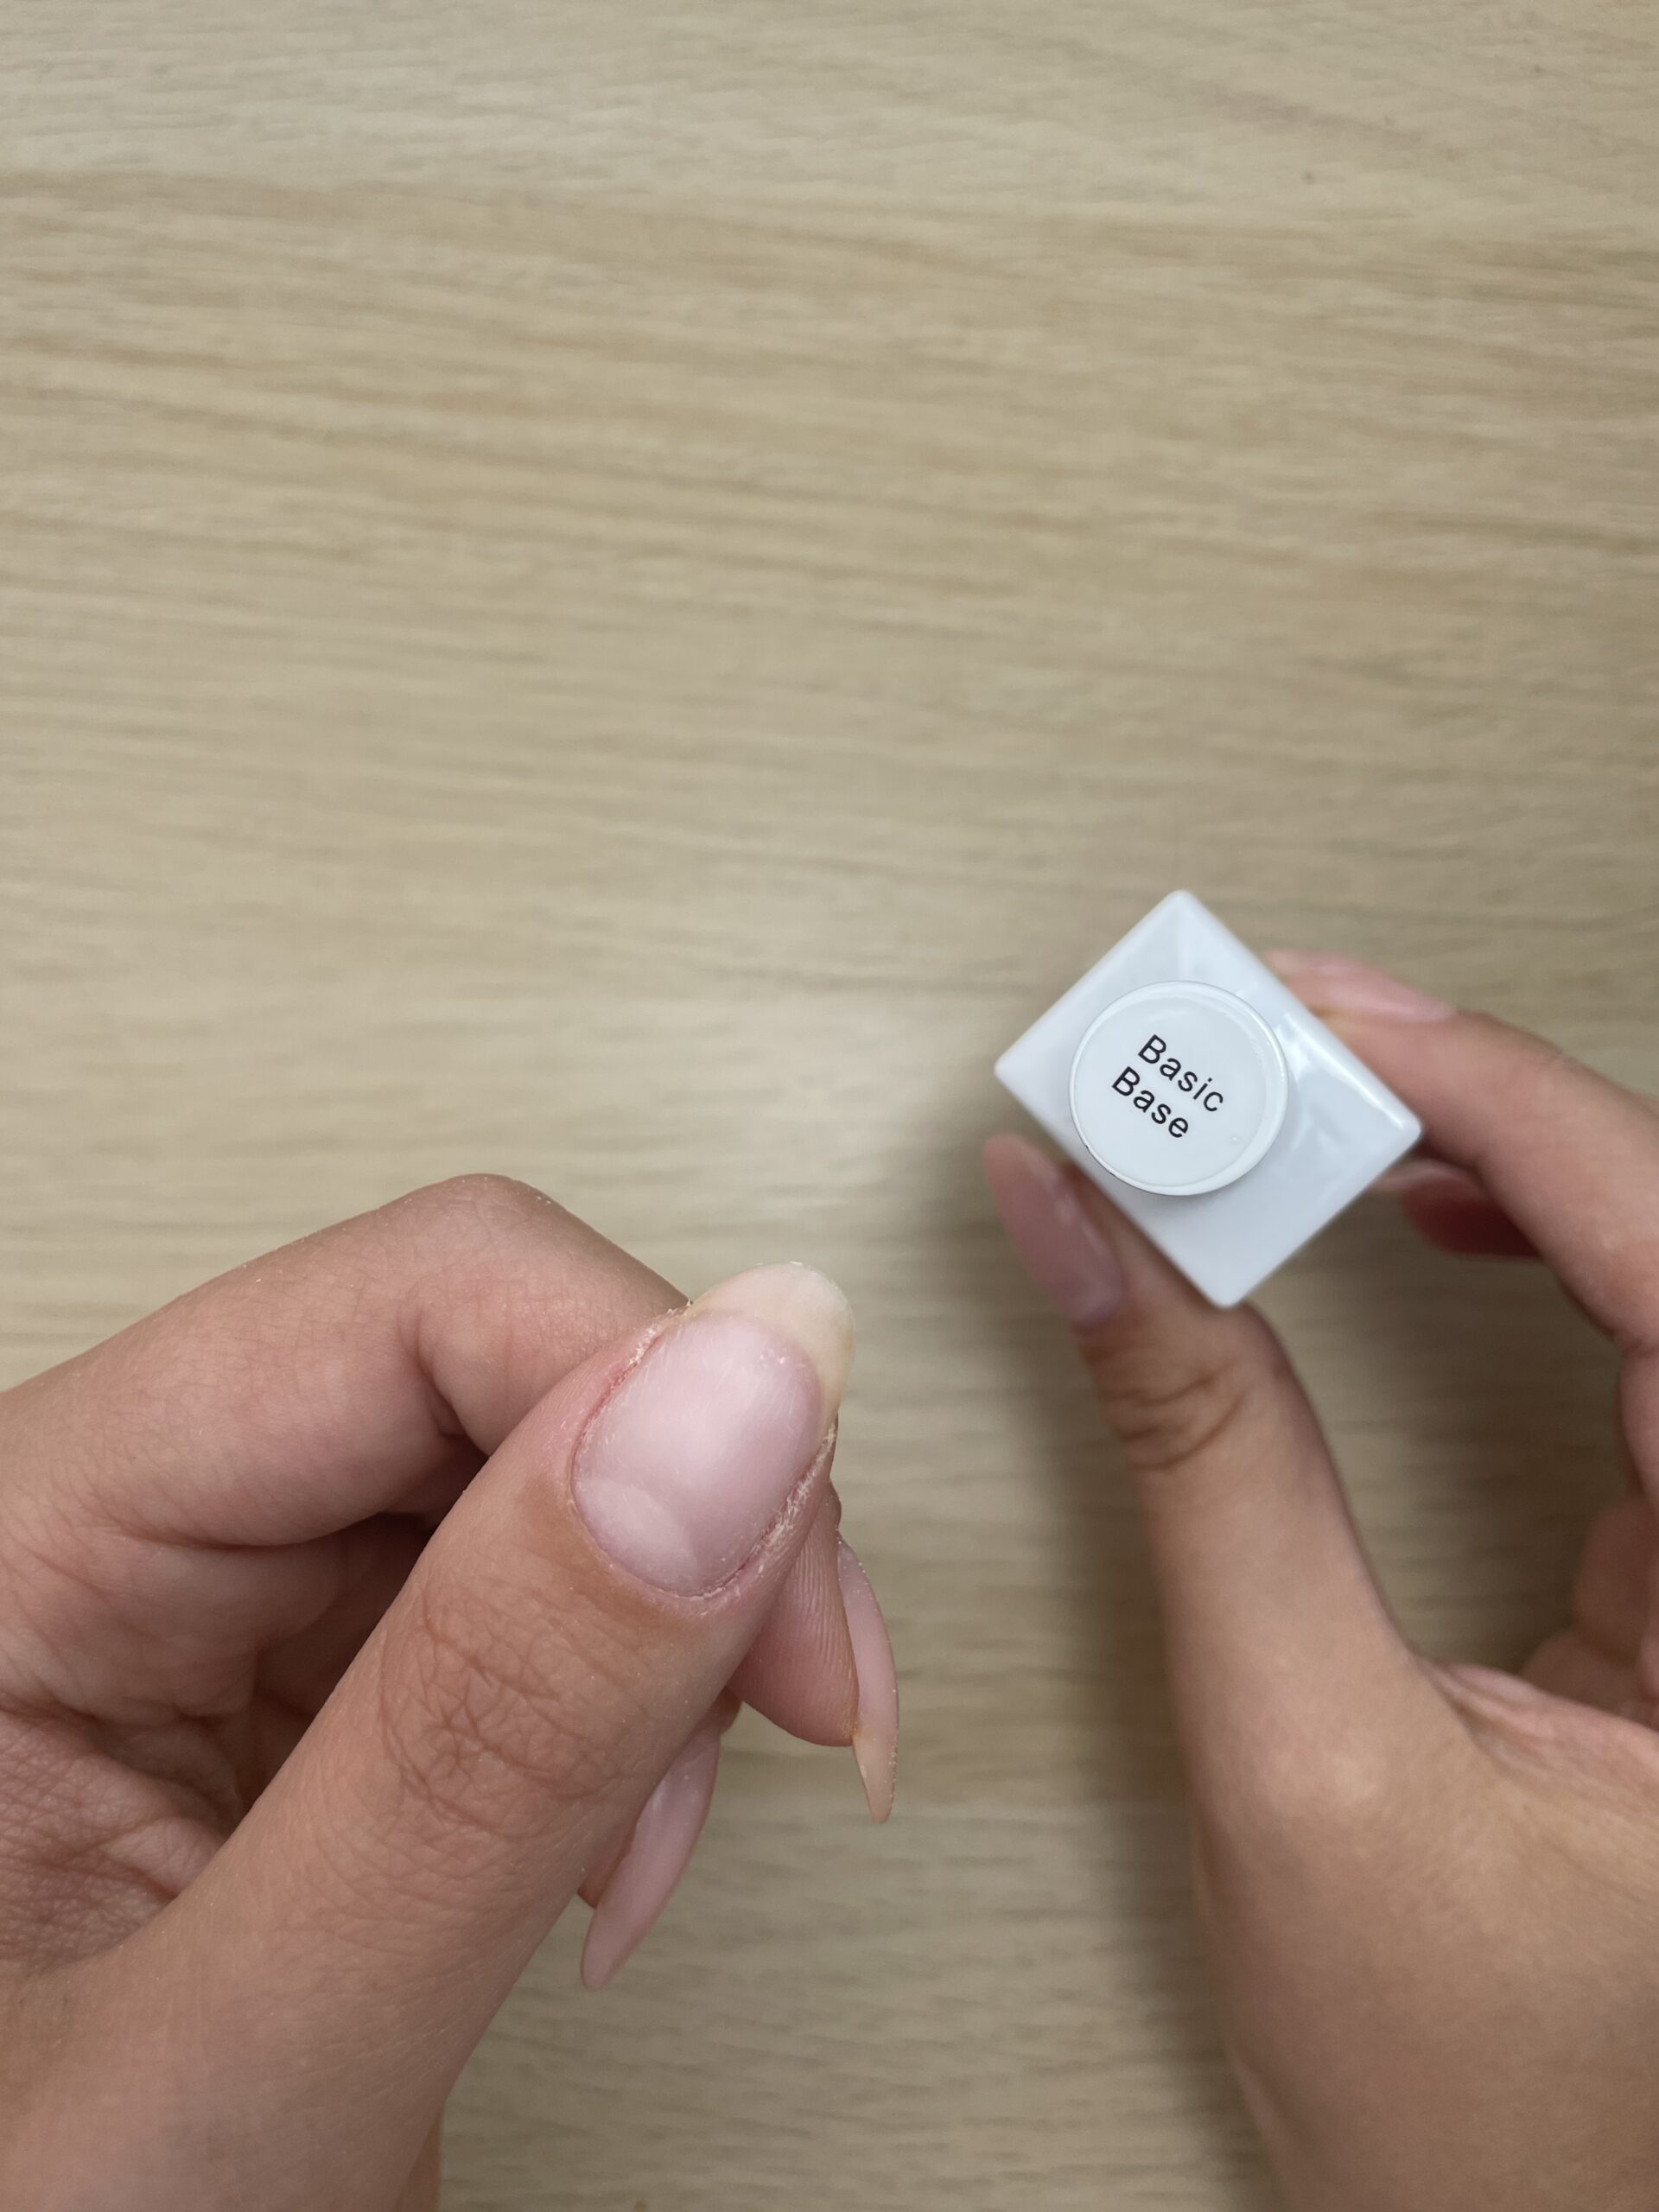
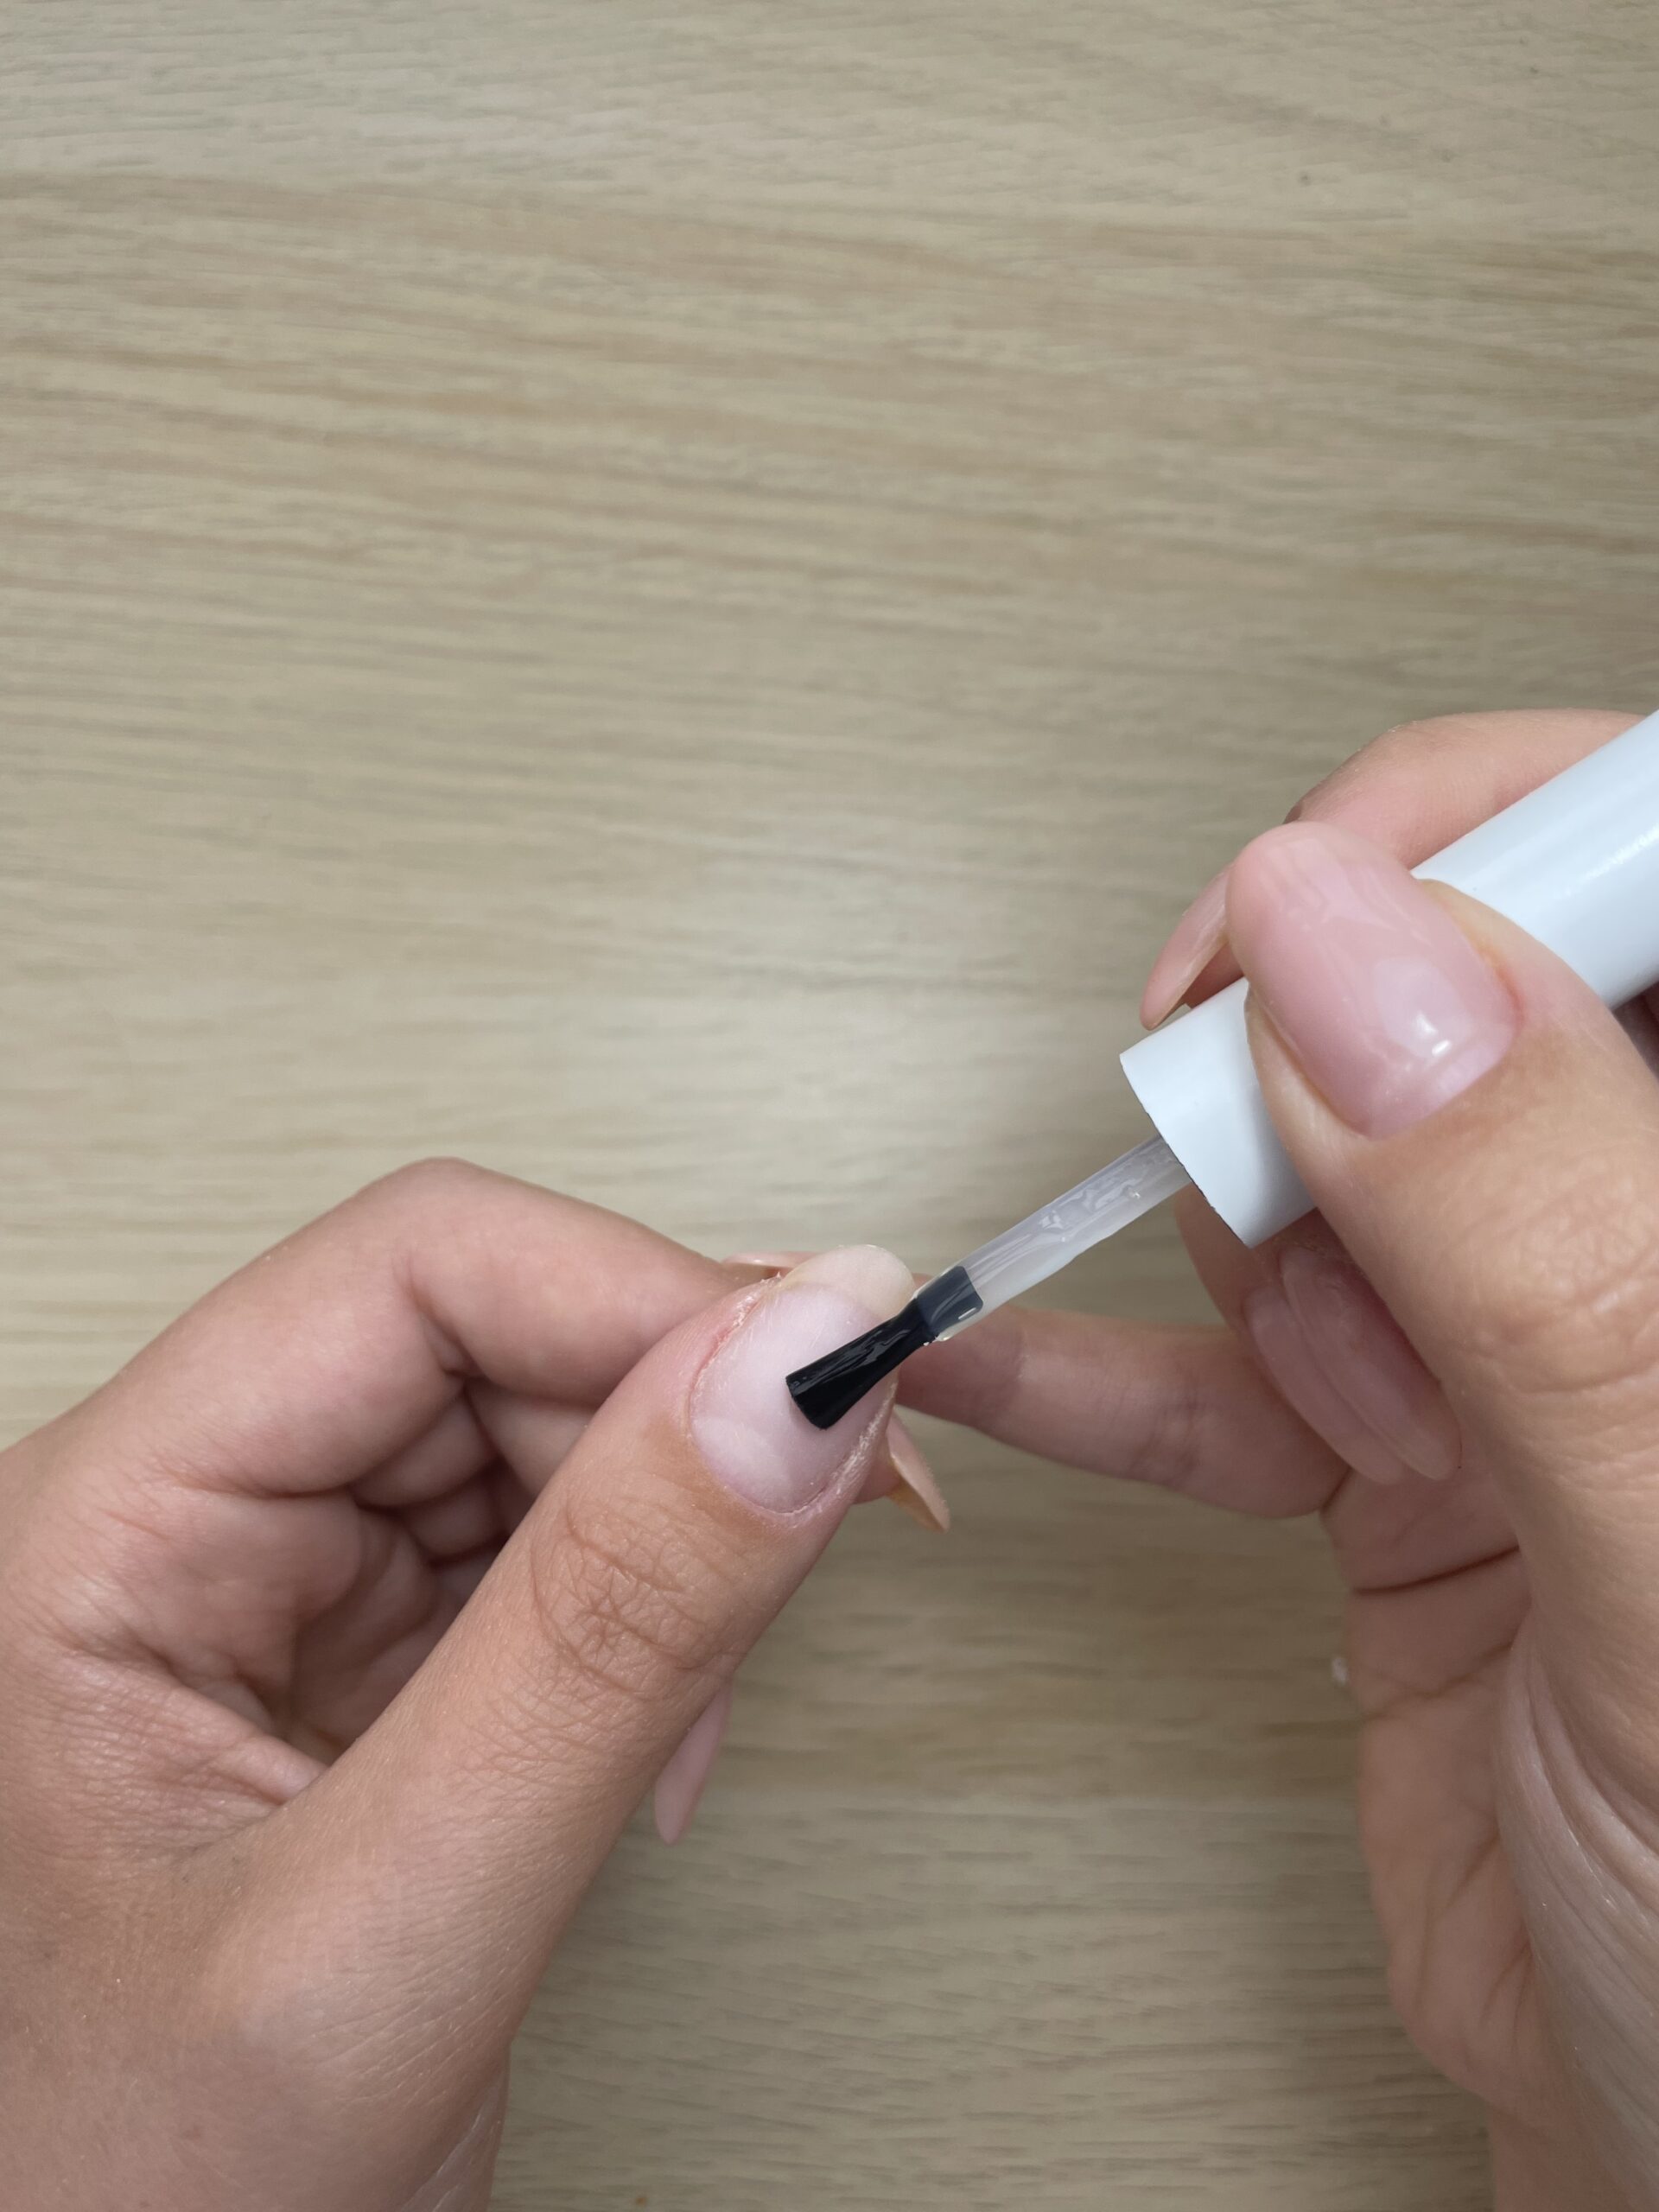
Step 4 – Builder gel application
Start by applying with a base coat, base coats are key to the gel polish process as they are crucial for polish adhesion, but they’re also a protectant.
-
- Applying a basecoat
-
- Process applying basecoat
Then apply a thin layer of Glossify Naturabuild and cure. Lastly, apply a thicker layer to create an apex using the Glossify thin liner brush to ensure the gel reaches the sides of the nail bed and to even out the builder gel on the nail.
-
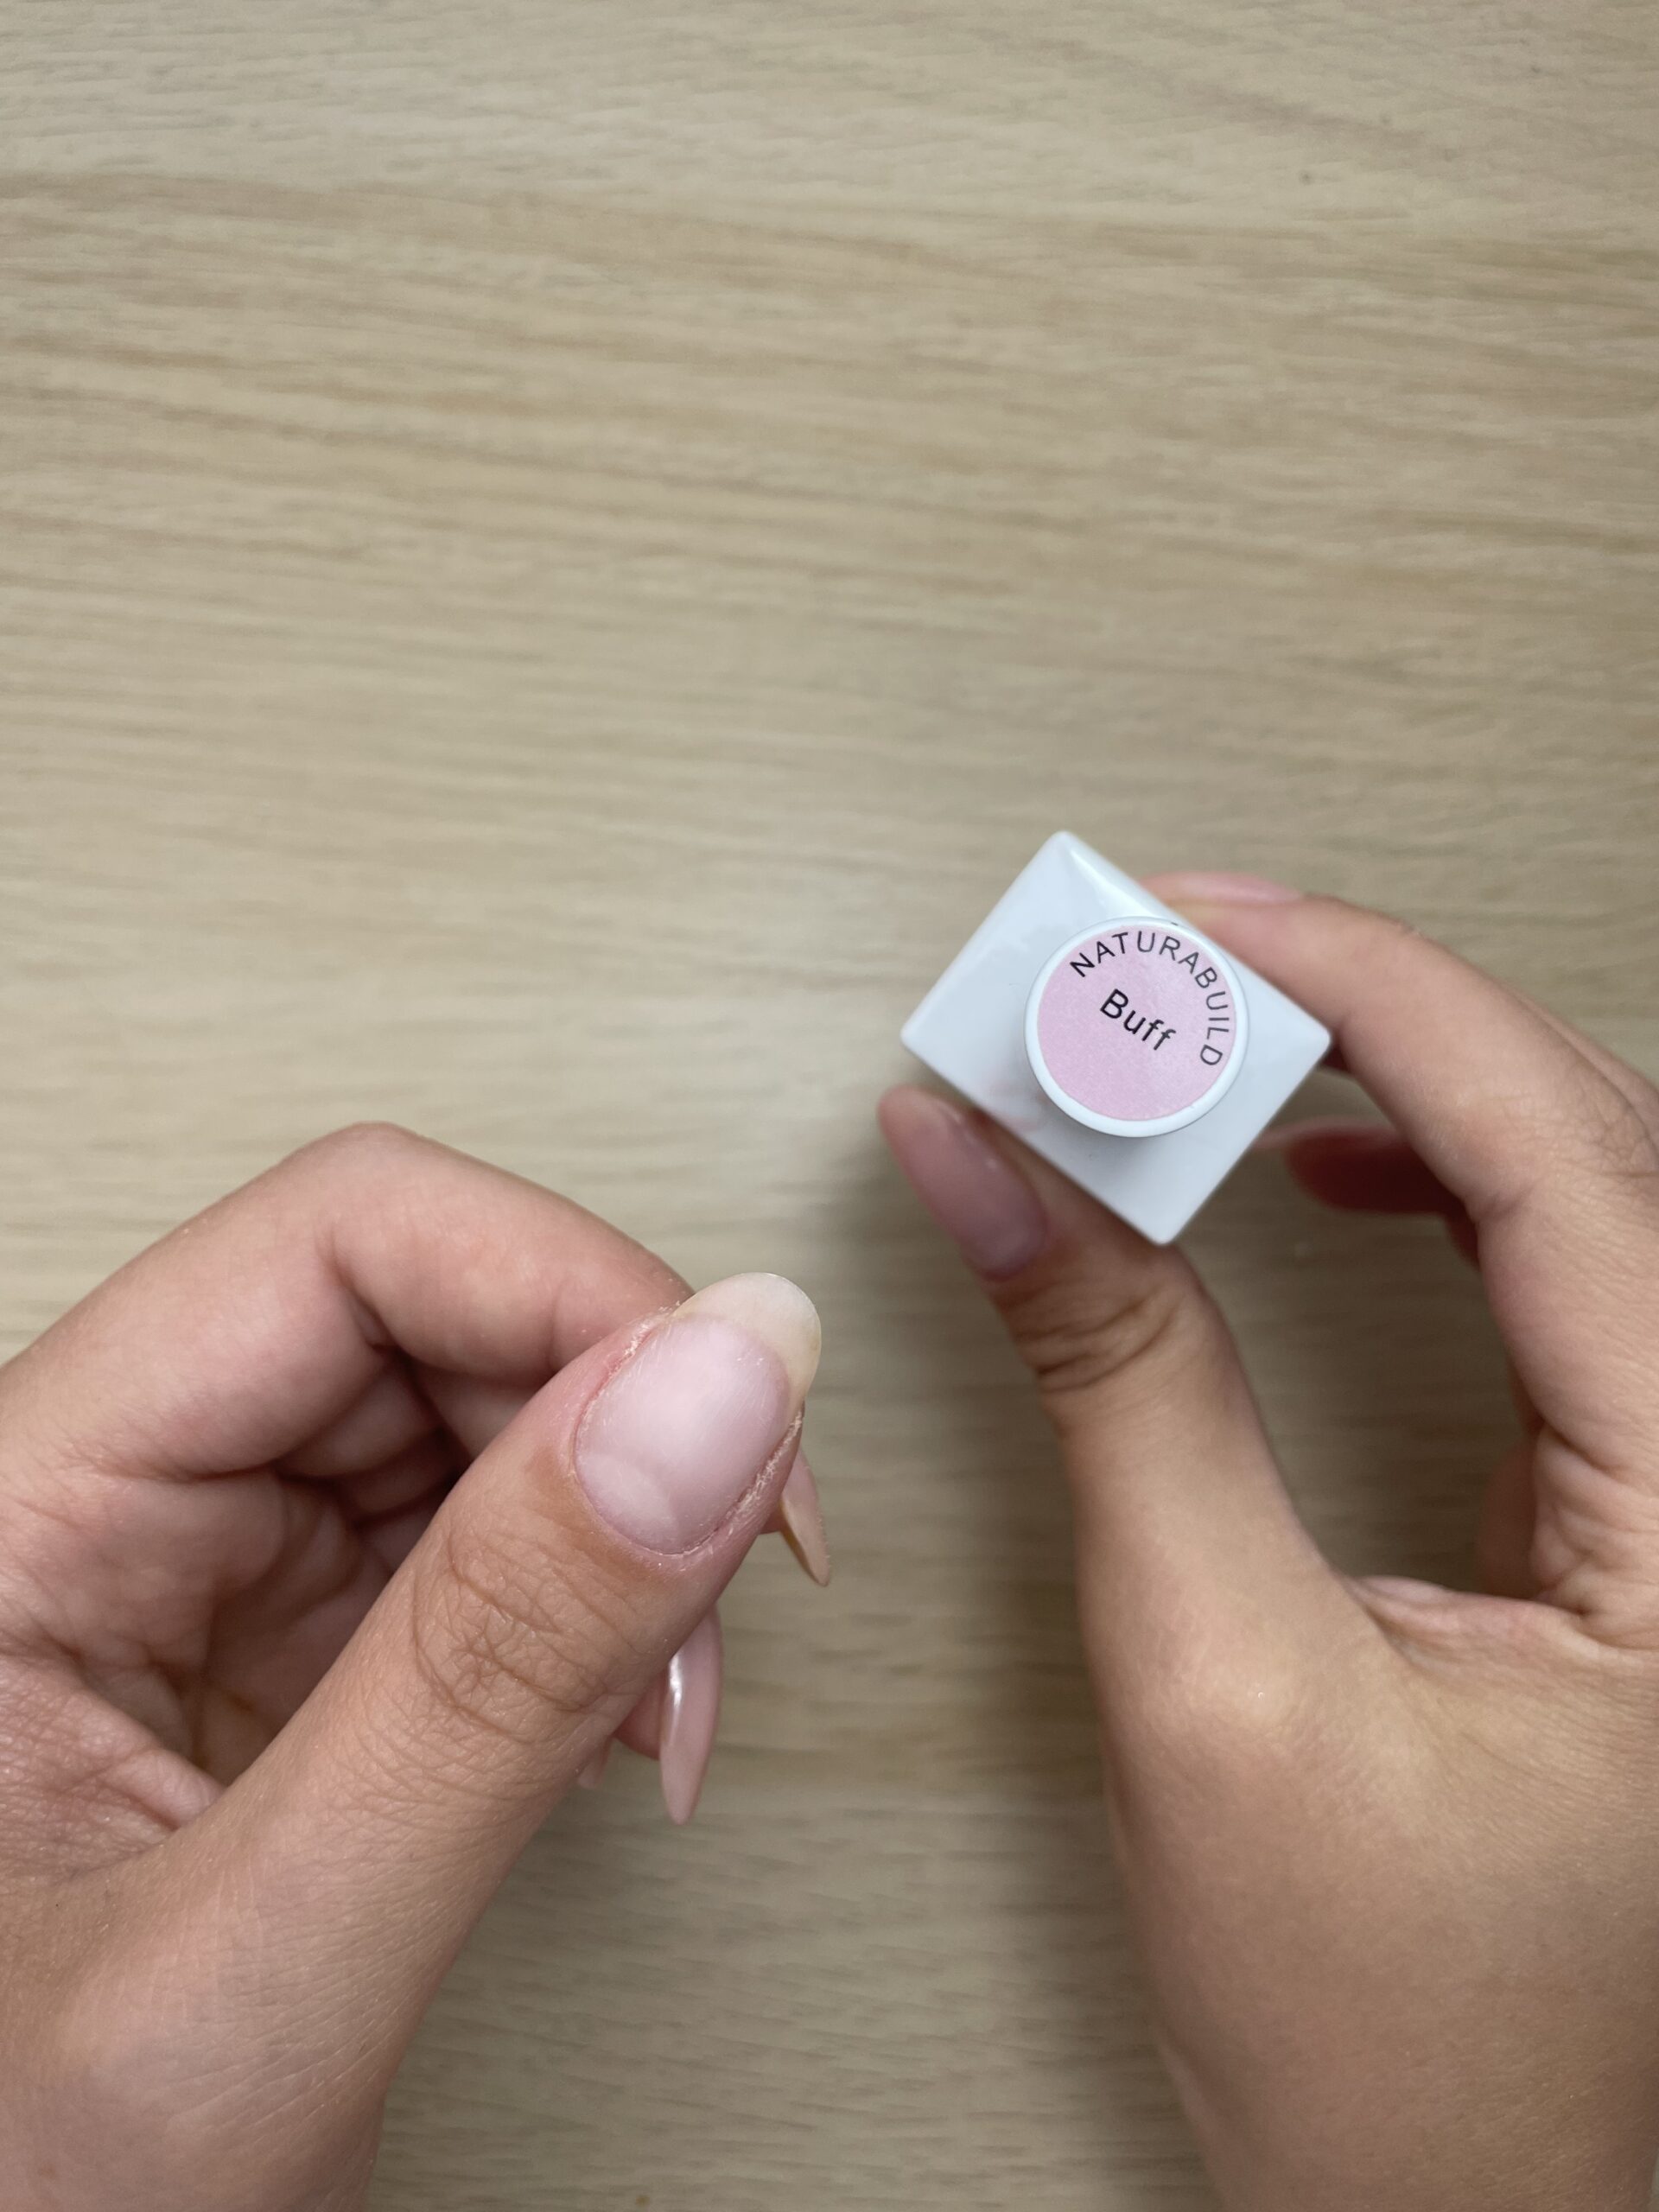
- Applying the base colour ‘Buff’ by Glossify Naturabuild
-
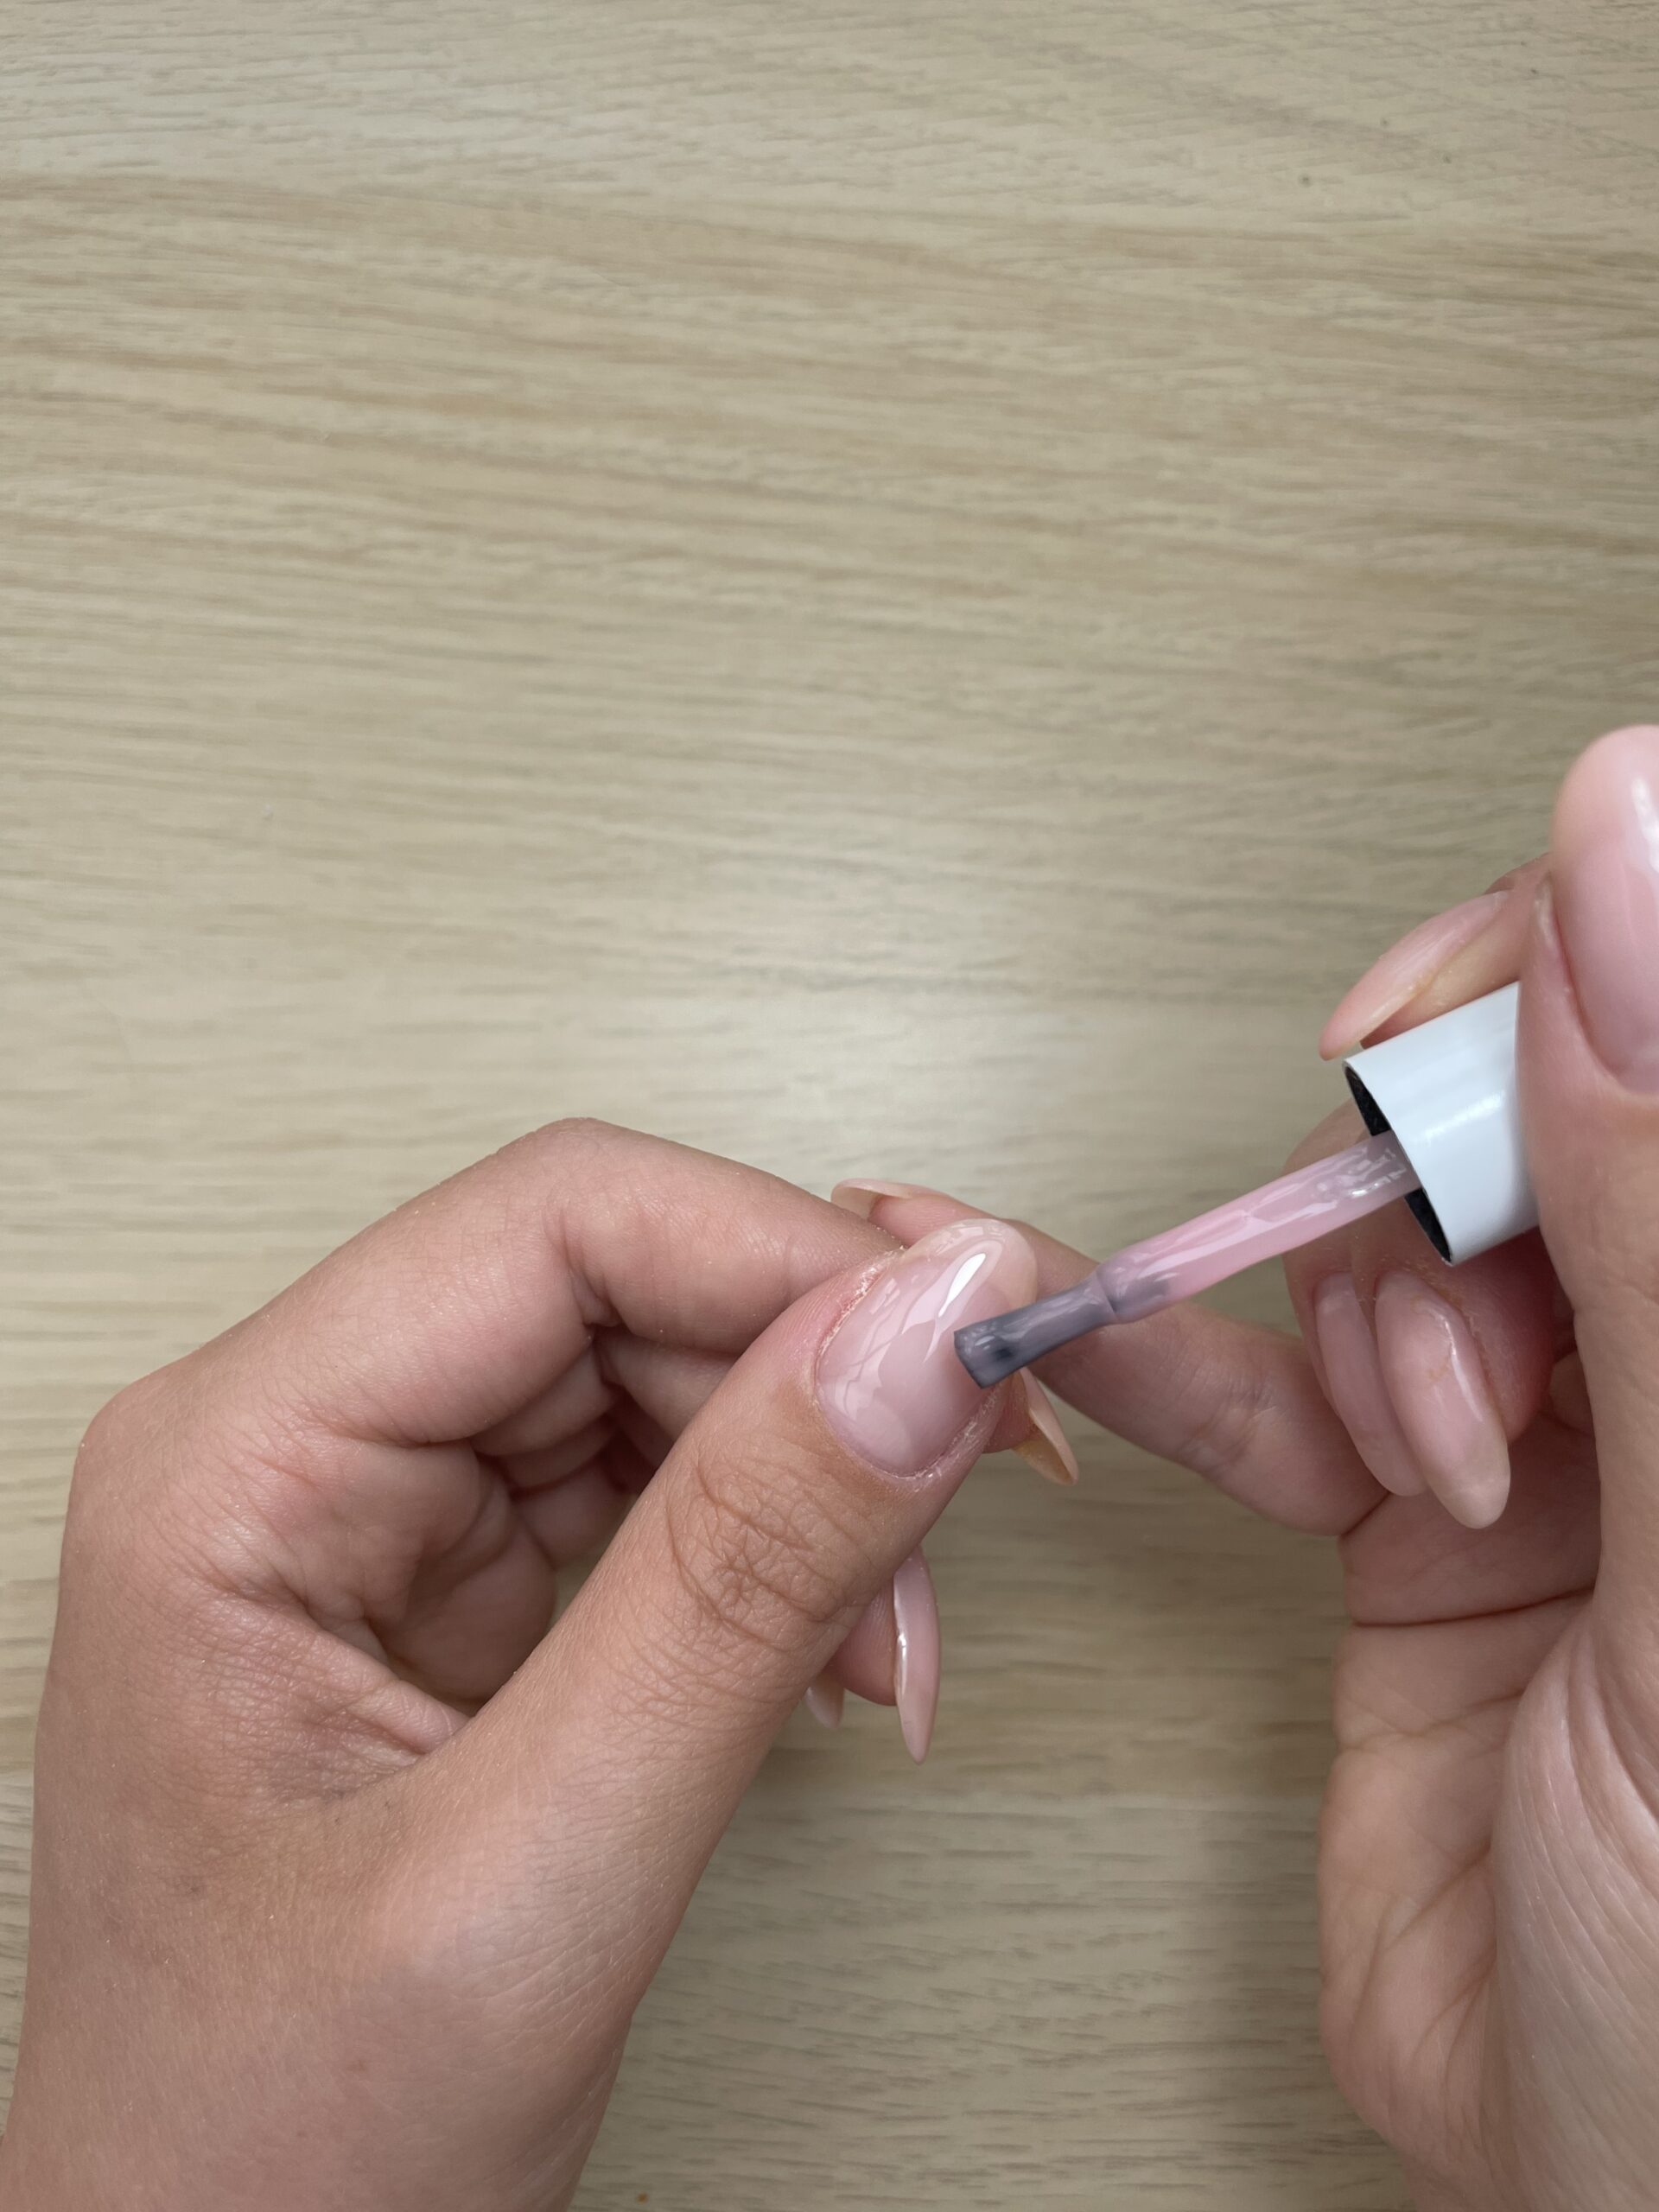
- Process applying Glossify Builder Gel in Buff
-
- Creating an apex around the nail arch
Related: Everything you need to know about Glossify Naturabuild
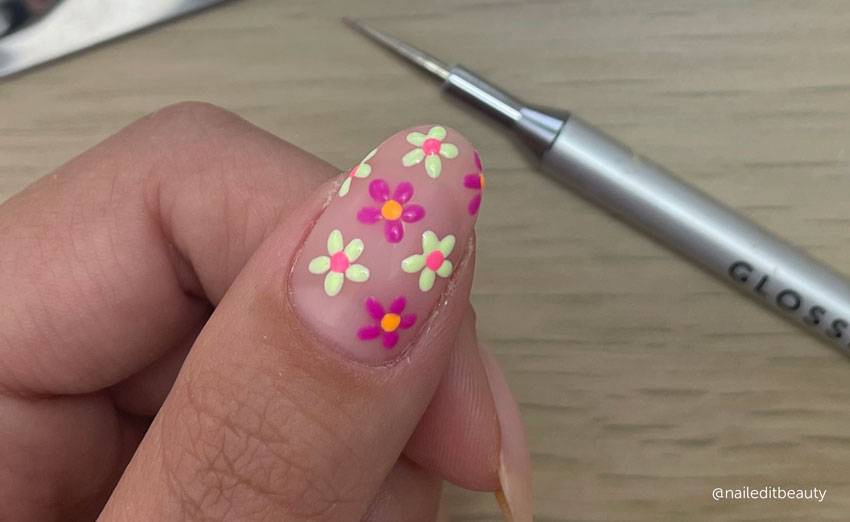
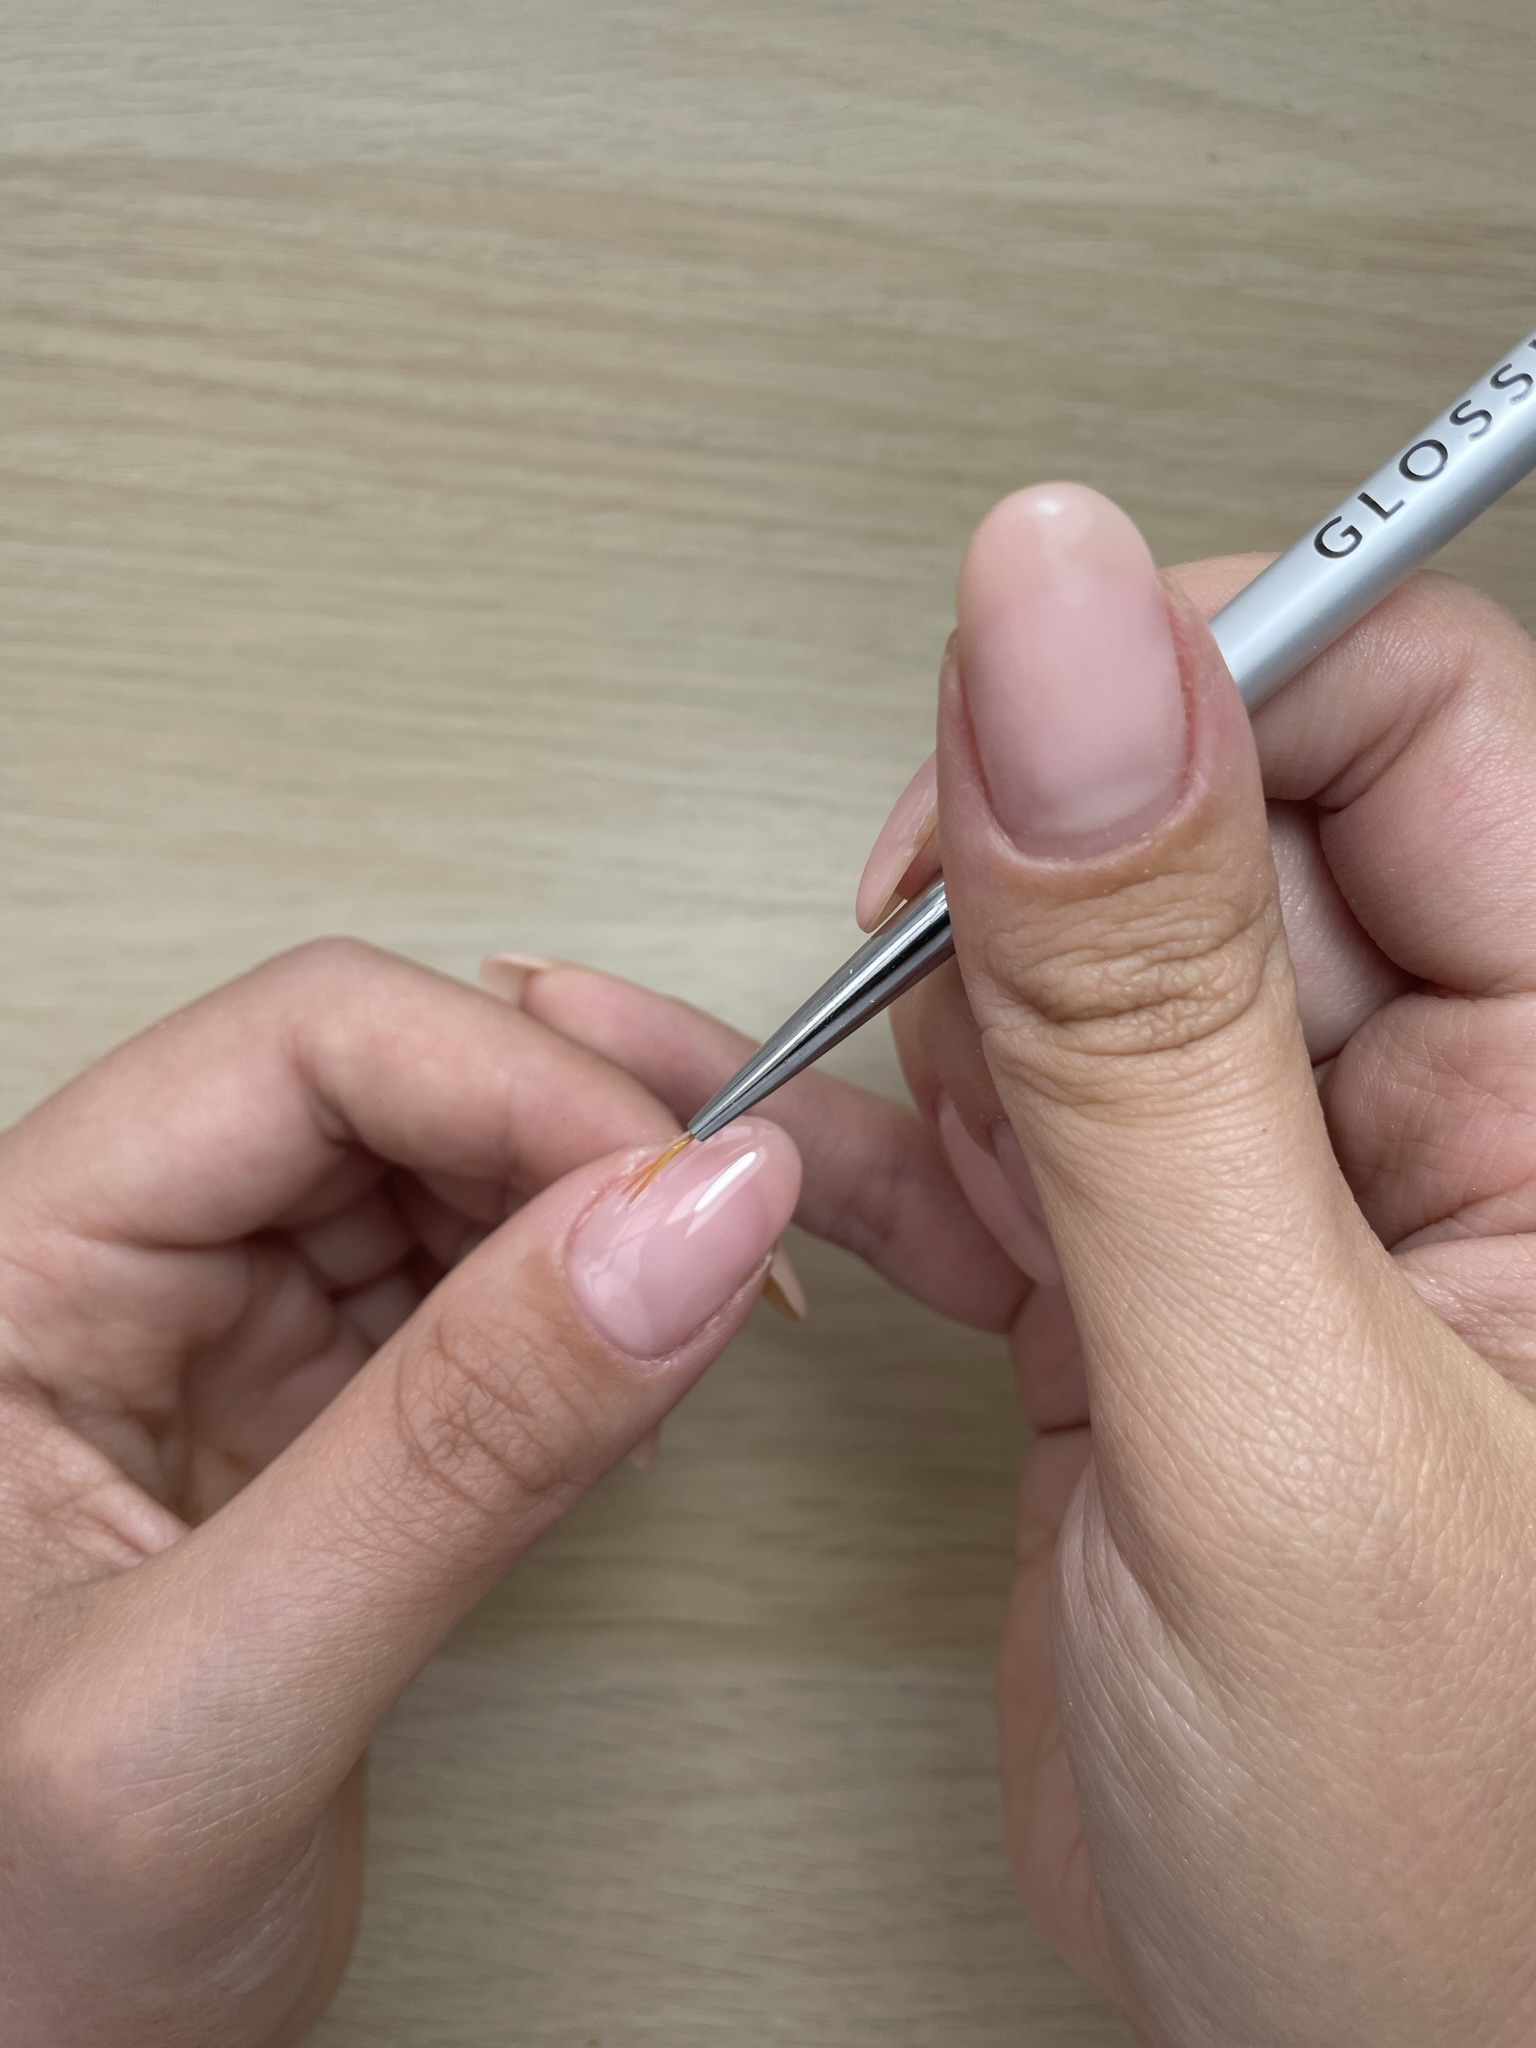
Step 5 – Create your design.
Use the Glossify dotting tool to create this simple flower power design. Use the handy dotting tool to create five dots in a circle, cure under the lamp and then add a colour dot in the middle to create a beautiful flower.
Glossify Colours used for this design:
-
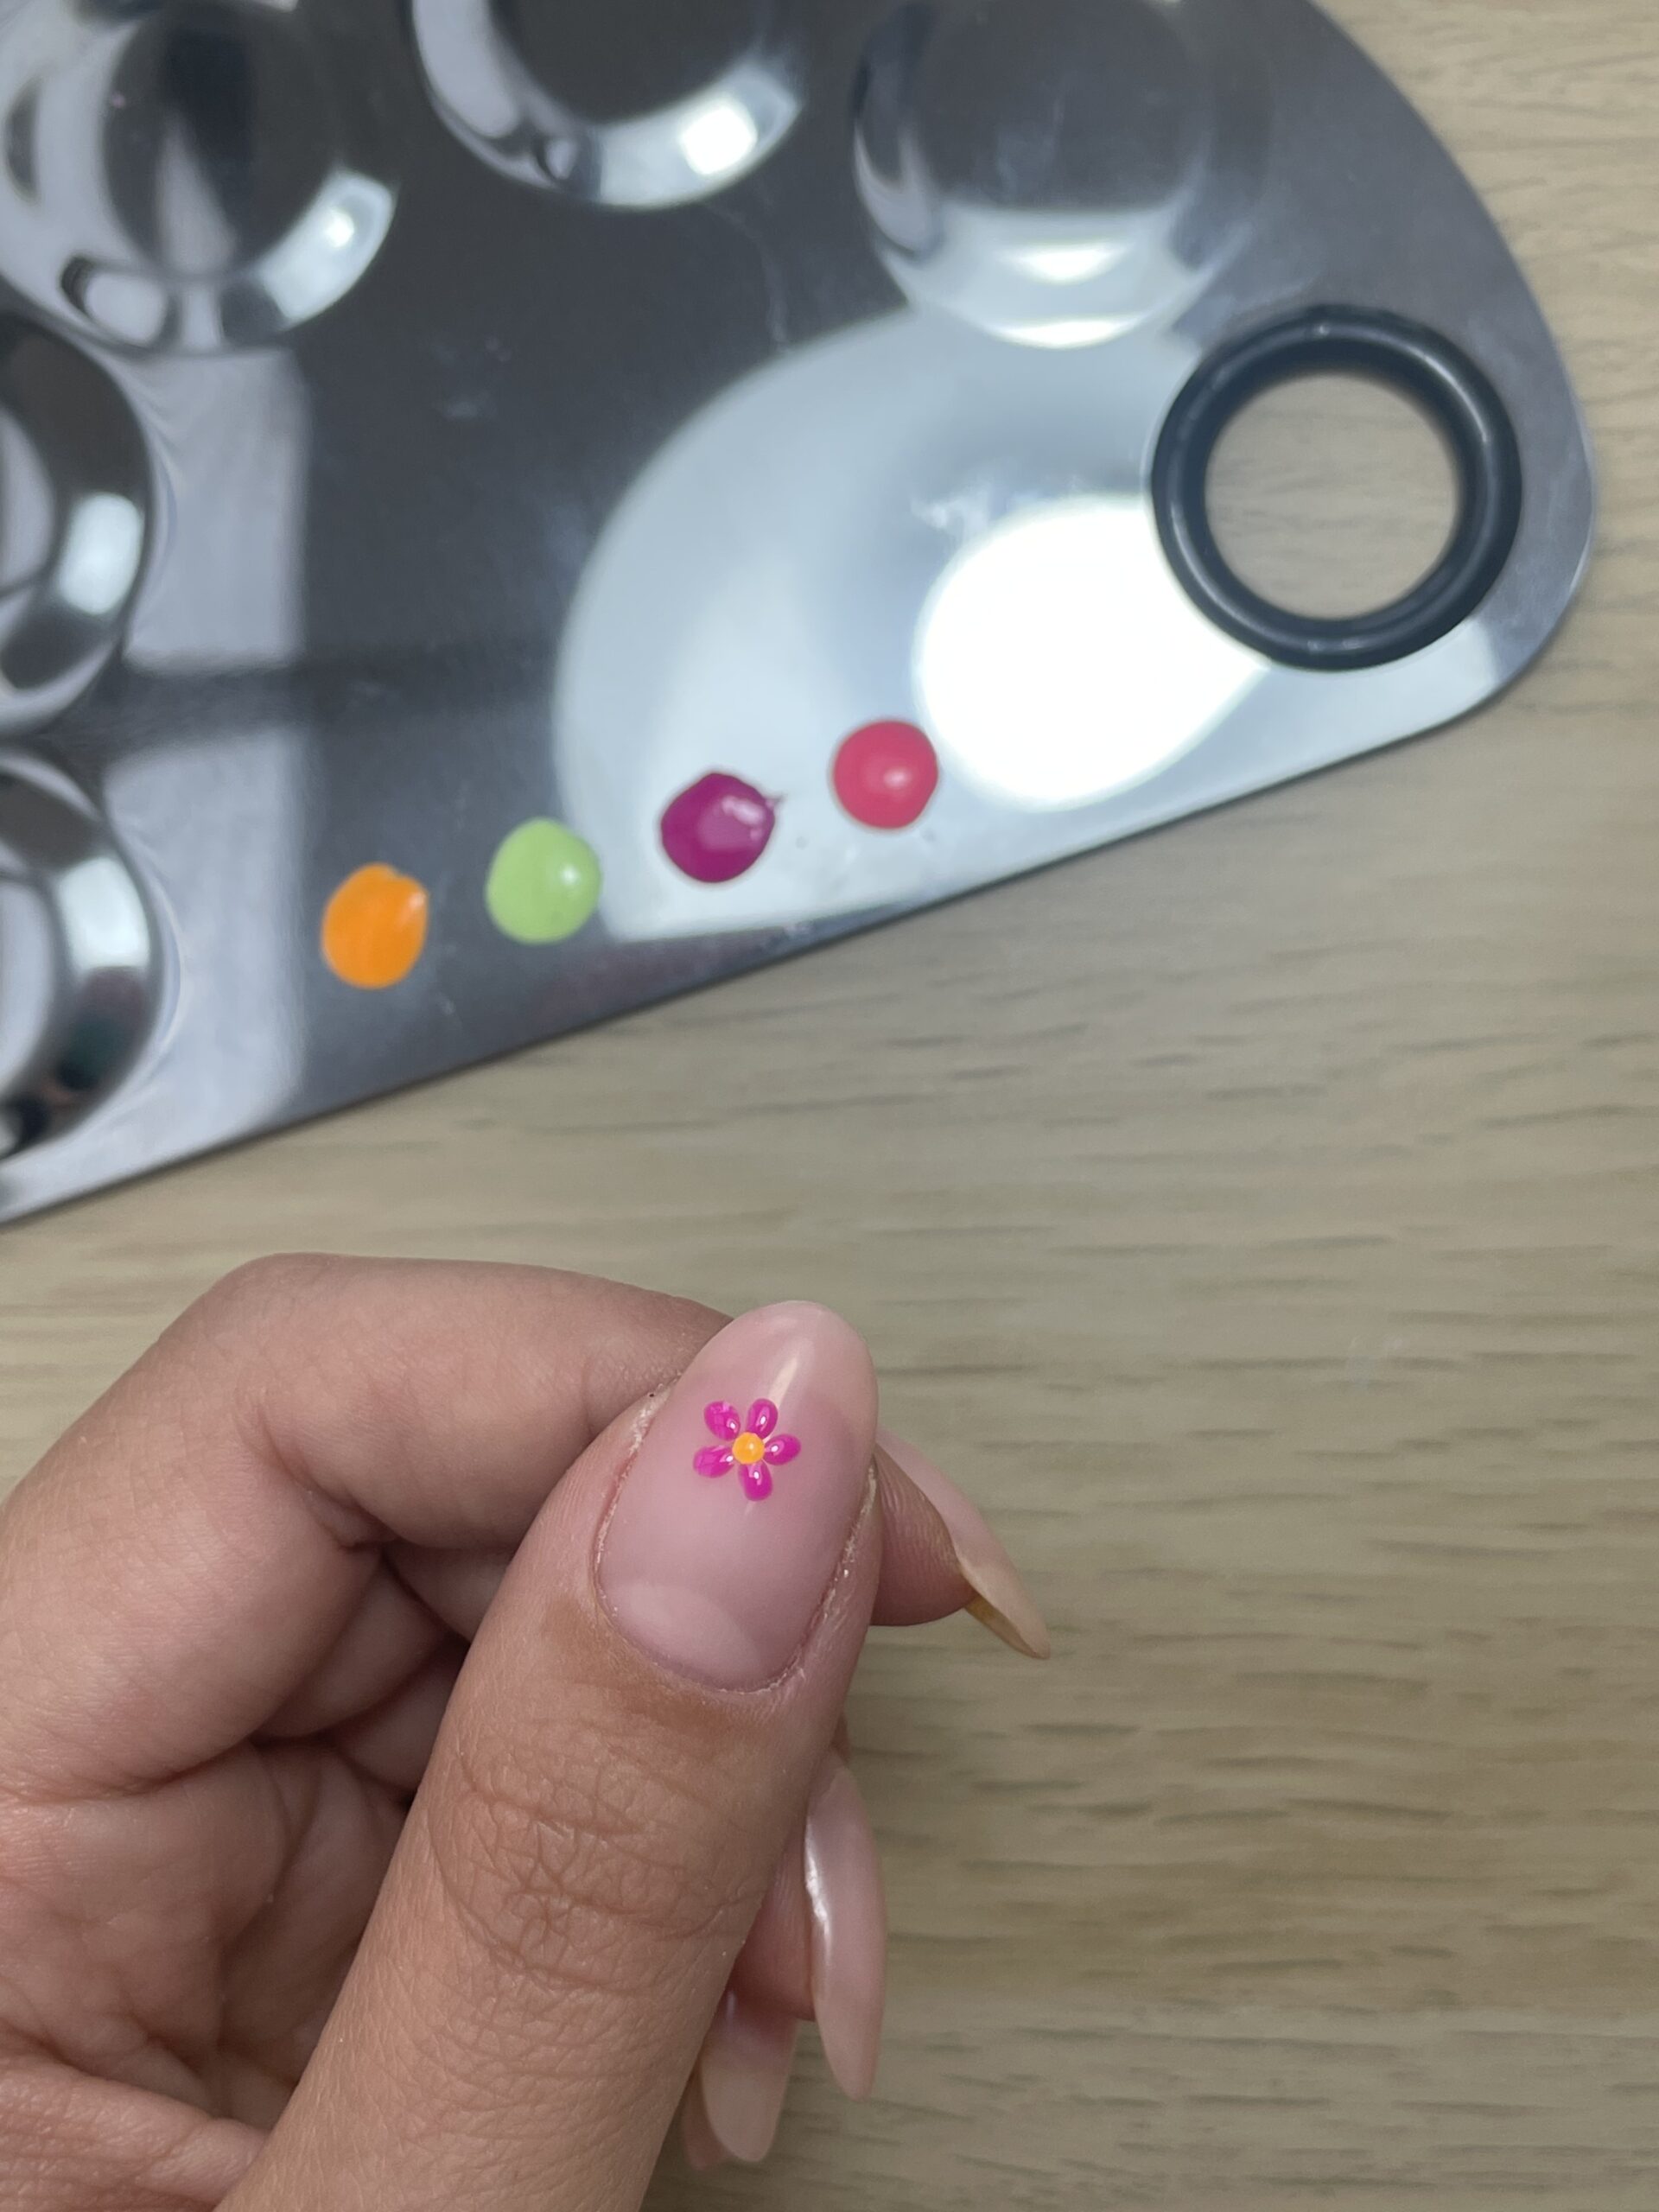
- Creating the floral design
-
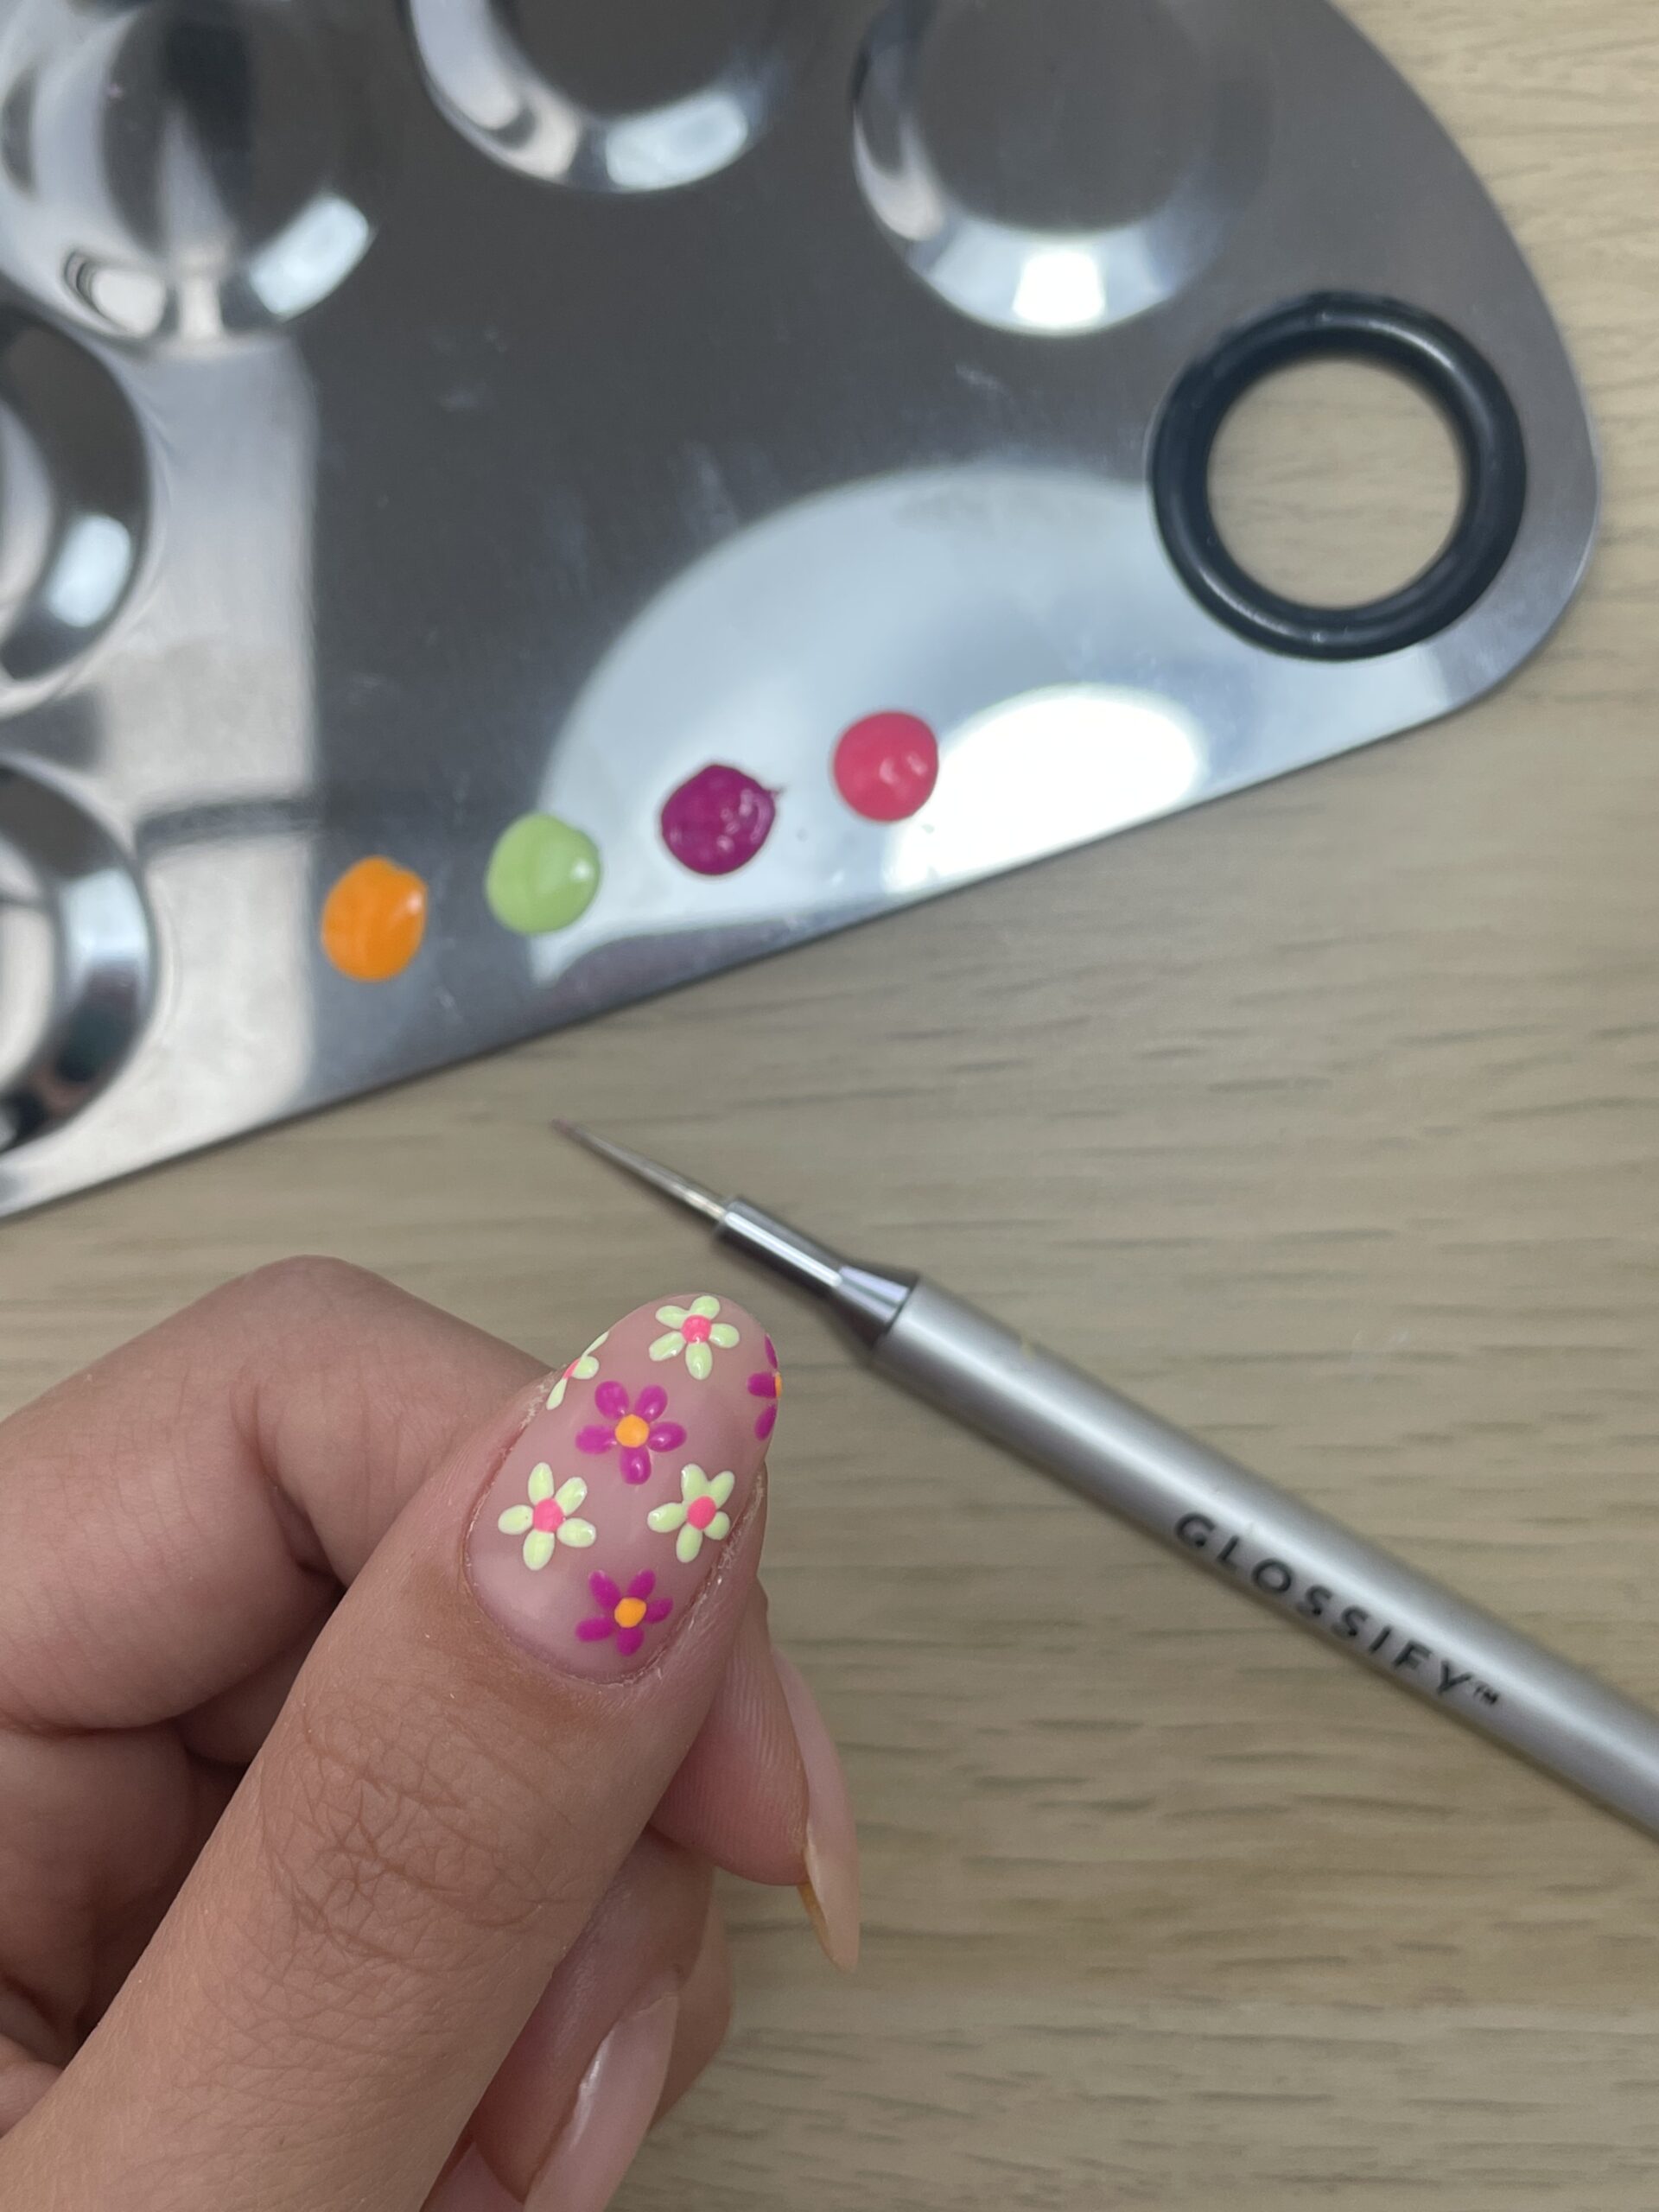
- Repeat as necessary
Step 6 – Apply the top coat.
Apply the Glossify top coat and cure under the lamp. Looking for a new lamp, or simply want to know what’s available? Discover our range of UV and LED nail lamps.
-
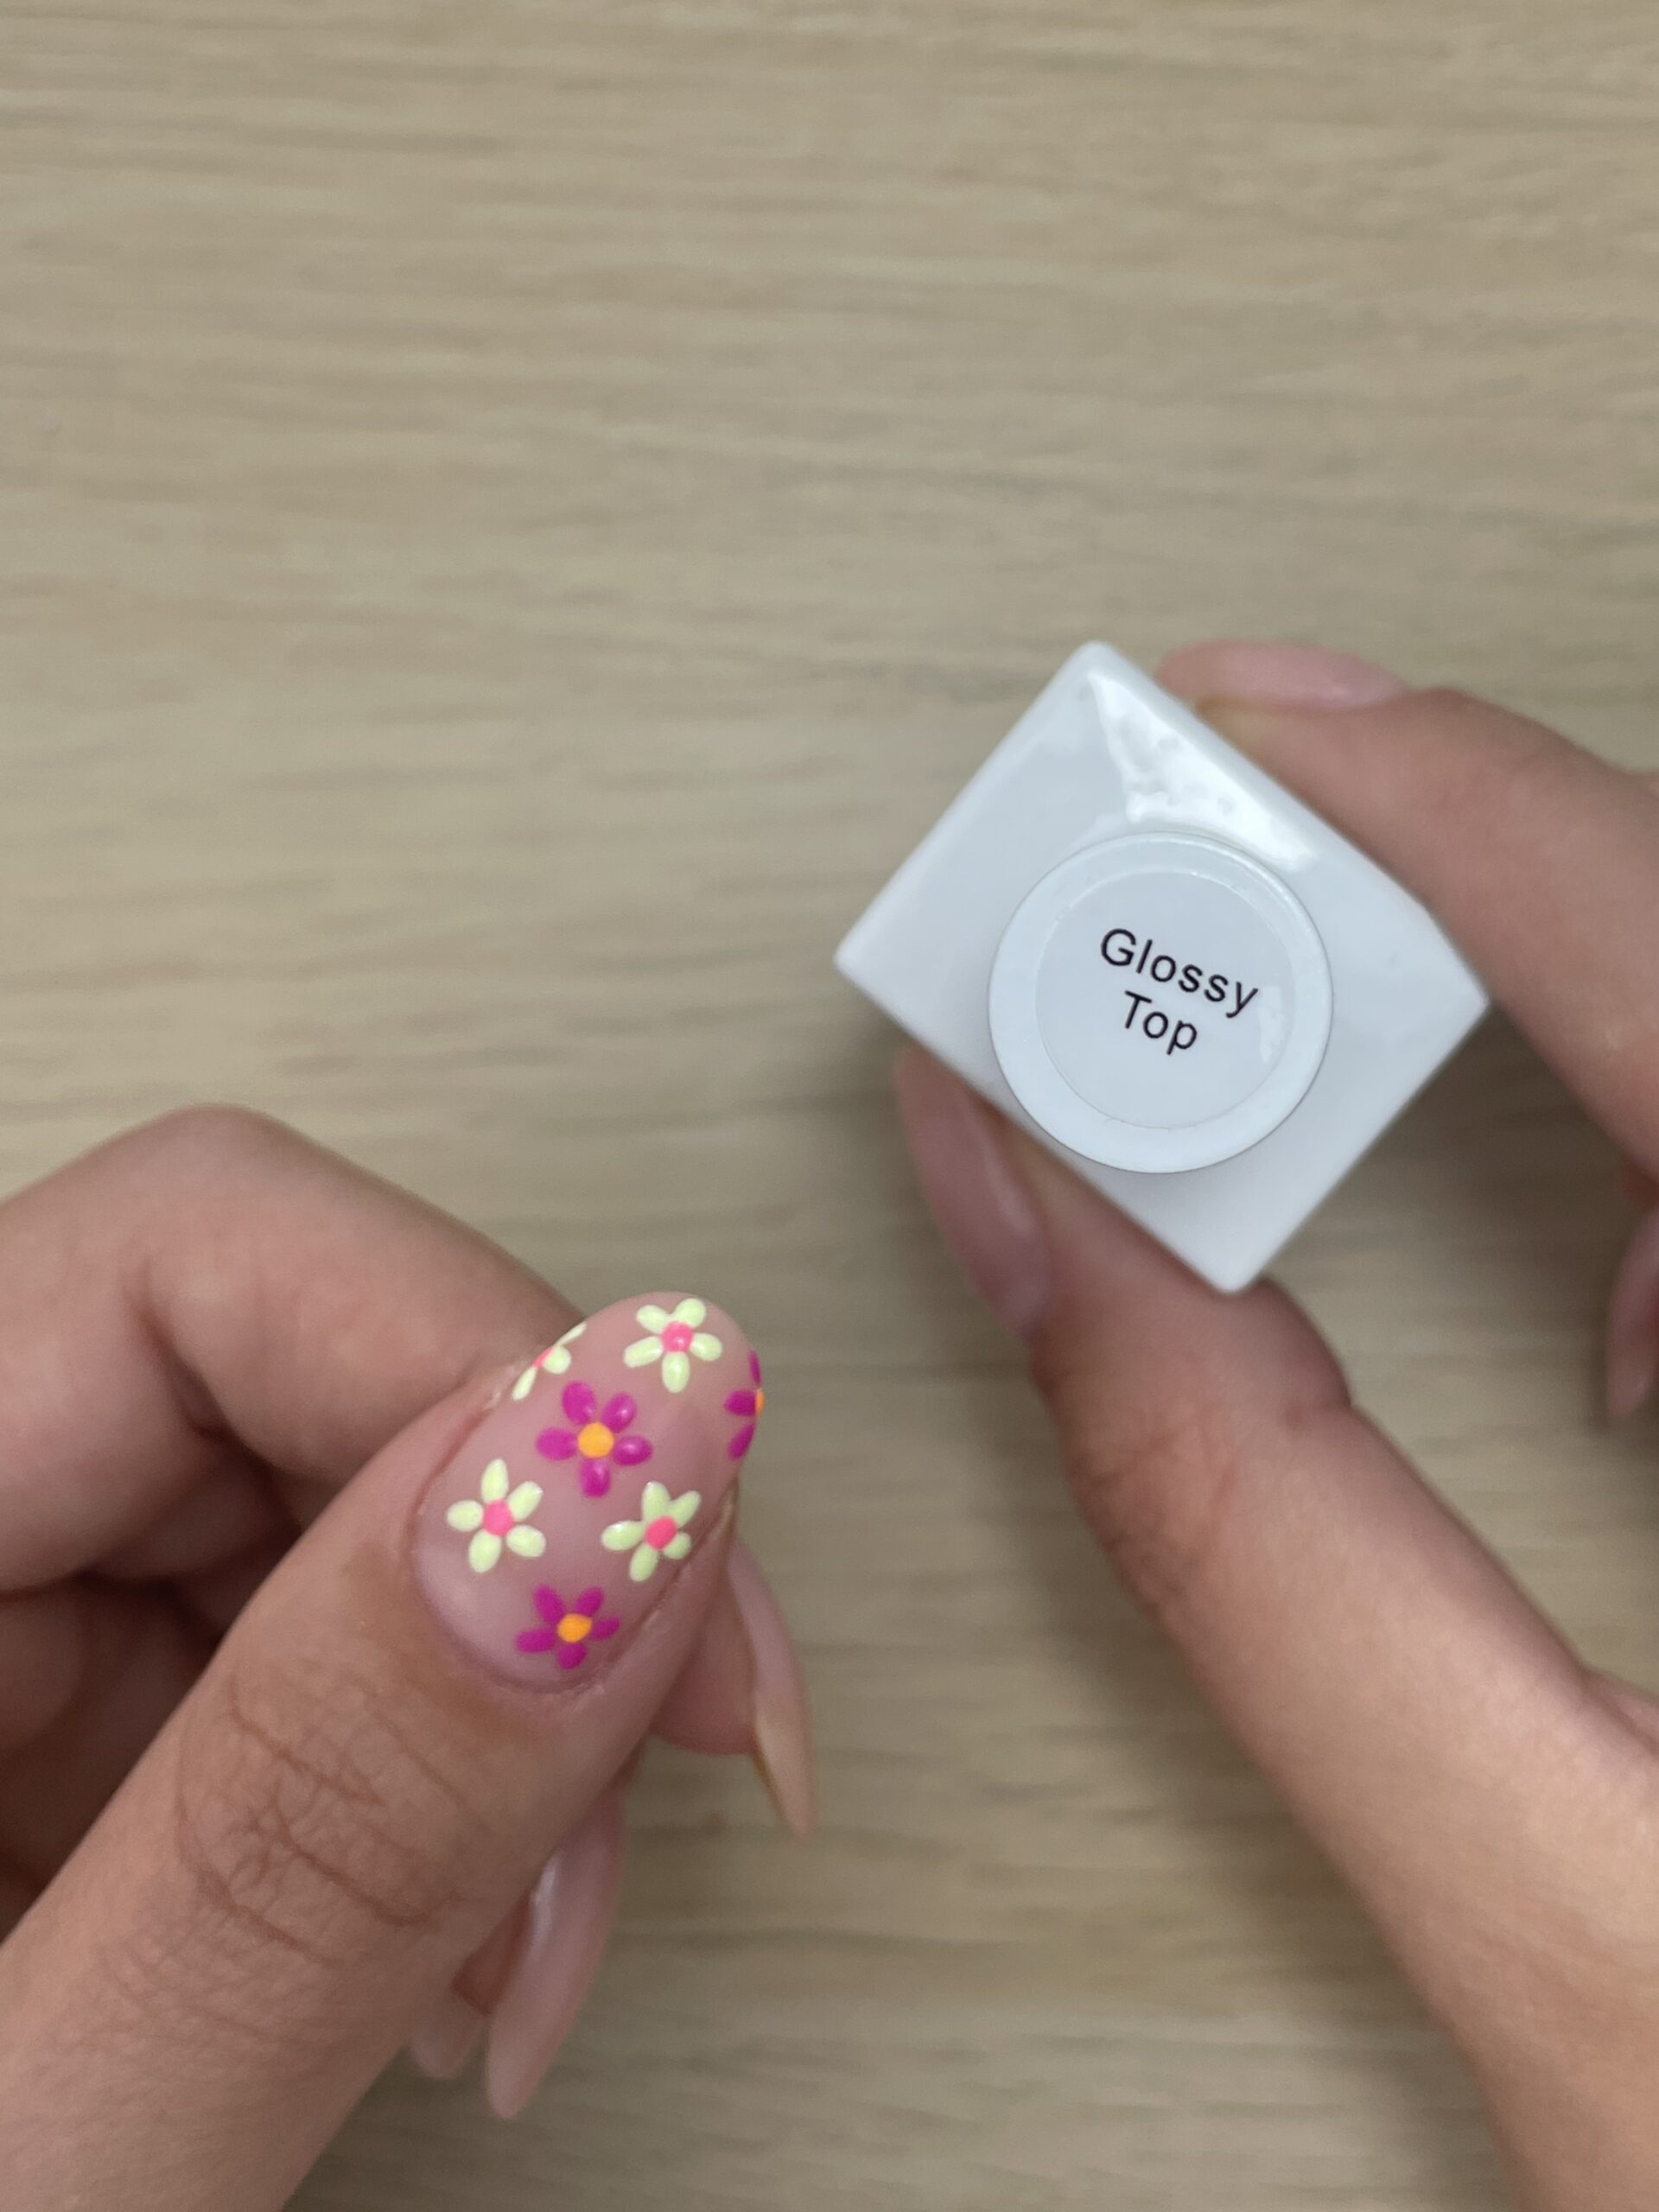
- Glossify Glossy Top
-

- Applying a top coat
Related: Brand Spotlight: Glossify
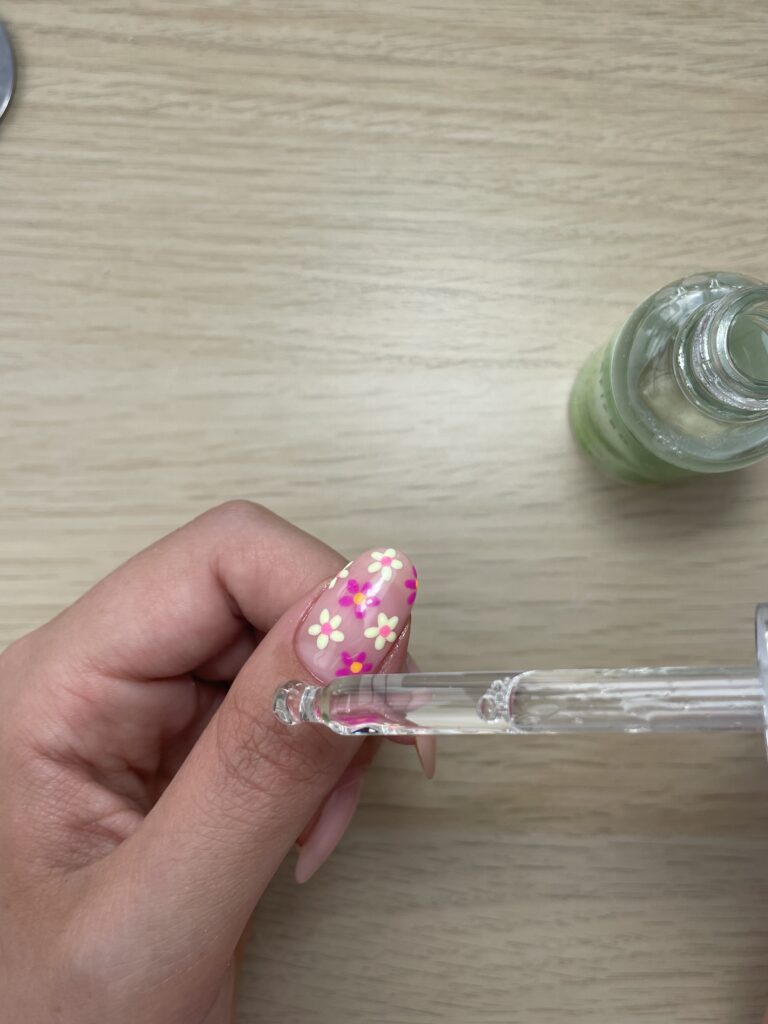
Step 7 – Apply cuticle oil, and you’re done!
Finish off with the Naf stuff cuticle oil to ensure your cuticles are super hydrated! The perfect way to finish your nail look.
Will you give this floral nail art a try?
Shop professional nail supplies at Salons Direct today!
Follow Salons Direct on Instagram
Discover the Salons Direct blog, your trusted source for industry news, product releases, how-to guides and more!
You may also enjoy more nail-related content...
Everything you need to know about Brillbird | 10 Viral TikTok Products Hair & Beauty Professionals Can Buy From Salons Direct | Guide to Vegan & Cruelty-Free Nail Polish For Salons