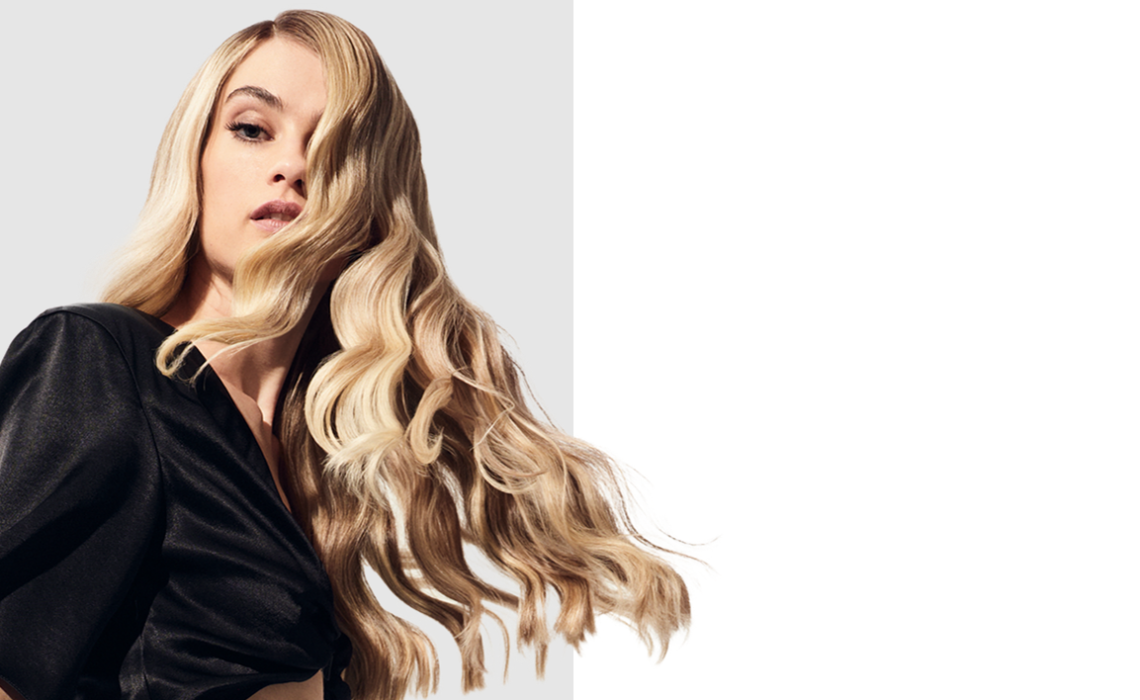
As a hair professional, offering balayage as a colour service can be a great way to stay on-trend and satisfy your clients’ demands for natural-looking, sun-kissed highlights.
Balayage is a French word that means “to sweep,” and it refers to a freehand highlighting technique that creates a natural, blended look.
Unlike traditional foil highlights, balayage allows for more control over the placement of the colour and creates a more personalised look. Balayage is popular because it can be customized for each client’s hair type and colour, and it is low-maintenance as the highlights grow out more naturally, requiring fewer touch-ups. With balayage, you can offer your clients a modern, effortless, and versatile colour that can suit any hair length or texture.
The team at Wella Professionals discuss the ultimate express balayage techniques…
What are the benefits of express balayage services?
Benefits for you
✅ Express services offer a high-priced add-on express service.
✅ Express services attract new clients to lightening services and drive frequency, offering a fresh service to regular balayage consumers.
Benefits for your clients
✅Express services are ideal for non-colourers and those wanting a low commitment.
✅ Express services are perfect for making a tired balayage POP.
Here are each of the looks that you can try in your salon…
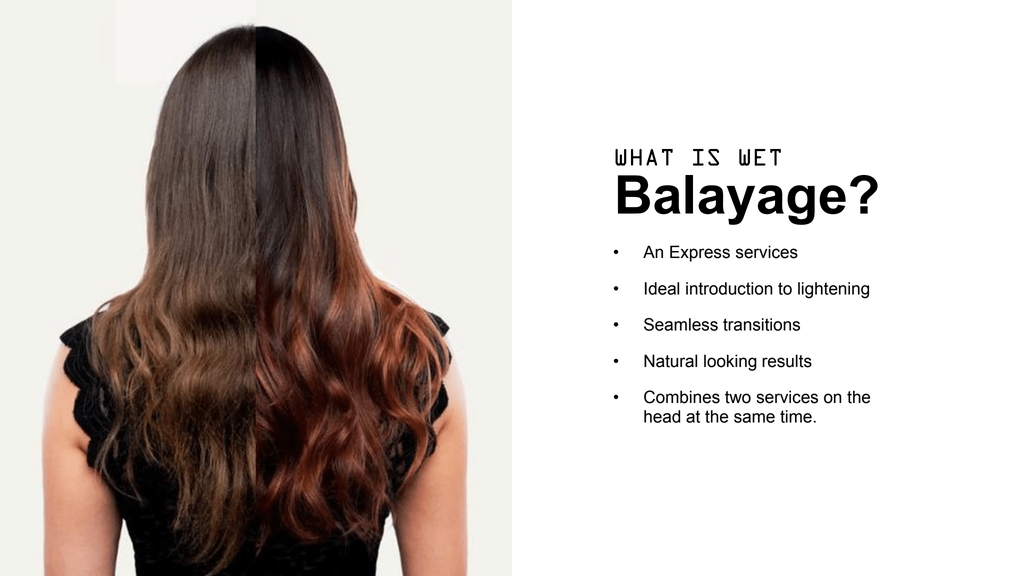
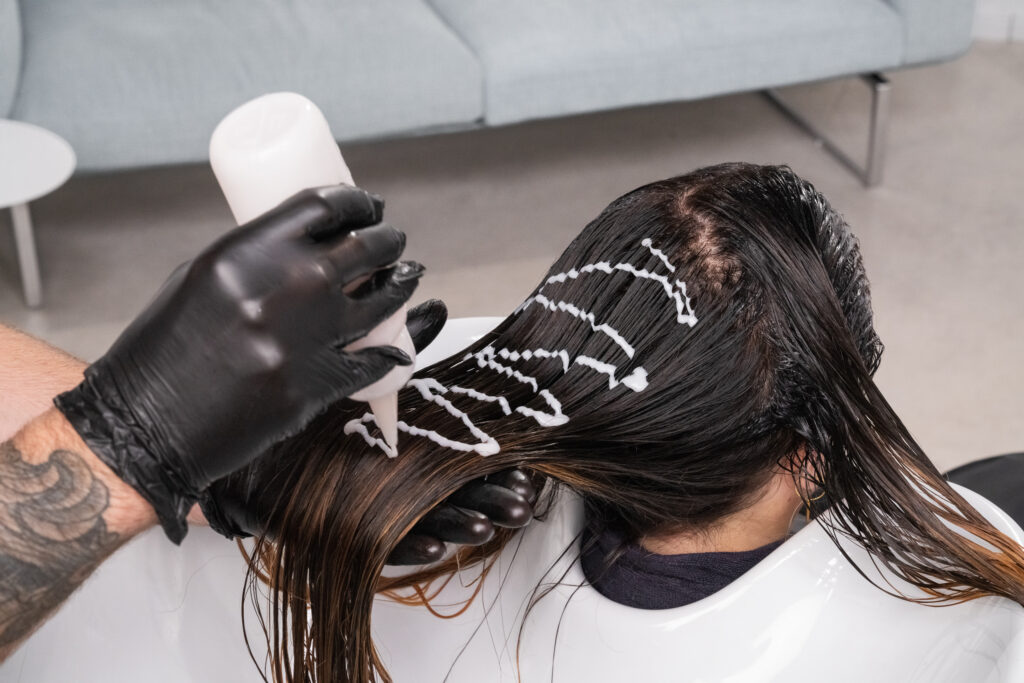
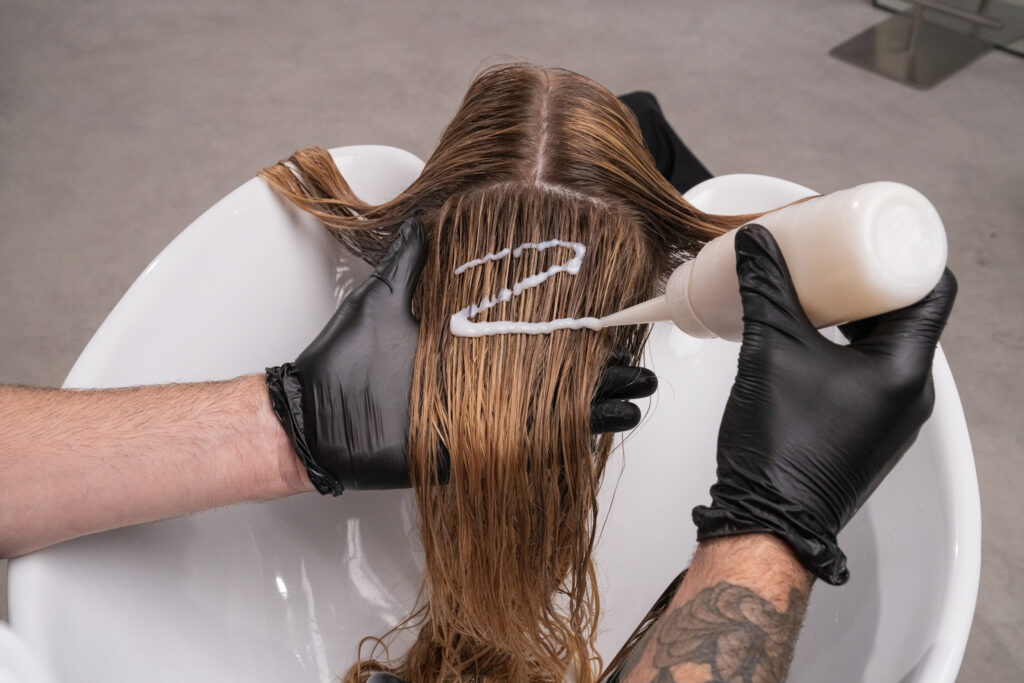
Look 1: Wet Balayage
This express service combines two services on the head at the same time. It is an ideal introduction for seamless transitions and natural-looking results.
Wet balayage is a variation of the traditional balayage technique that involves applying colour to wet hair instead of dry hair. This technique allows for a more diffused and blended look, creating a natural, sunkissed effect.
Wet balayage is popular because it is a time-efficient method, allowing hair professionals to work faster and process the colour more evenly. Additionally, it can be a great option for clients with fragile hair as the colour application is gentler on the hair fibres.
Wet balayage is also a versatile technique that can be used on various hair types and lengths. With wet balayage, you can offer your clients a beautiful, natural-looking colour that is on-trend and low-maintenance.
How to achieve a Wet Balayage with Wella
Step 1: Root Shadow
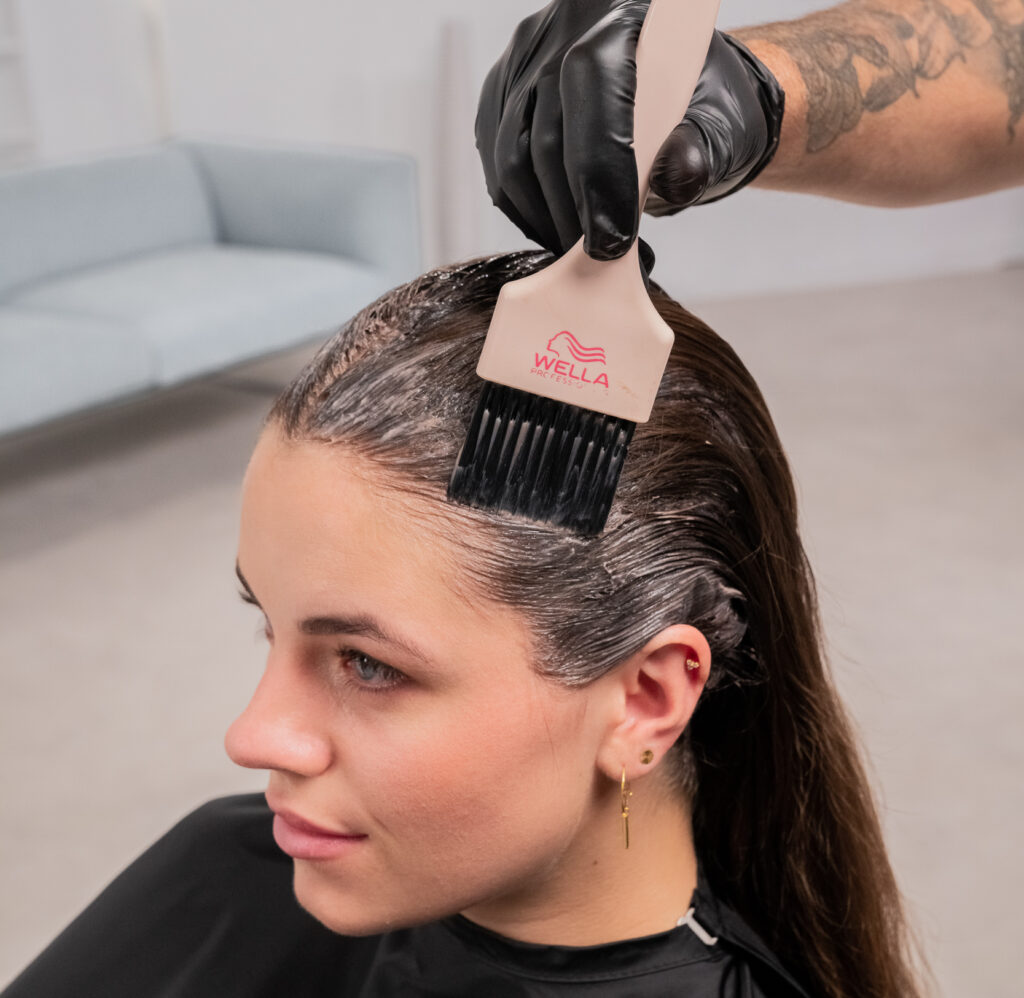
Add depth at the roots with Shinefinity, offering a low-maintenance Zero lift whilst delivering that healthy-looking colour and shine that clients are craving.
- Use Shinefinity 30g 06/07 + 30g activator.
Step 2: Lightening
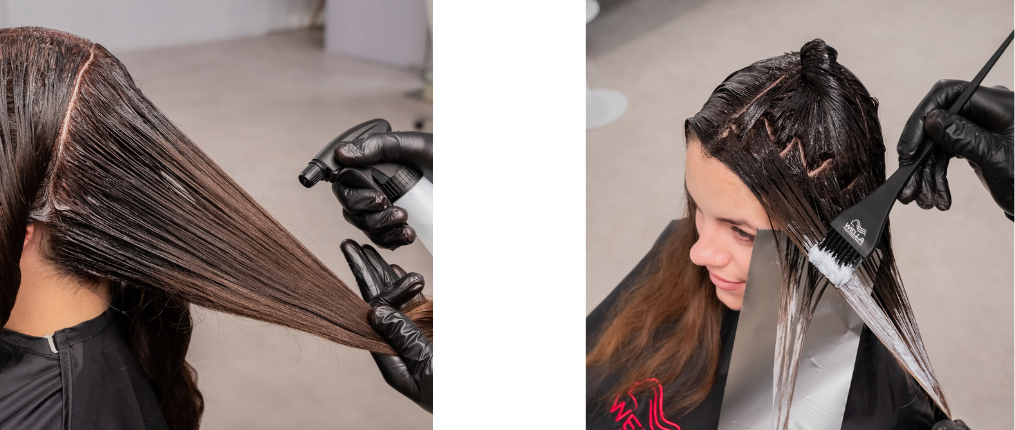
Spray the lengths and ends with water. Take a zig-zag section and blend the lightener to the lengths and ends, alternating between leaving the peaks dark for balance.
- Use Blondor 30g Multiblonde 45g 6%
Step 3: Glaze
At the basin, apply the glaze to all the hair & develop for up to 15 minutes.
- Shinefinity Glaze 40g 7/75 + 20g 9/36 + 60g Bottle Activator
Look 2: Brightening Balayage
A brightening balayage or can, also known as a basin balayage, is a fast way to bring any blonde balayage or highlights back to life and can incorporate some freehand painting at the parting area for those quick in-between services.
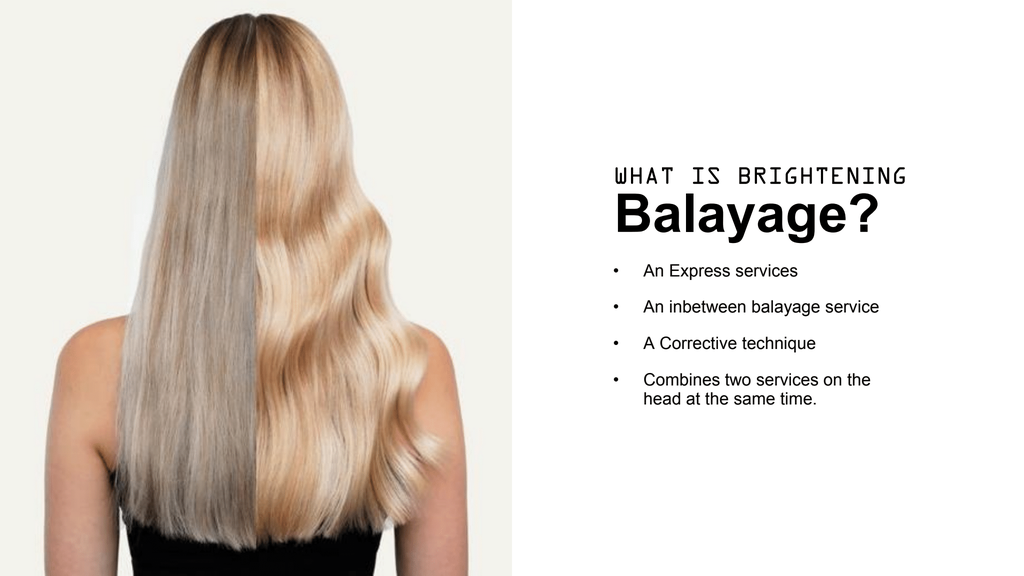
Brightening balayage is a technique that focuses on creating brighter, more vibrant highlights, typically in the blonde spectrum. This technique involves using lighter shades and higher levels of developer to create a more dramatic and noticeable effect.
Brightening balayage is popular because it can transform dull, lacklustre hair into a bright and shiny mane, giving clients a noticeable boost in confidence. It is also a great way to create dimension in the hair, making it look fuller and more voluminous.
Brightening balayage can be tailored to each client’s hair type and colour, making it a versatile technique for hair professionals to offer. With brightening balayage, you can help your clients achieve their desired look, whether it’s a subtle enhancement or a dramatic transformation.
How to achieve a Brightening Balayage with Wella
Step 1: Root Shadow
Offer partial freehand painting to parting and hairline.
- Use Blondor 30g Freelights + 45g 9%.
Step 2: Lightening
Dampen areas with water spray, apply the lightener directly over existing lightened hair to refresh and revive, and bring back to life the lightness and brightness.
- Use Blondor 30g Multiblonde 120g 1.9%.
Step 3: Blonde Toning
At the basin, apply toner from roots to ends for an express toning solution.
- Use BlondorPlex Cream Toner 60g/36 + 120g 1.9%.
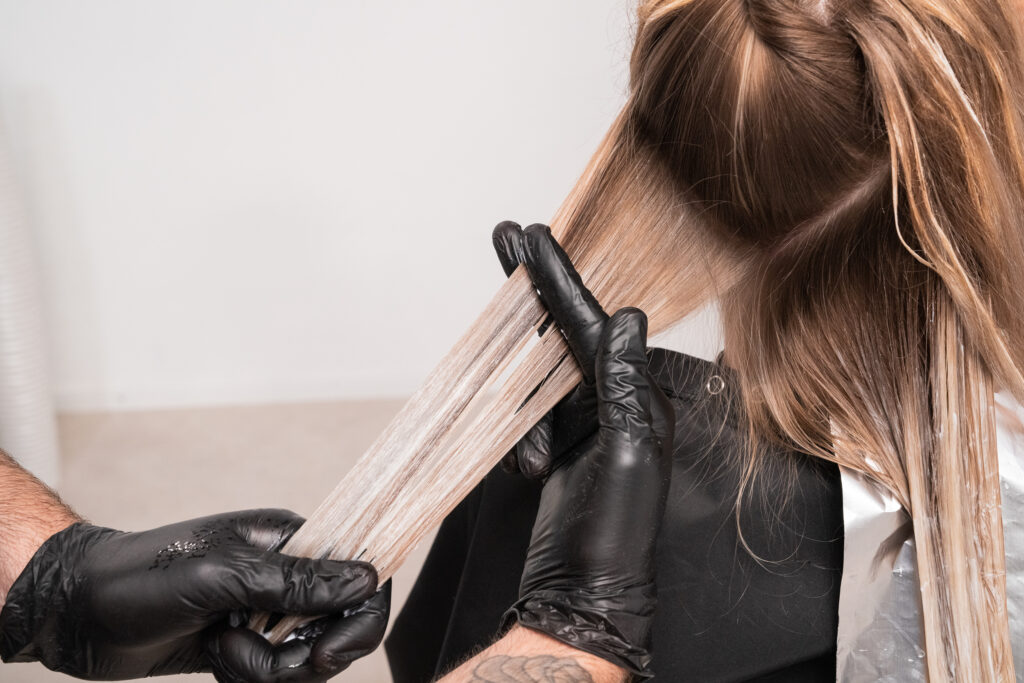
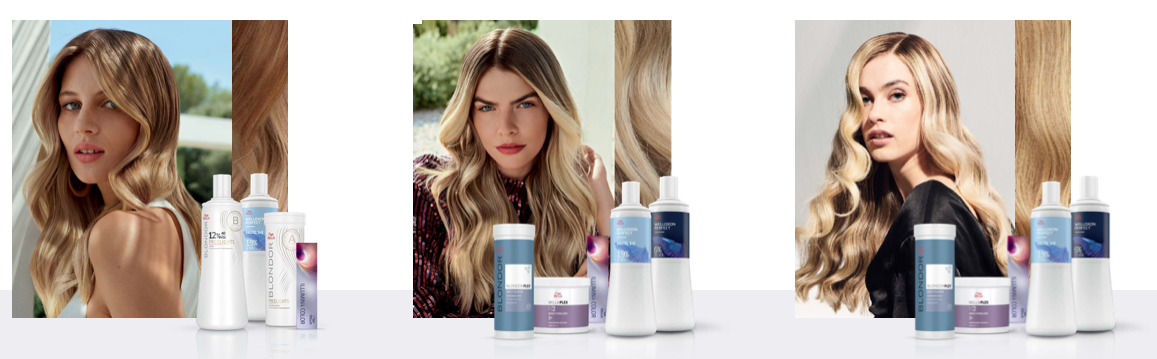
Introducing Illiuminage – The most premium balayage
Illuminage is a freehand lightening technique that details and accentuates areas within the hair, framing the face and enhancing the perimeter, creating seamless transitions with multi-tonal reflections with a natural sheer result.
How to achieve Illuminage with Wella – The most natural-looking balayage
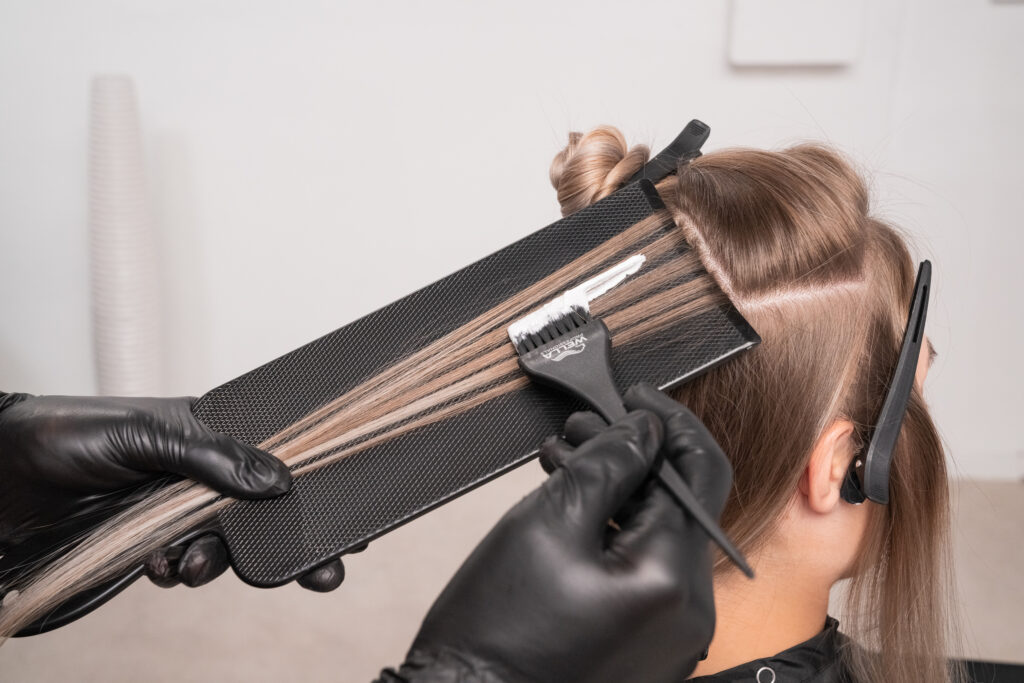
Step 1: Lightening
- Take large zigzag sections.
- Gently backcomb the peaks of the zigzag, feather formula B close to the root area and lengths and ends.
- Isolate with the clear sheets.
- Take the valleys from the zigzag and feather formula A from the mid-lengths to the ends, isolating them with clean sheets.
Using Blondor
Formula A: 30 g Freelights + 45 g 9% + 2ml WellaPlex N°1
Using Illumina Color
Formula B: 30 g 8/93 + 20 g 9/19 + 40 g 9%
Step 2: Root Shadowing Illumina Color Formula C
- On damp hair, begin at the nape applying Formula C just away from the scalp.
- Bring it down to approx 7 cm to the mid area whilst root tapping at the front and hairline.
20 g 7/ + 20 g 7/81 + 80 g 1.9%
Step 3: Blonde Toning Illumina Color Formula D
- Separate the perimeter with the diamond section at the crown.
- Apply formula E from mid-lengths to ends. To the perimeter.
- On the diamond, formula D to the mid area and formula E to the ends.
Formula D: 20 g 8/93 + 40 g 1.9 %
Formula E: 30 g 10/36 + 60 g 1.9 %
The finished result…
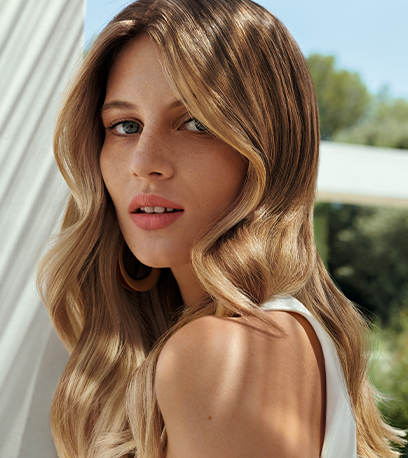
How to achieve Brazilian Illuminage with Wella – Adds Clarity & Brightness.
Brazilian Illuminage is perfect for those who seek clarity and brightness. Accentuated contrast both frames the face and lengths of your hair with light while giving a seamless transition from more natural shadowed roots with threads of brightness melting into enhanced lightness on the ends.
Step 1: Lightening
Accentuated contrast with back-to-back large weaves and zigzag panels, backcombing triangle sections for diffused roots.
- Use Lightening Blondor 60g BlondorPlex + 90 g 6 %/20vol.
Step 2: Root Shadowing Illumina Color
Add a shadow by working in horizontal sections finishing at the front hairline.
- Use Root Shadowing Illumina Color 20g 6/19 + 20 g 6/ + 80 g 1.9 %
Step 3: Blonde Toning Illumina Color
Apply the lightest toner to the length and ends and hairline.
- Use Blonde Toning Illumina Color 20 g 10/38 + 40 g 1.9 %.
The finished result…
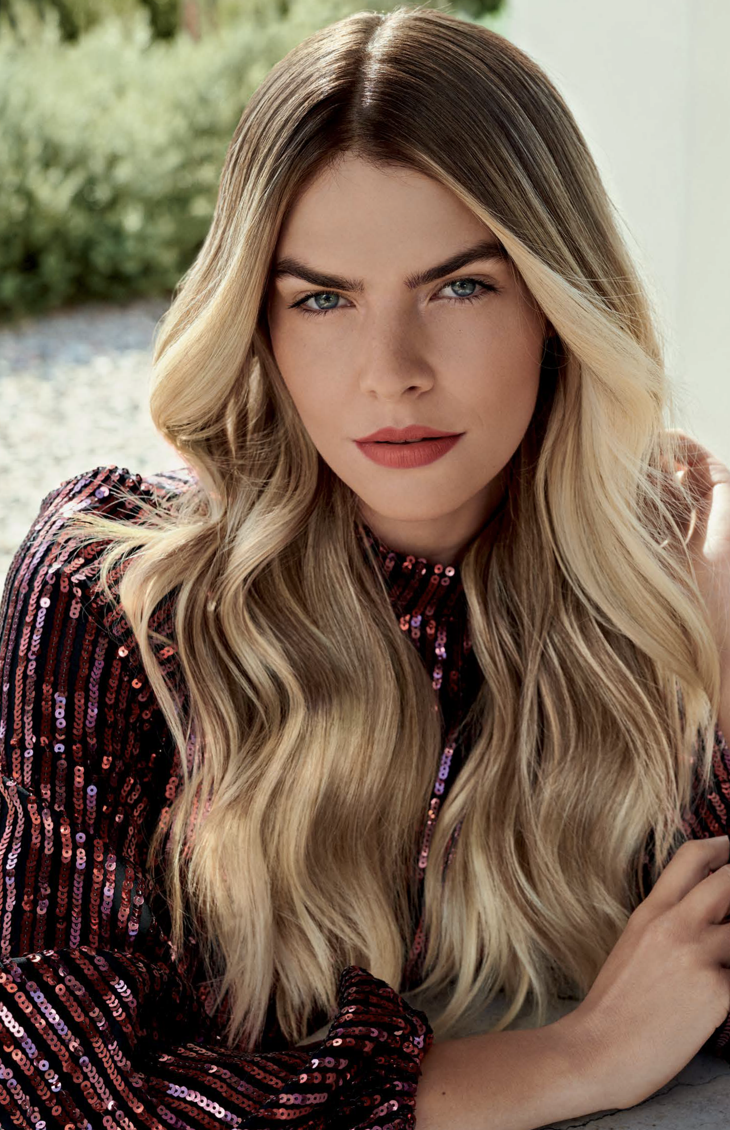
How to achieve Ultra Illuminage with Wella – Striking blends of light
Enhancing the perimeter and framing the face with seamless blends of lightness starting higher towards the root area to create brighter-looking blondes. Toned with a touch of gold to enhance brightness in the most elegant way.
Step 1: Lightening
Use Lightening Blondor 30 g BlondorPlex + 45 g 4%
- Add delicate weaves around the hairline.
- Zigzag and weaves to create a natural effect.
- Apply the lightener slightly away from the roots.
Step 2: Root Shadowing Illumina Color
Use Root Shadowing Illumina Color 20 g 7/+ 20 g 7/81 + 80 g 1.9% Welloxon
- Tap the root toner at the roots and leave for 5 minutes.
Step 3: Blonde Toning Illumina Color
Use Blonde Toning Illumina Color 30 g 10/ + 30 g 9/03 + 120 g 1.9% Welloxon.
- At the basin, apply the lightest toner to the lengths and ends and hairline, and develop for up to 15 minutes.
The finished result…
SHOP WELLA PROFESSIONALS AT SALONS DIRECT
Discover the Salons Direct blog, your trusted source for industry news, product releases, how-to guides and more!
You may also enjoy…
Trending Colour Formulas With Wella Koleston: Introducing KP: POP | Get The Look: Daisy Goord Uses Wella Professionals Blondor | Introducing SHINEFINITY Colour Glaze from Wella Professionals