When it comes to nail extensions and nail art there are so many options to choose from these days, from glitter acrylics to stunning nail art effects, the nail world is ever-evolving! So, it’s more important than ever to get a good grasp of the basics.
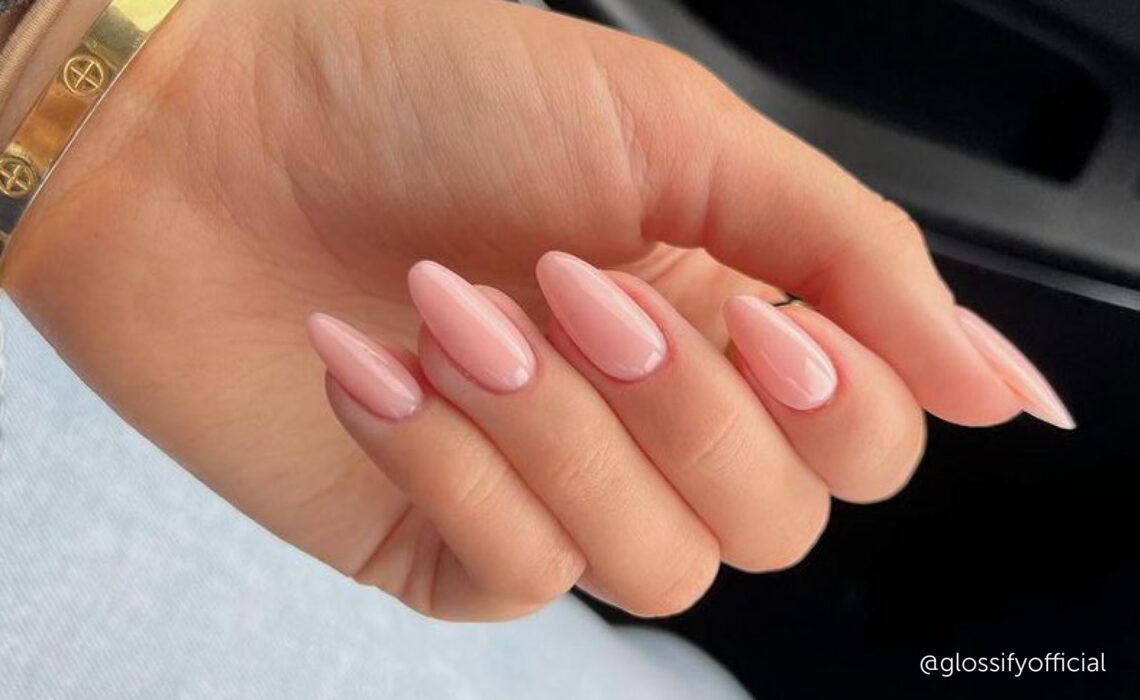
But, not only has nail art and acrylic nails become increasingly popular…so has natural looking nails and promoting nail care and strength! Which has in turn paved the way for builder gel to take industry by storm….allowing nail technicians to add strength to their clients natural nails, giving way for nails to grow and keeping them looking perfect for 2/3 weeks+.
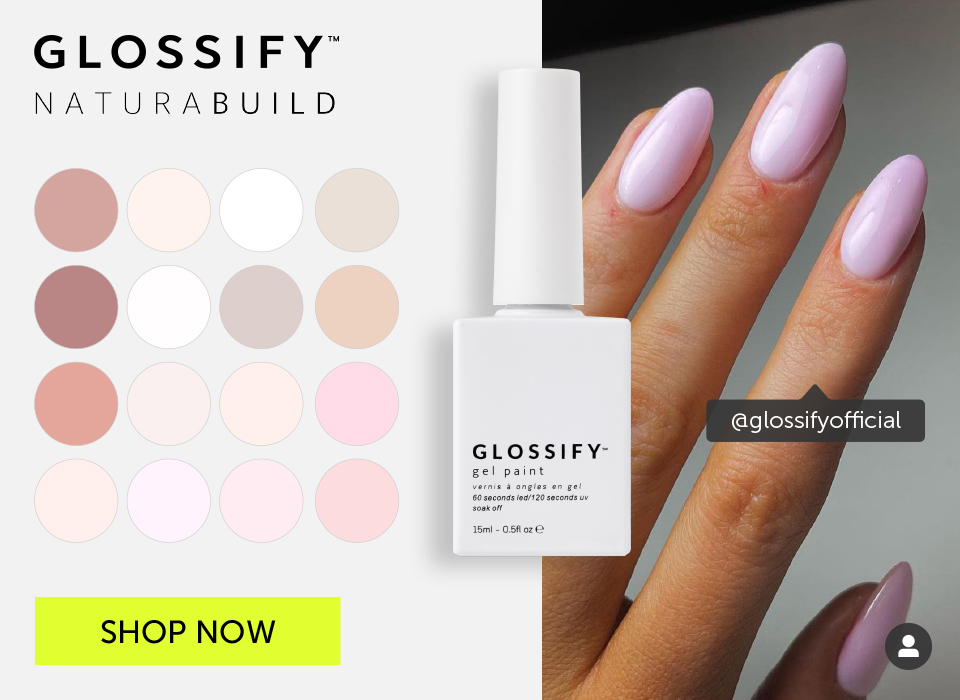
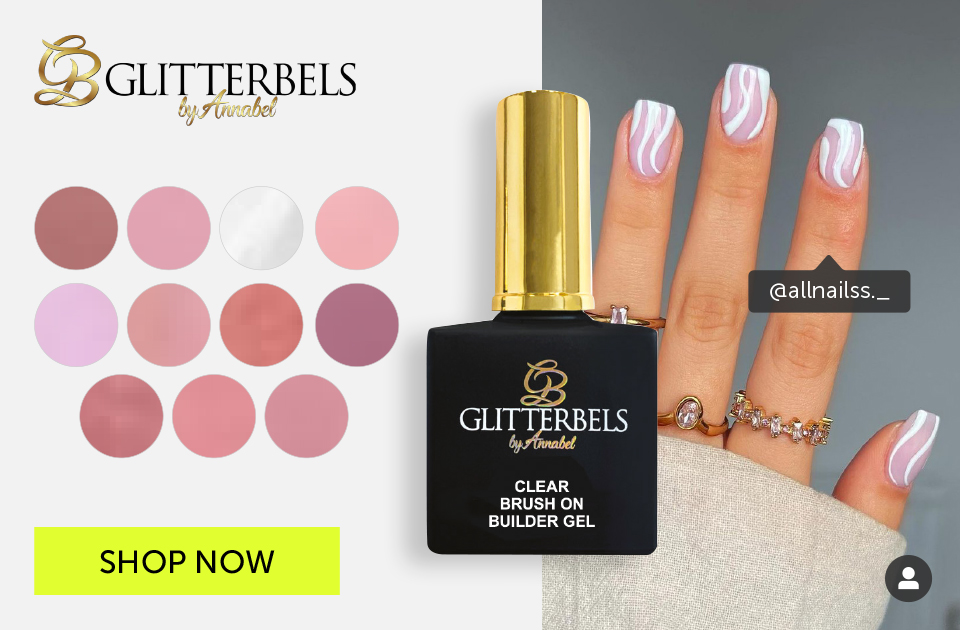
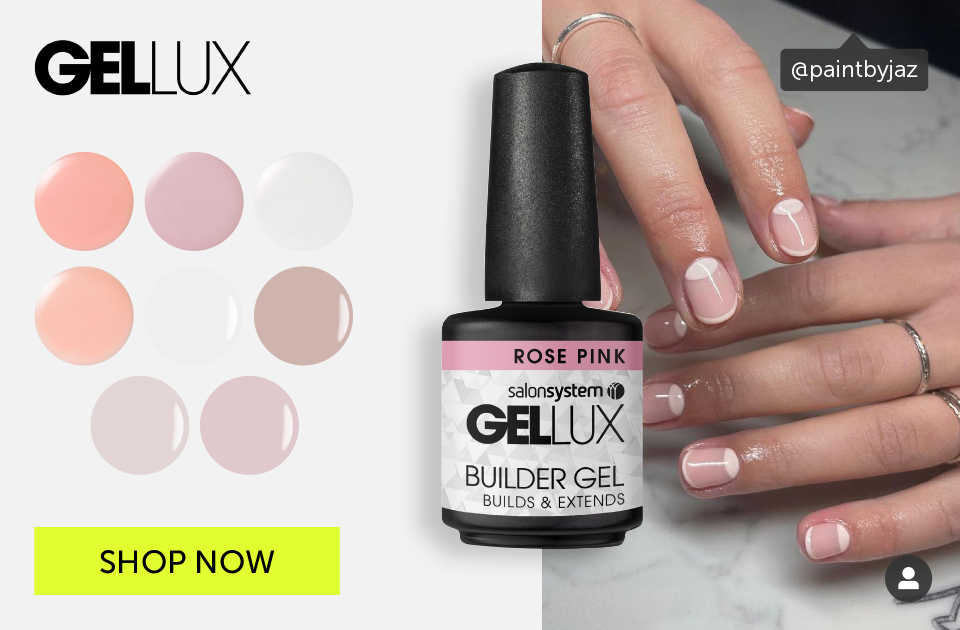
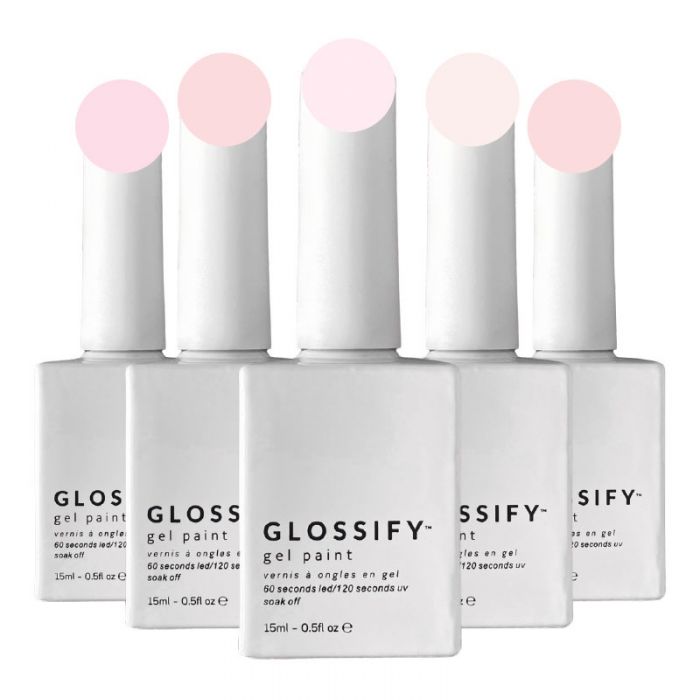
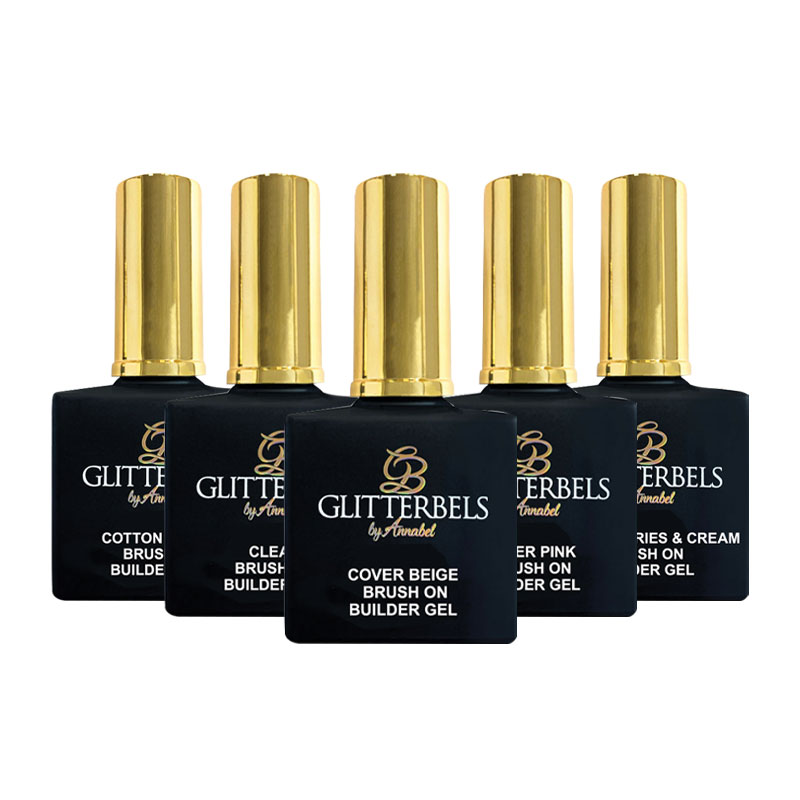
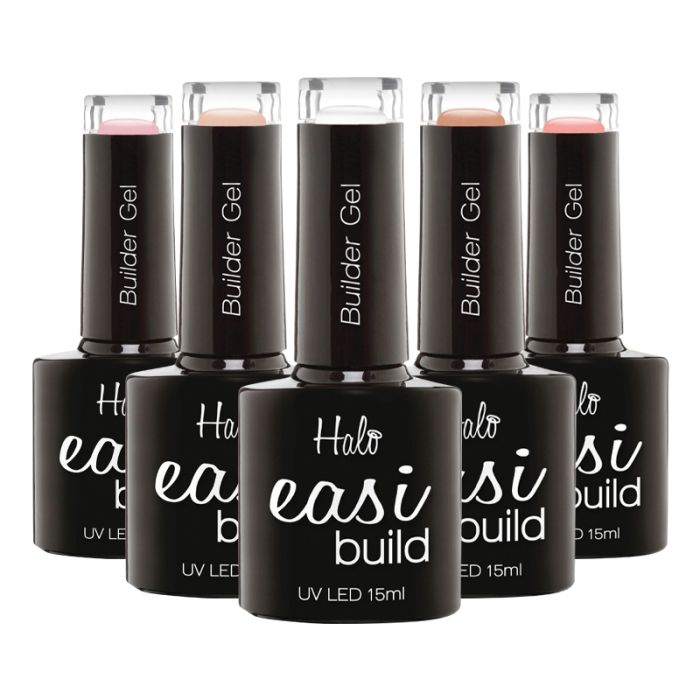
At Salons Direct we have a wide range of gel polish brands available to suit all budgets. Most gel polish brands have now ventured into the world of builder gels and everyone’s gone mad for them. Some of our best selling ranges are: Glossify Naturabuild, Glitterbels Brush On Builder Gel, Halo Easibuild Builder Gel, & Gellux Builder Gel.
We thought it was a good time to answer some of the most commonly asked questions around builder gels. Want to know the benefits of gel manicures? Or whether gel or acrylic is better for your clients? Keep reading to find out!
What is builder gel?
Builder gel is used when you want to create length, thickness or add strength to the nail. You can apply builder gel to either natural nails for a non-chip overlay, or use it with nail tips to create extensions or enhancements. It’s much stronger than regular gel polish base coats, and the formula is a much thicker consistency to a normal base coat. They have high self-levelling properties which ensure a smooth foundation layer.
What’s the difference between gel and builder gel?
Gel polish and builder gel can both be used in nail care, but they differ in application, purpose, consistency, removal, and skill level. Gel polish is applied as a thin layer of polish for color and shine and is relatively easy to use, while builder gel is a thicker gel that requires more skill and experience for application. Removal of builder gel typically involves filing or soaking off, and it requires more time and effort.
How long does builder gel last?
2-3 weeks. Though a manicure created with builder gel can last up to three weeks, this often depends on which brand you use and how well you apply it – plus, how well the old coat is removed. When applied on natural nails, a strong and healthy base is required.
Always make sure you follow your chosen gel brand’s instructions to get the best results. This often means only using products from your chosen gel nail system – not mixing one builder gel with another brand’s top coat, for example.
You also need to make sure you use the right LED or UV nail lamp for the correct amount of time.
When the builder gel begins to grow out, you can infill just like you would with acrylic, or remove the set and apply another straight away – providing the nail is still in good condition.
Related articles: UV vs LED Nail Lamp: Which Is Better For Curing Gel Polish?
How to use builder gel…
Do you need a base coat for Builder Gel?
The way you use builder gel depends on the particular brand you buy. Some brands require you to use a primer or base coat first, while others, such as Glossify, can be applied straight to the nail for a speedier application.
If you are applying builder gel to the natural nail only, it can be applied and built up to the desired thickness and shape in a number of coats, curing between each layer. If you are extending the nail, simply apply your nail tip or form before applying the gel and creating the length.
Generally, the steps you would take to apply a builder gel would be something like this:
How to use builder gel – step by step guide 👇
- Prepare the nail – clean, file and buff the nails. Push back and trim the cuticle. Wipe the nail with a lint-free pad using nail cleanser or acetone.
- Apply base coat or primer – if your builder gel requires you to use one. Cure under your nail lamp if needed. If you don’t need a primer, you can skip this step and save some time.
- Apply the builder gel – if you are using a bottled builder gel, you can paint it on. If you have a pot of gel, you will need to use your own nail brush to pick up a small amount. Stay away from the cuticle and be sure to cover the free edge. Builder gel tends to ‘self-level’, so allow it to settle for a few seconds to make sure it is applied evenly.
- Cure under LED/UV lamp – your chosen builder gel should state what type of lamp it needs to be used with and how long to cure it for.
- Apply a second coat – if needed, apply your second coat and cure again.
- Clean the nail – use a lint-free wipe and isopropyl alcohol to remove any tackiness.
- File the nail – perfect your client’s desired shape and even out any areas that might be too thick.
- Apply colour or top coat – wipe the nail clean again, and apply your top coat. If your client wants a different colour, paint on your gel polish and cure again first.
- Finishing touches – once all your gel is applied and properly cured, your manicure is complete! Add a touch of cuticle oil and let your client know of any aftercare advice before they leave.
Is builder gel better than acrylic?
It depends. As a nail tech, you will probably have your fair share of clients asking you whether builder gel is better for their nails than acrylic.
However, it can be hard to answer this question as it is often a case of personal preference.
For example, builder gel might not appear to be as hard as acrylic, but it is more flexible and can actually be stronger. For more natural looking nails, builder gel is often preferred over acrylic as it can be applied quickly with a high-shine finish. Gel is also great for helping clients with easily broken nails maintain their natural nail length.
Many clients also believe that gel nails will damage their nails less than acrylic nails. The flexibility of builder gel does mean that they are less likely to cause a breakage. If you use a soak off formula, you can minimise damage during the removal, too, as less filing and buffing will be needed.
However, that’s not to say that acrylic is particularly bad for nails! If clients have really soft nails, acrylics can offer a suit of armour to protect them. So long as they are applied, cared for and removed properly by a trained nail technician, gels and acrylics should be equally safe.
If your client still can’t decide which to go with, keep some pictures of your best work handy to show them the different looks you can create with them.
Related Articles: Do Acrylics Damage Nails? The Signs to Look Out For In Your Clients
But, which do nail techs prefer?
As a nail technician, you will probably have your own favourite to work with, too. Acrylic hardens within a few minutes without the need for a lamp, while builder gel stays wet until cured under UV or LED light. Some nail techs love the flexibility and control builder gel gives them, as they can continue to move the product around as much as they like, then cure them in seconds when they are happy.
Other nail techs simply prefer working with acrylic, particularly if they have clients who love having their nails extra-long.
Overall, both acrylic and builder gel can be used to create equally stunning manicures. It’s always best to take a good look at your client’s nails and see how strong they are naturally before deciding which is best for them.
Discover the top nail products from Salons Direct, recommended by Nail Pros! 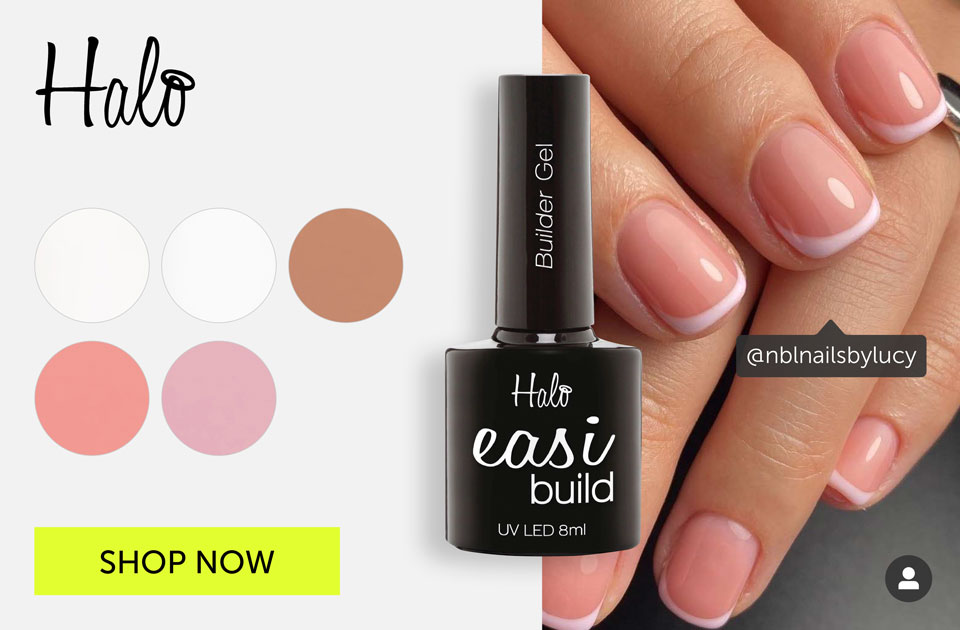
Hard gel, soft gel, builder gel, gel polish – what’s the difference?
If you are new to gel nails, you might be wondering what the difference is between the terms hard gel, soft gel and builder gel. Just what exactly are they all?!
Hard Gel
Hard gels are used to build nail extensions as they can add length that most soft gels can’t. They are similar to acrylic nails in this aspect, but still need to be cured under an LED or UV lamp. To be removed, they usually need filing off, so can cause more damage to the natural nail. This can be done with an E-File.
Soft Gel
Soft gels are incredibly popular with today’s clients as they are just as durable as a hard gel, but easier to remove. Also known as ‘soak off’ gels, they can gently be lifted away with acetone when needed.
Many of today’s soft gels, such as Glossify Builder Gel, come in a bottle with a brush and can be applied similar to a regular nail polish – though still need curing with a nail lamp. You can still add thickness and some length to the nail, though you won’t be able to extend them as much as you would with a hard gel. So, they are usually used for a more natural effect.
Builder Gel vs Gel Polish
However, it’s important to remember that both types of builder gel are different to regular gel polishes. These have a thinner consistency and while they do help keep the nail stronger, they aren’t as hardy as builder gels.
You can paint gel polish over the natural nail or over the top of your builder gel – just make sure you stay within the same gel system brand.
See how Amy Guy uses Glossify Naturabuild Gel to create ombre gel nail art!
Don’t forget you can shop our bestselling builder gels online at Salons Direct…
Shop GLOSSIFY NATURABUILD Now
Shop glitterbels builder gel Now
Shop GELLUX BUILDER GEL Now
Shop Halo Easi build gel Now
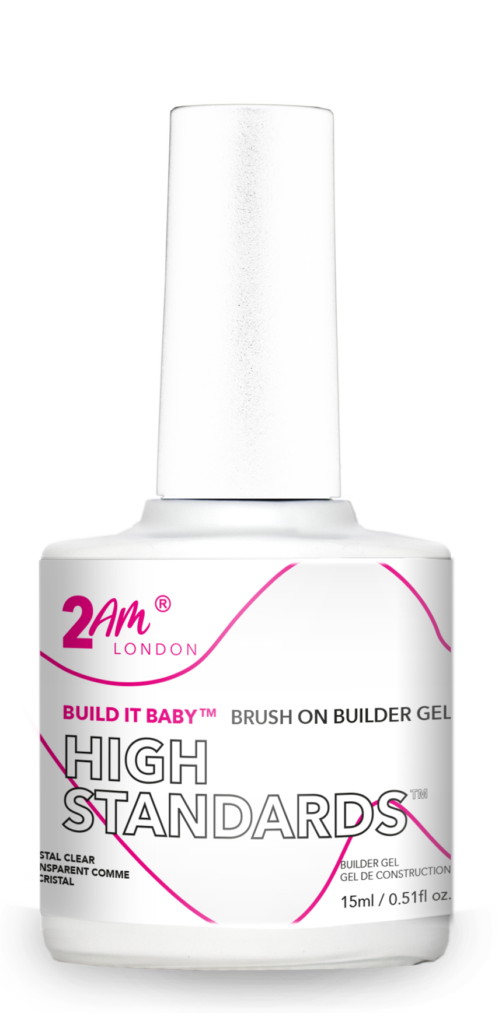
Shop 2am Build it baby Now
Shop our full range of gel nail supplies online today!!
More nail salon advice on the Salons Direct blog…
The Best Gel Nail Removal Products for Salons | How to Start Up Your Own Nail Business | The Best Gel Top Coats for Nail Professionals


